
Widgets
eSputnik’s Widgets are built for online projects to speed up and simplify converting visitors into leads.
Lots of templates, triggers, gamified components, and integrations will help you unlock your website's hidden potential.
Special coding is not needed from now. Just create your desired popup in drag and drop builder, set up appropriate display conditions, and enjoy conversion rate growth for your website.
Grab your new leads on the fly and move them through the sales funnel with all of eSputnik’s omnichannel communication tools.
Widget Types
We provide 5 widget types:
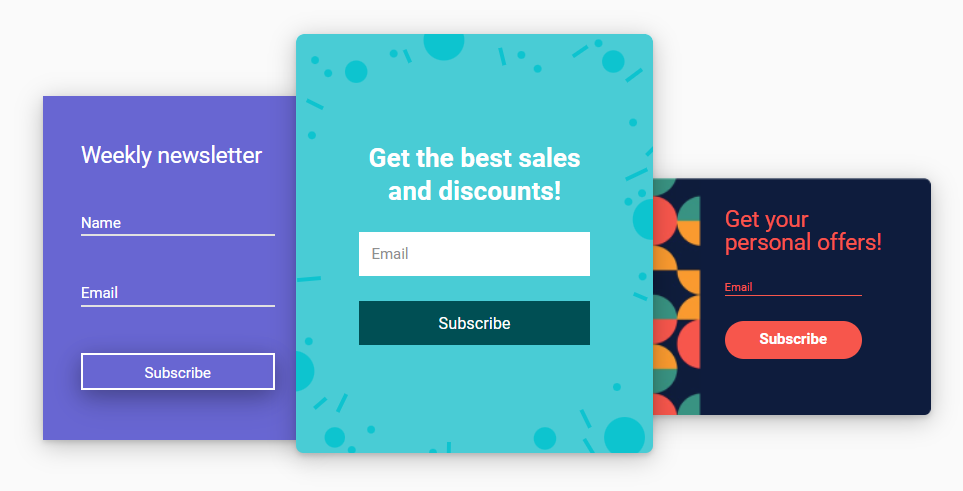
1. Subscription forms – widgets for collecting contact data: email, phone, name.
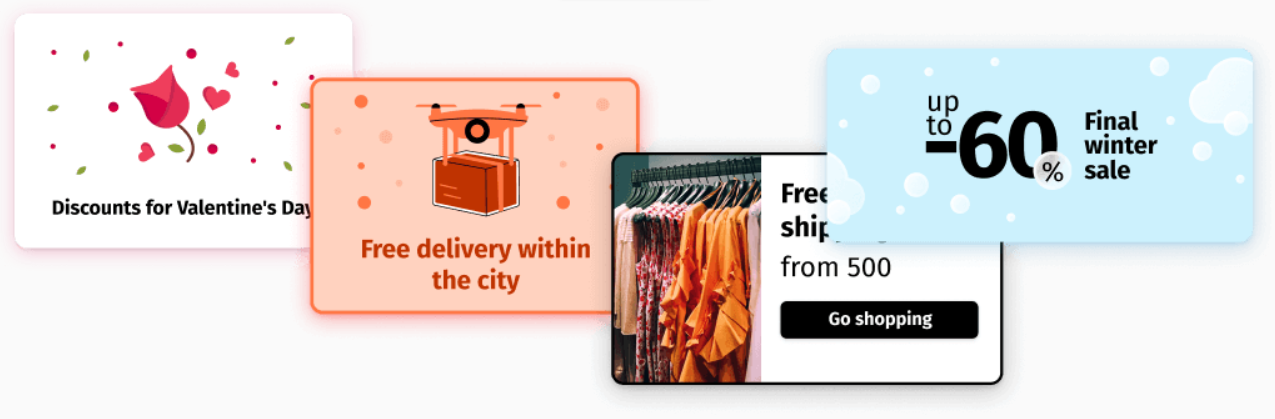
2. Informers – clickable widgets to inform site visitors about promotions, discounts, new arrivals, upcoming events, and increase their involvement in social media.
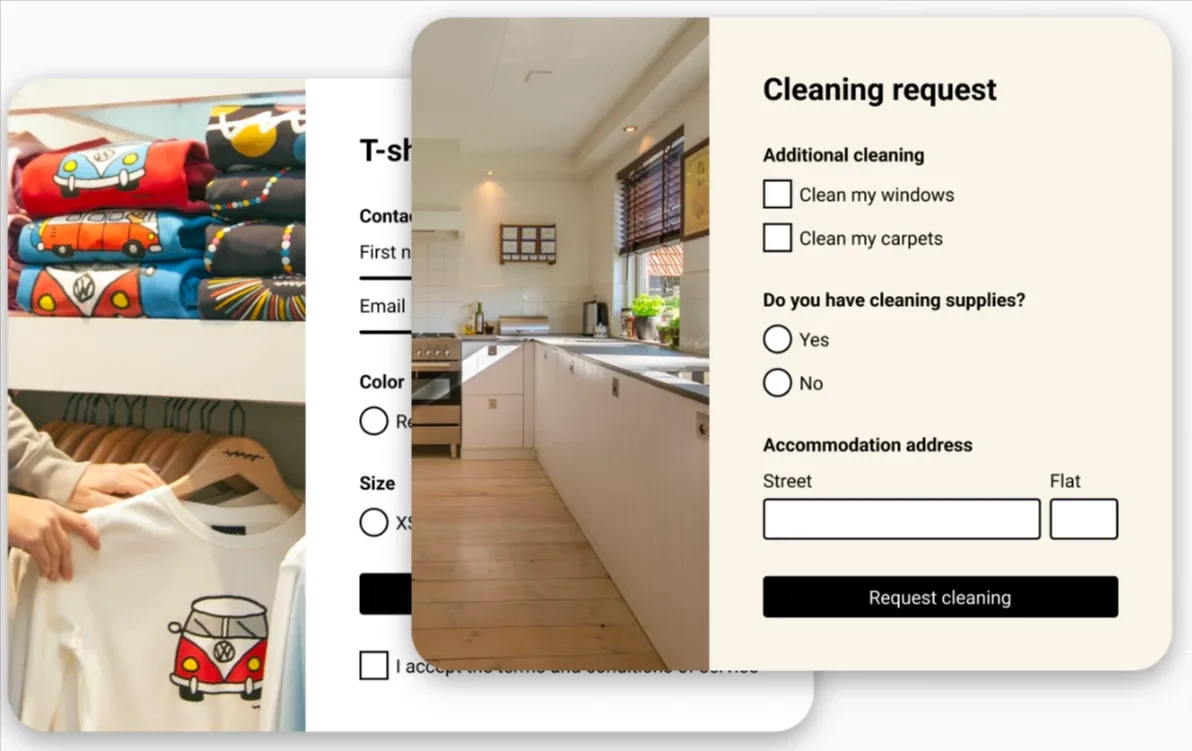
3. Request forms – widgets for collecting additional information about existing contacts and processing their requests for services and feedback.
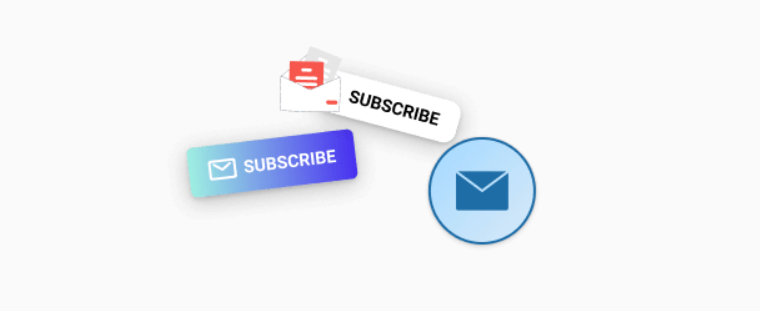
4. Launchers – call buttons on web pages that allow visitors to subscribe at a convenient moment.
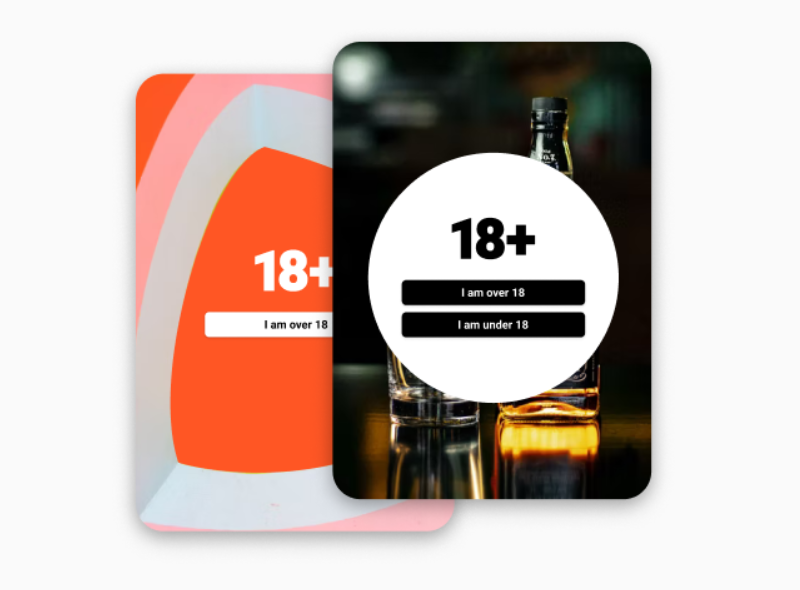
5. Age gate – a widget that overlaps the main site content until the visitor confirms age.
Creating and Managing Widgets
NoteTo start from a template instead of a blank widget, open the template library and use the filters (use case, layout, features) to find a design close to your goal — templates come with predefined spacing, typography, and element placement. Pick one, then customize it in the drag-and-drop editor: rearrange or restyle elements on the canvas, edit text, images, colors, and fonts on the right panel, and add extra components from the left panel before configuring the display rules below.
- Create a widget. If your site is visited by users who speak different languages, prepare a multilingual form, and the system will show each visitor the appropriate language version. To personalize widgets, use merge tags or prefill form fields with contact data from eSputnik, URL query parameters, JavaScript variables, Local storage, cookies, or Data layer events. In multi-step widgets, add branches to direct users to different pages based on their responses.
- Set the widget calling rules and set up annoyance safeguard so that multiple forms are not displayed at the same time. If necessary, you can configure the rules for calling the widget by geodata.
- Configure actions after form submission: double opt-in (DOI), redirection page, onboarding workflow, and messages, as well as saving data in contact fields. If you need to change DOI system workflow, see the instructions.
- Analyze the widget’s performance and conduct A/B tests. Learn how to integrate your widgets with Google Analytics >
Segmentation by Contact Activity in Widgets
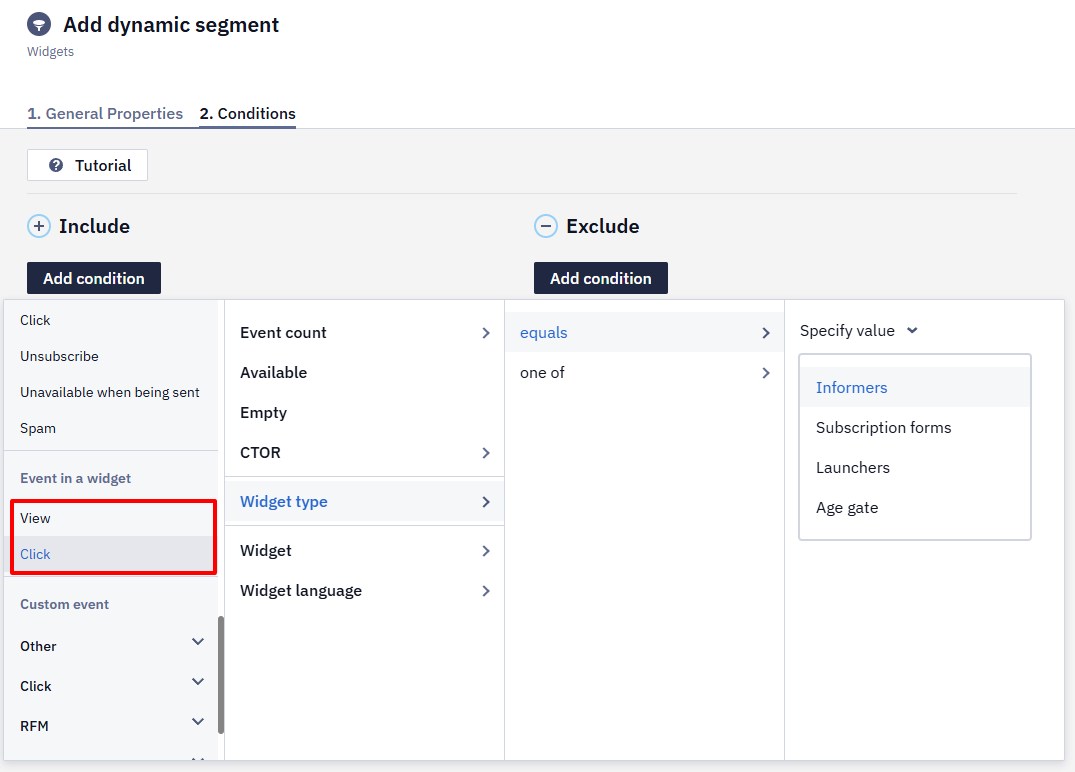
Create dynamic segments based on contact views and clicks in widgets.
Segmentation conditions:
- Event count
- Widget type
- Widget
- Widget language
- CTOR (for clicks)
Updated about 1 month ago