Managing Data Collected via AMP Forms
When you create emails with AMP forms in our platform, you can receive and store users’ responses using the built-in data service in Stripo.email. A data service collects information in the internal storage of Stripo.email and transfers it to external storages via Zapier.
Guidelines on creating an AMP form
How to Create a Data Service in Stripo.email
Stripo.email allows free storage of responses from AMP forms.
- Create an account in Stripo and log in.
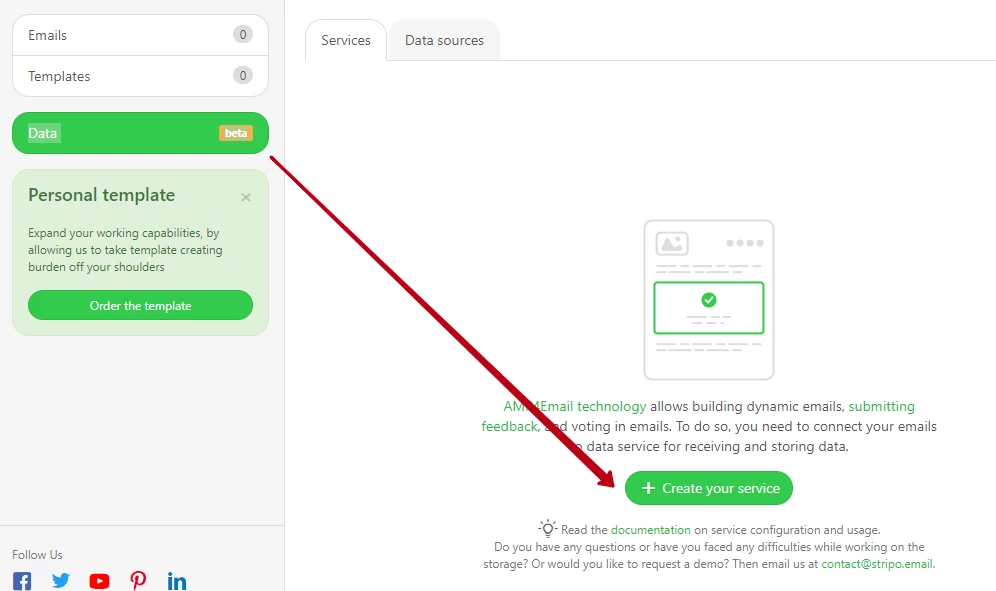
- In the toolbar on the left, click Data → Create your service.
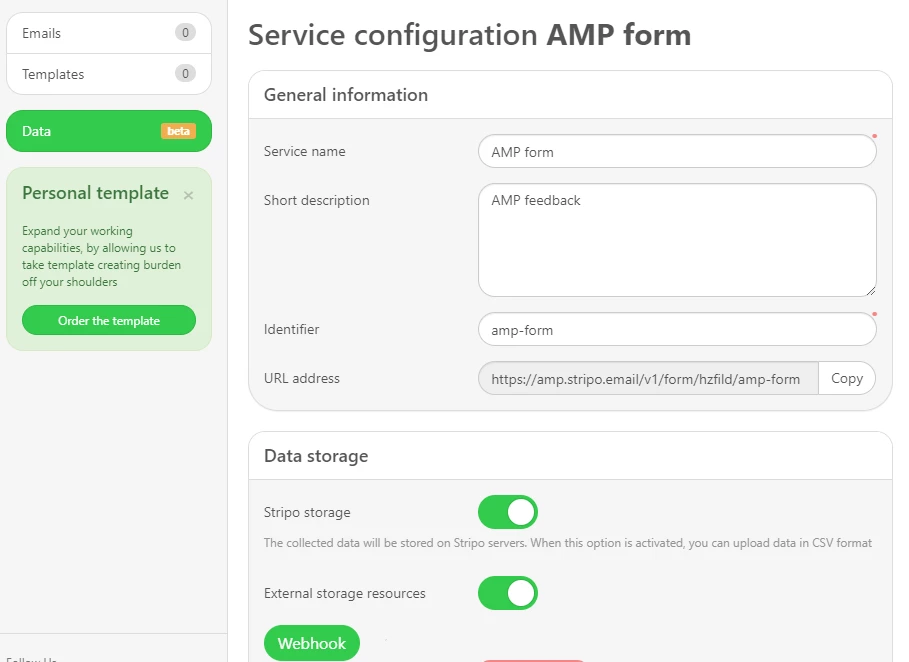
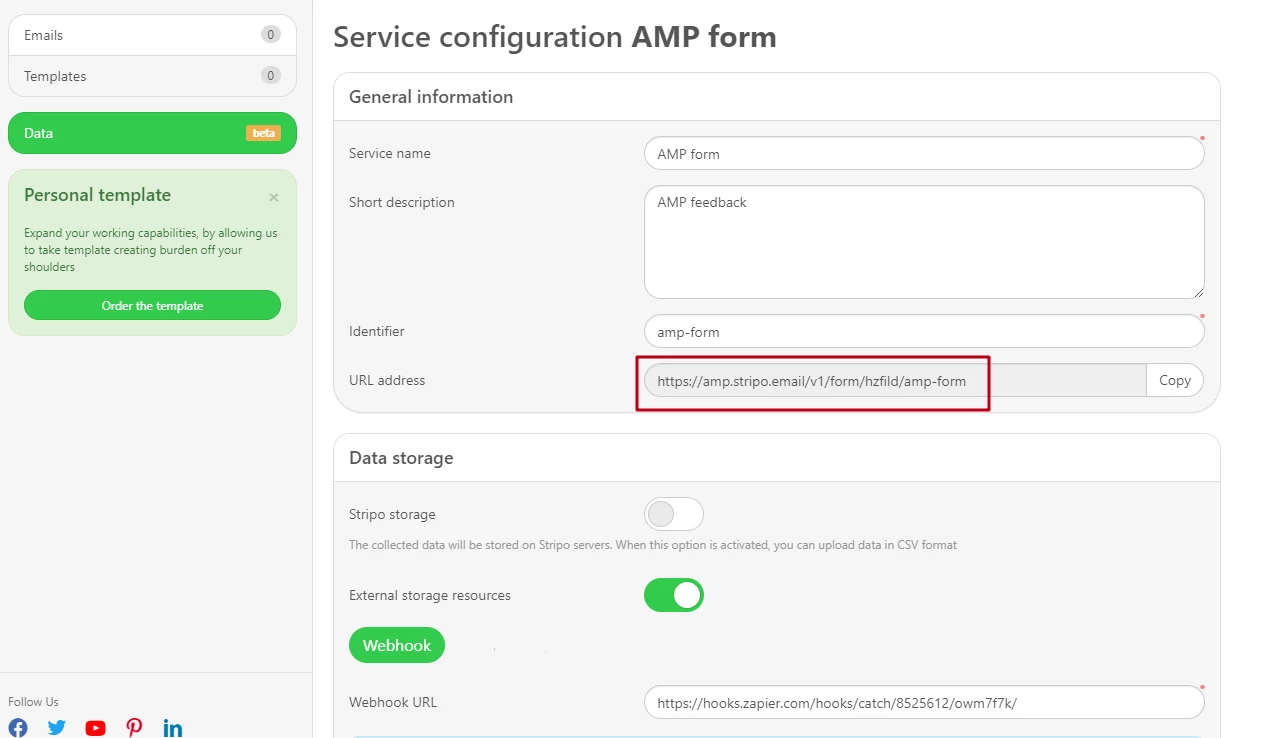
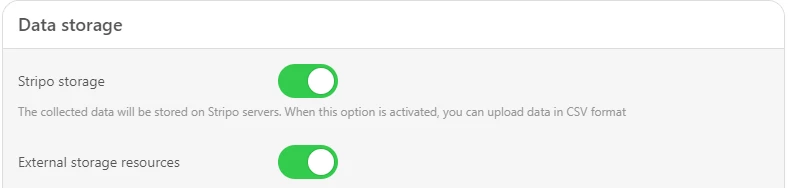
- Enter the service name and description. Other fields will be filled automatically. Leave Stripo storage enabled. If you plan to use external platforms for data storage via Zapier, enable External storage resources.
- Copy the generated URL address.
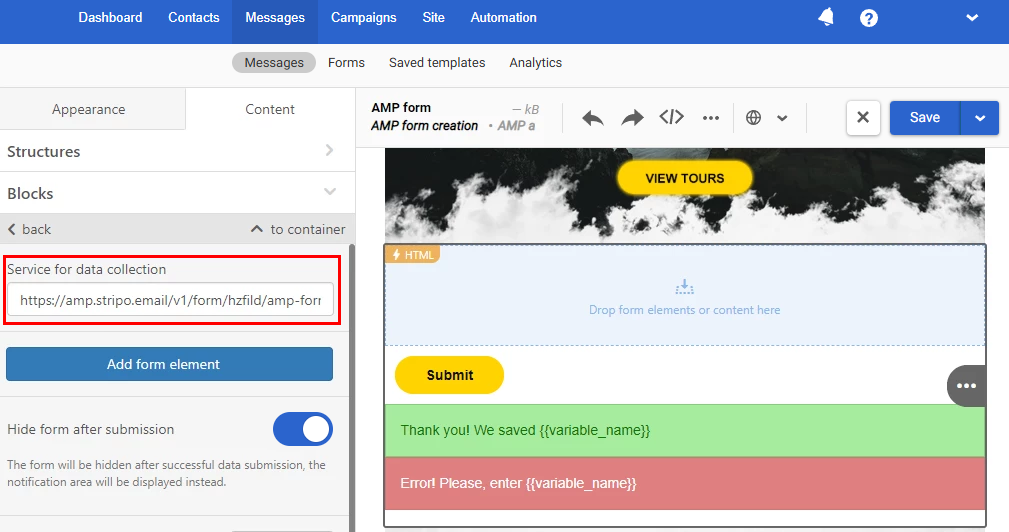
- Go to your account in our service and open the corresponding email with the AMP form. Click ϟHTML to open the settings. Insert the copied URL in Service for data collection.
The data service is created.
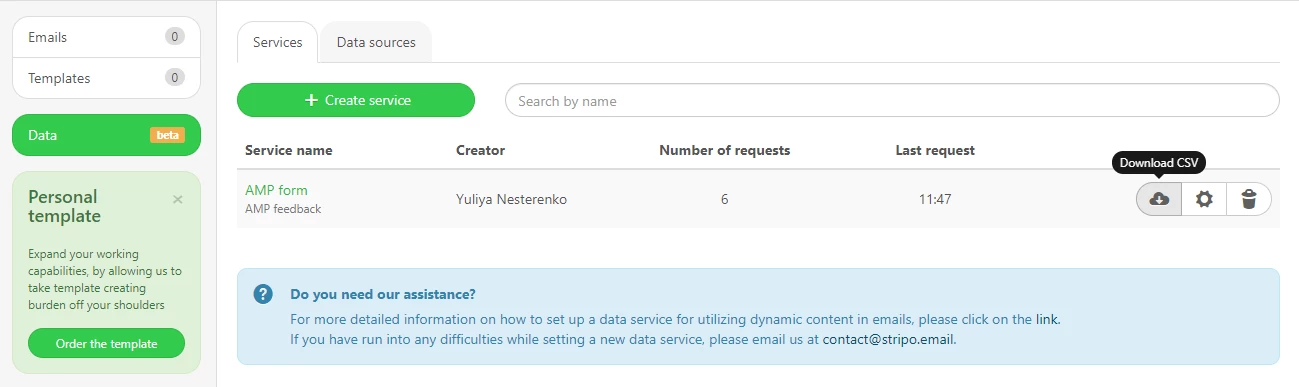
All data provided by recipients will be stored in your Stripo account and can be downloaded as a CSV file.
How to Transfer Data to External Platforms via Zapier
You can transfer data from AMP forms to external storages such as Google Sheets. To do this, you need to set up a connection between your Google account and Stripo via Zapier.
You'll have to pay Zapier for the data transfer if monthly tasks exceed 100 (1 task equals data transfer to one line of the sheet).

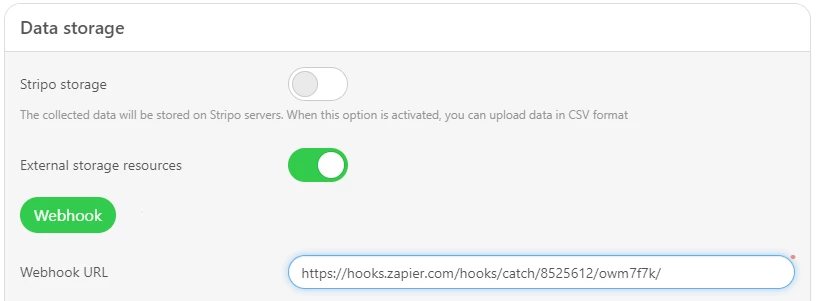
- In your Stripo account → Data → Data storage, disable Stripo storage.
- Enable External storage resources.
- Add the webhook URL. See below how to get it.

How to Get a Webhook URL
- Create an account in Zapier or log in.
- Click MAKE A ZAP.
- Enter zap’s name.
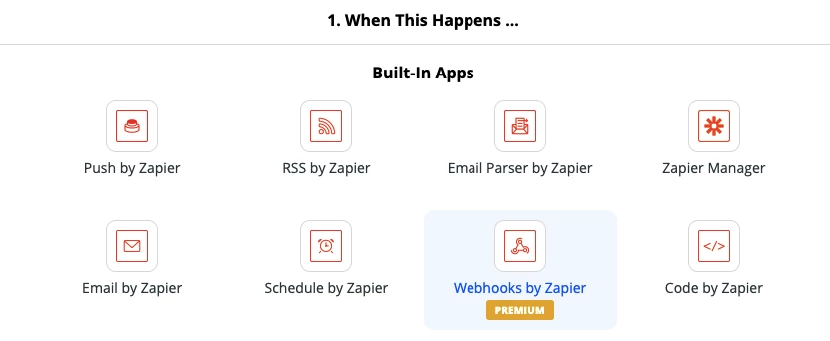
- In Built-In Apps, select Webhooks by Zapier.
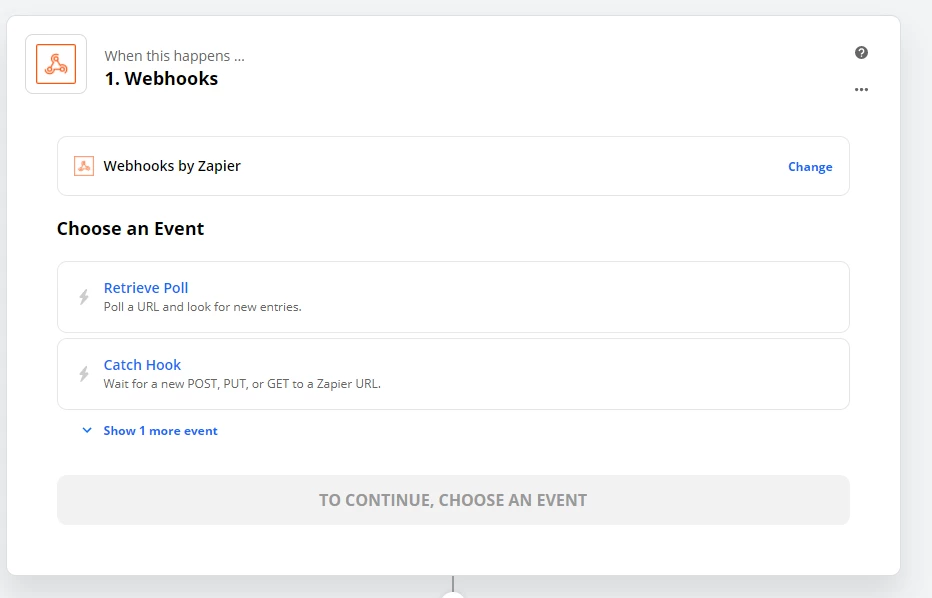
- In Choose an Event, select Catch hook and click Continue.
- Copy the generated URL.
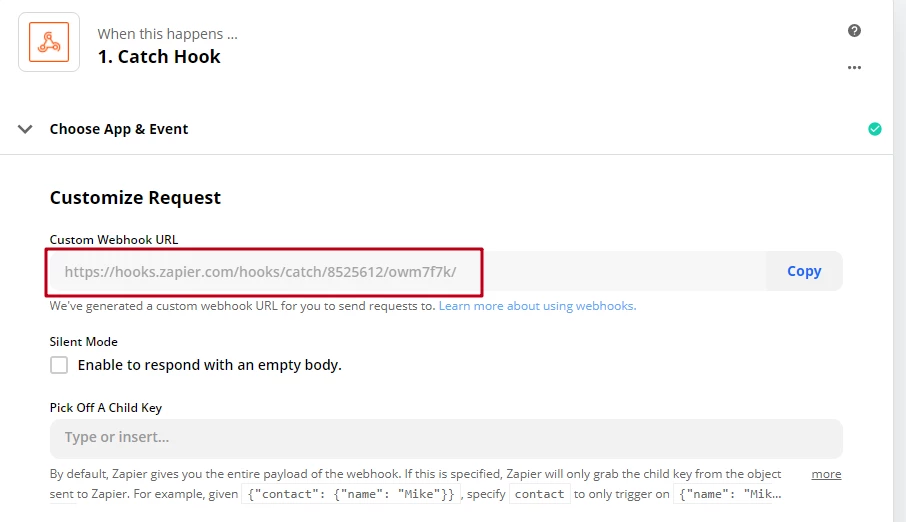
- Insert it to Webhook URL in your Stripo account.
- Copy the URL address.
- Go to your account in our system and open the corresponding email with the AMP form. Click ϟHTML to open the settings. Insert the copied URL in Service for data collection.

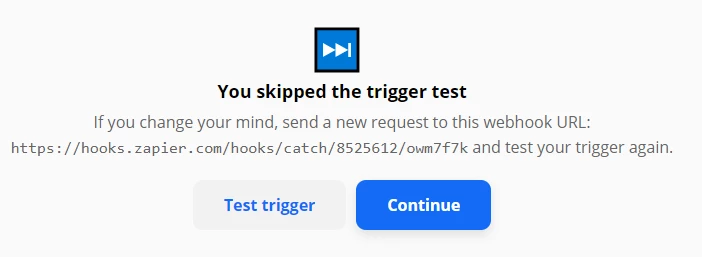
- Go back to Zapier → Customize Request and click Continue. Click Test trigger → Skip test and click Continue.
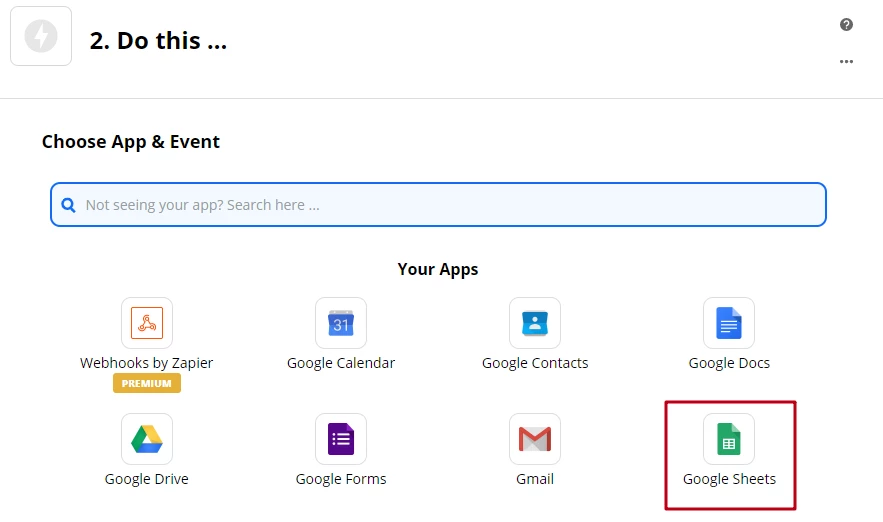
- In Your Apps, choose Google Sheets.
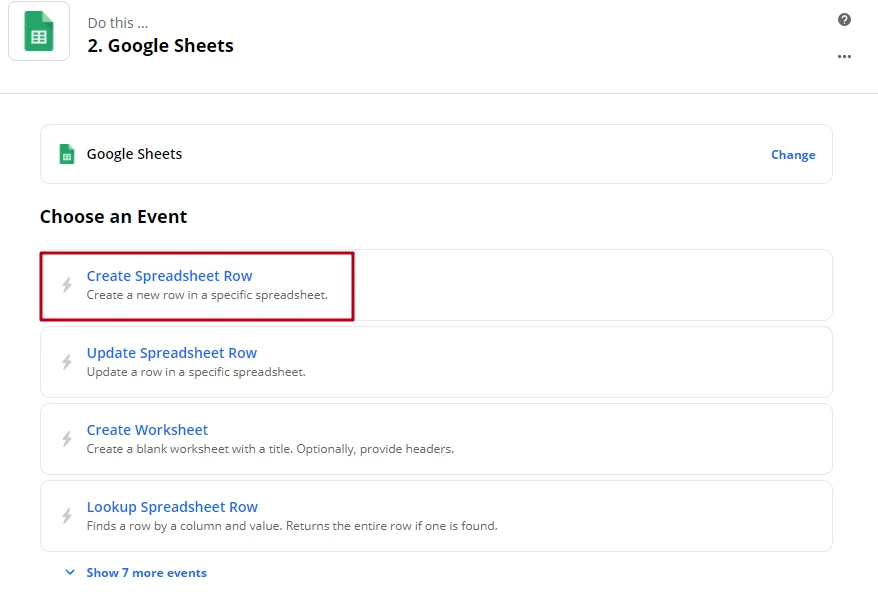
- Choose Create Spreadsheet Row and click Continue.
- Click Sign in to Google Sheets and allow Zapier access to your account.
- Create a Google Spreadsheet where the corresponding data will be exported: name, email address, answer, etc.

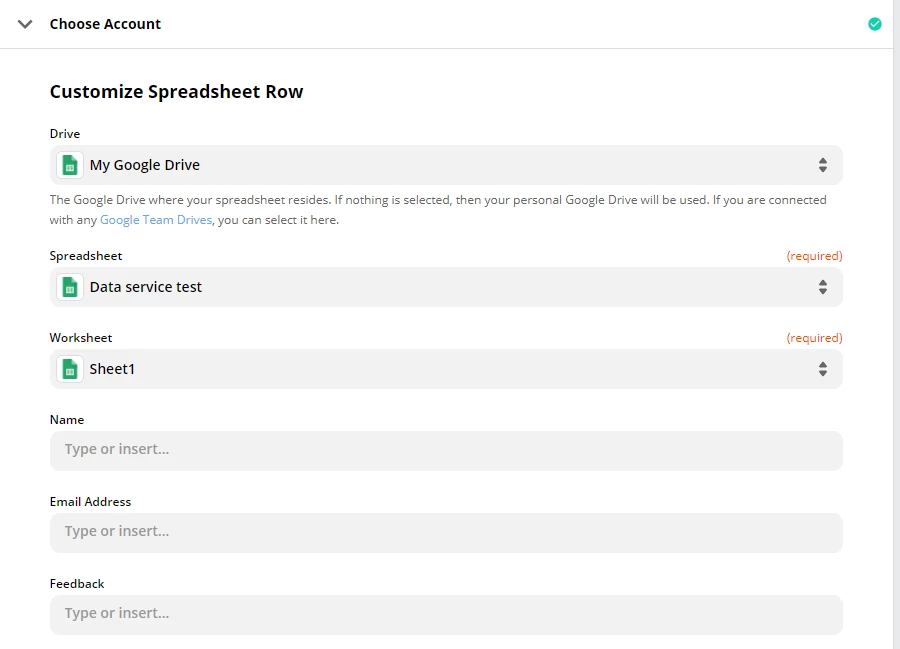
- In Drive, select My Google Drive, and choose the necessary spreadsheet and worksheet. Click Continue. Zapier will extract field names from the worksheet.
- Test the connection: the data from the form should be transferred to the corresponding columns of the table.
- If everything works fine, click TURN ON ZAP.
ImportantIf you want to transfer data to both Stripo and external storage, enable both toggles. Add a link to the Stripo data service in the template in our platform. The answers will be sent to the internal Stripo store and to Google Sheets via Zapier.
Updated 4 days ago