Getting and Installing Web Tracking Script
To get the web tracking script, go to your account settings → Web tracking tab, and click Start the web tracking.
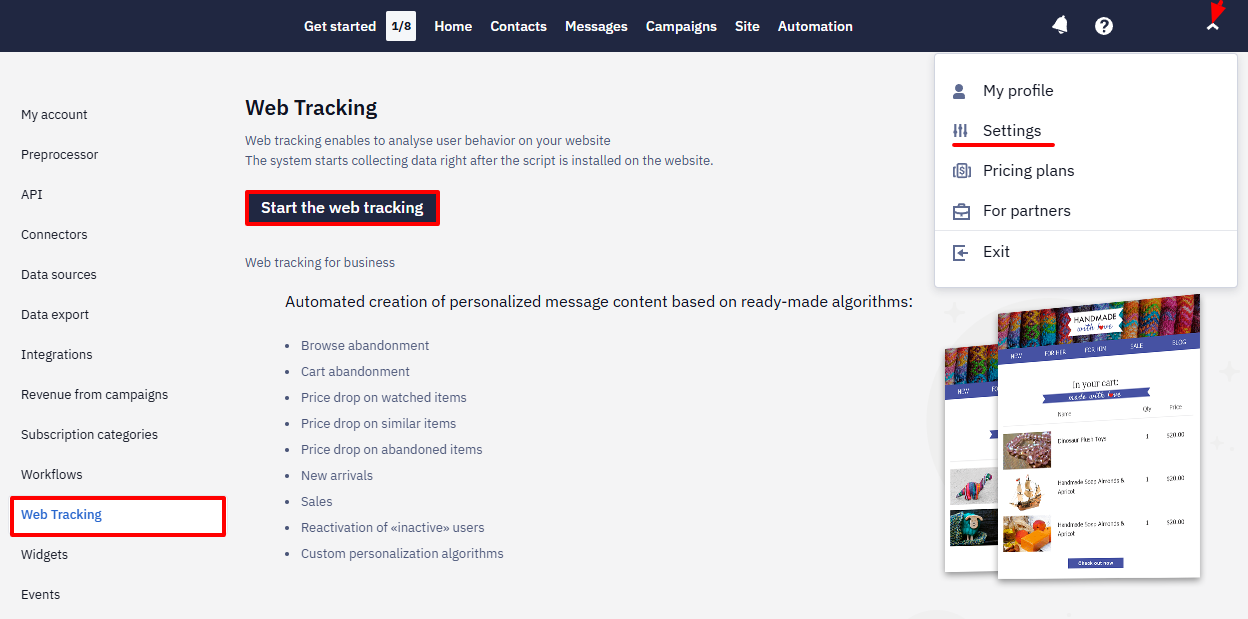
Getting and Installing Script
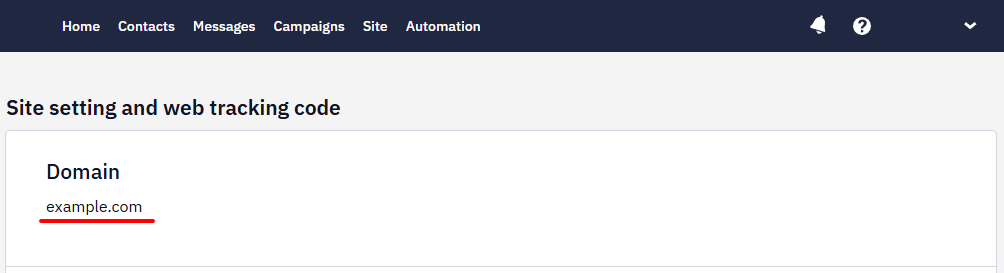
- Enter your domain name and click Get script.
NoteThe script works for second-level domains and subdomains (
mysite.com,blog.mysite.com)
- Copy the script and add it to the page code before the closing
</body>tag on every website page.
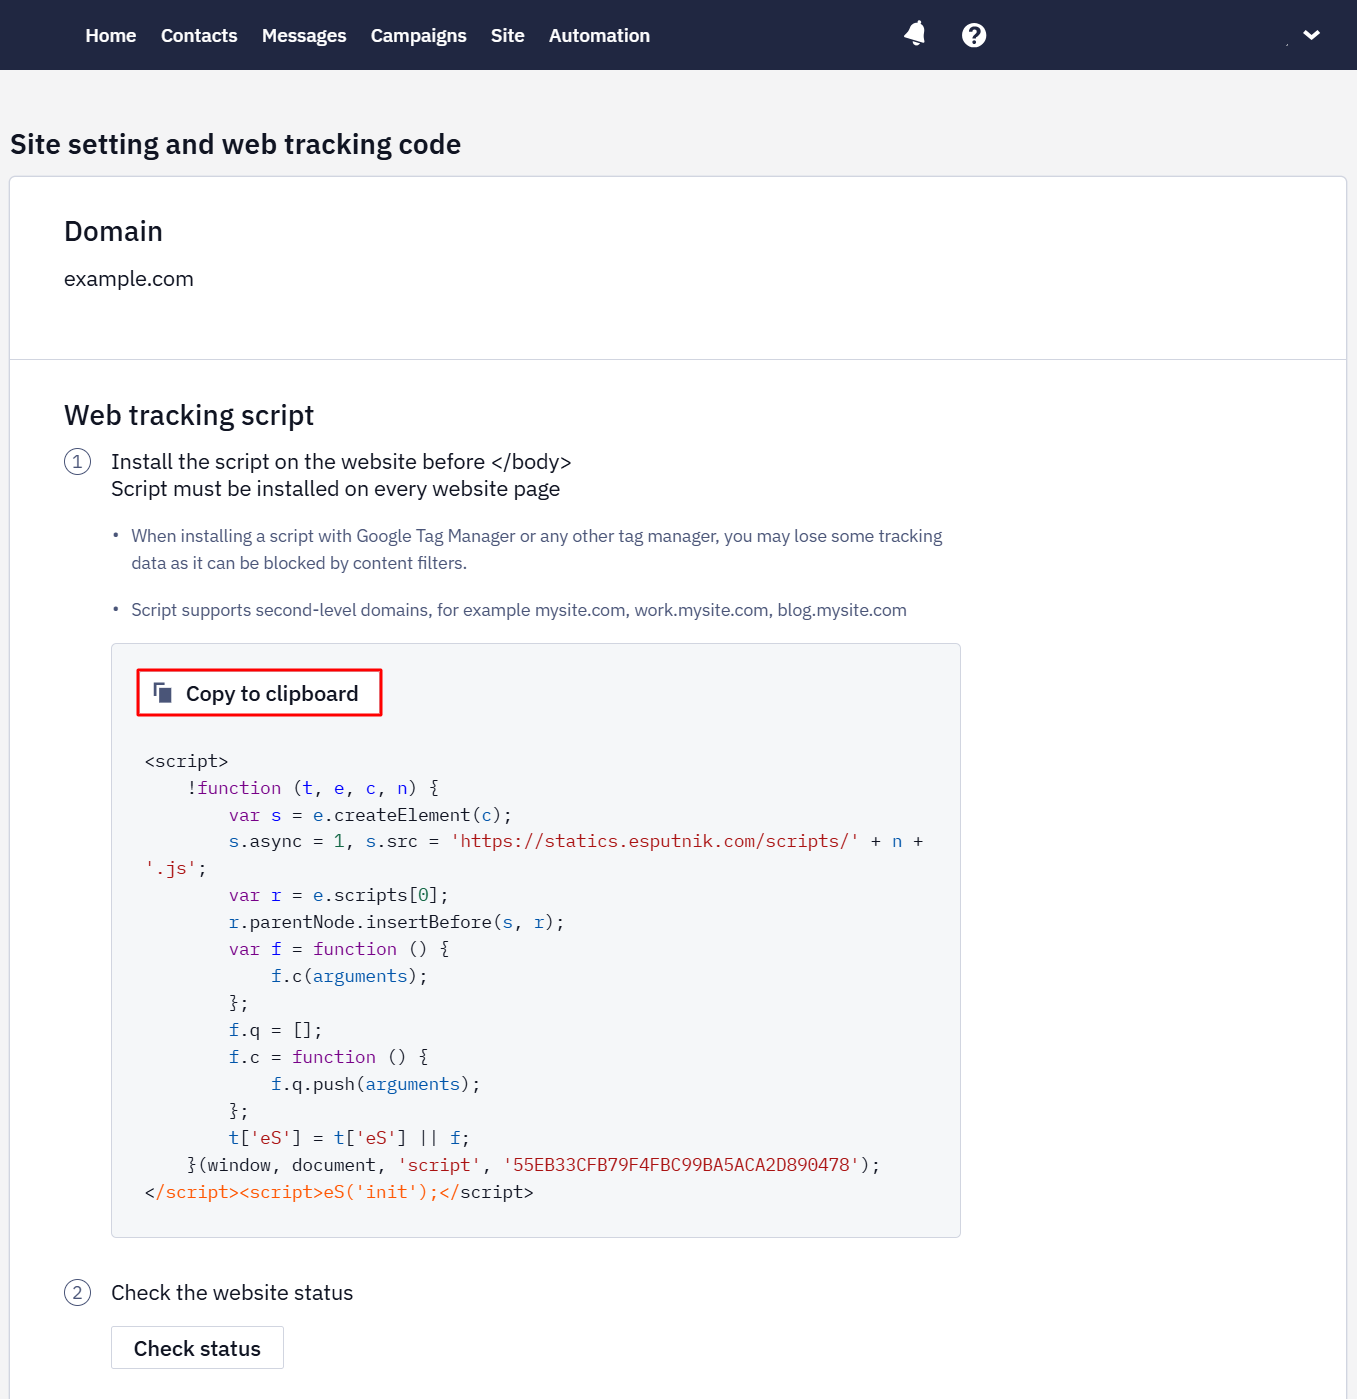
ImportantInstall the script on both desktop and mobile versions of your website.
Checking Script Status
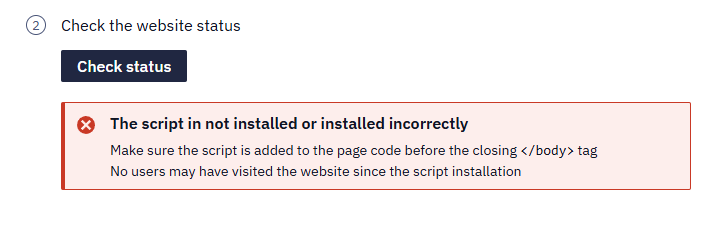
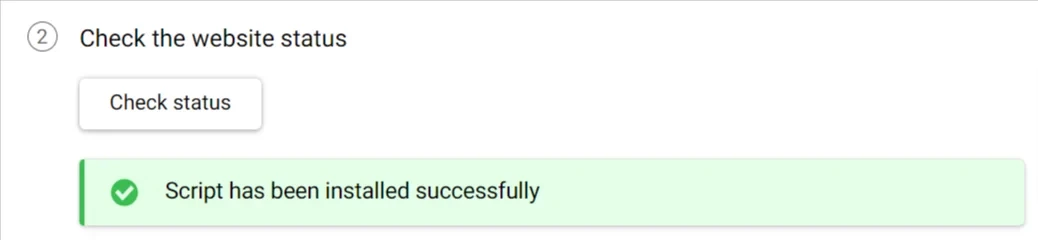
After installing the script, click the Check status button.
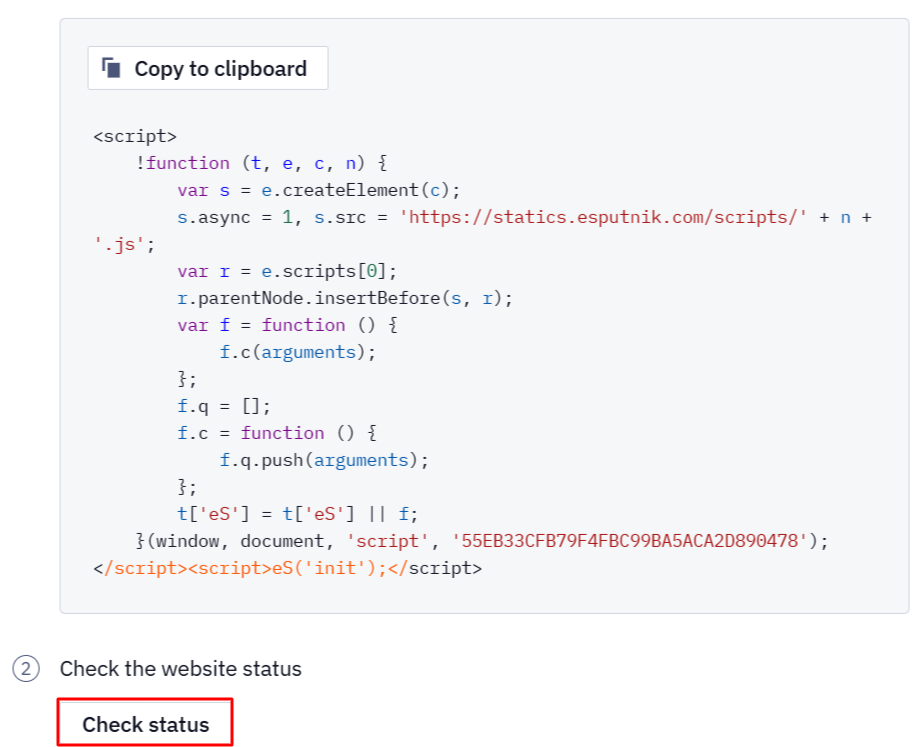
If there are any problems, you will see a warning message with a hint.
When the installation is completed successfully, the status will change.
Now you can return to the main web tracking page, where user activity on your site is tracked (Settings → Web tracking).

Here, you can see the number of page views yesterday and today and how many are unique. The Additional events list will not display statistics until the product feed is loaded into the system and these events are configured. For stable operation of events, we recommend configuring their sending by calling eS.JS functions. This method allows you to independently control the transfer of data and promptly respond to changes on the site.
ImportantIf you install a script via Google Tag Manager or any other tag manager, you may lose tracked data as it may be blocked by content filters.
NoteWeb tracking and App Inbox share the same script. Support can update the tracking domain on their side using an internal tool, without you needing to reinstall the script — unlike an email domain change, which needs full re-verification from scratch.
FAQ
Does installing the script affect SEO? No. Placing it before the closing </body> tag means it loads after your page's content, so it doesn't block rendering or interfere with how search engine crawlers index your page.
Is it safe to install? Yes. The script only collects the behavioral and contact data needed for tracking and doesn't require exposing any sensitive credentials on the page.
Should I load it via a tag manager for better performance? We recommend a direct install instead — as noted above, tag managers can be blocked by content filters, which may cause tracked data to be lost.
Updated 1 day ago