
Creating SMS
SMS is a high-precision customer communication channel. Additional targeting based on geography, interests, etc. allows for achieving maximum effect.
NoteBefore launching an SMS campaign, you need to add the SMS sender ID or set up SMS processing.
Creating New SMS
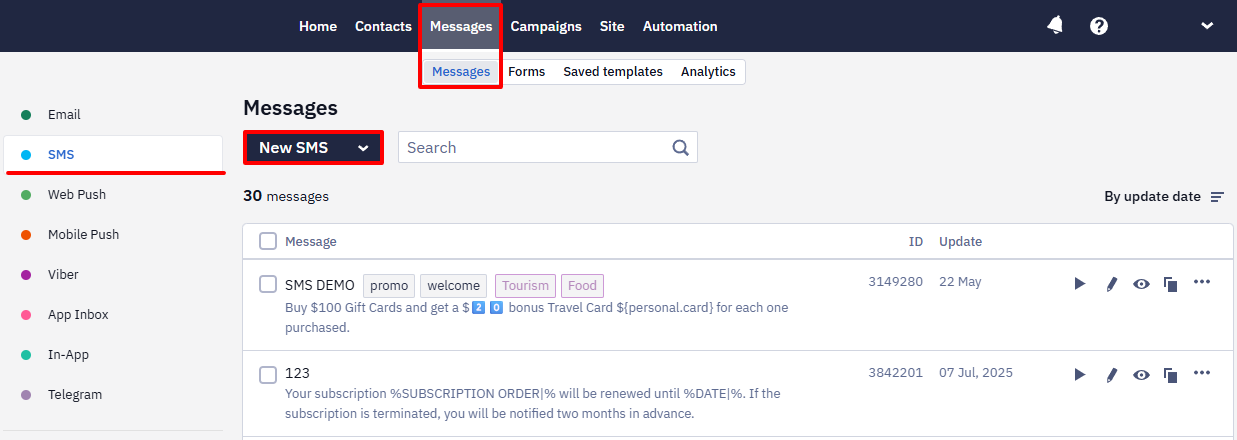
Go to Messages → Messages → SMS. Click the New SMS button.
Main settings
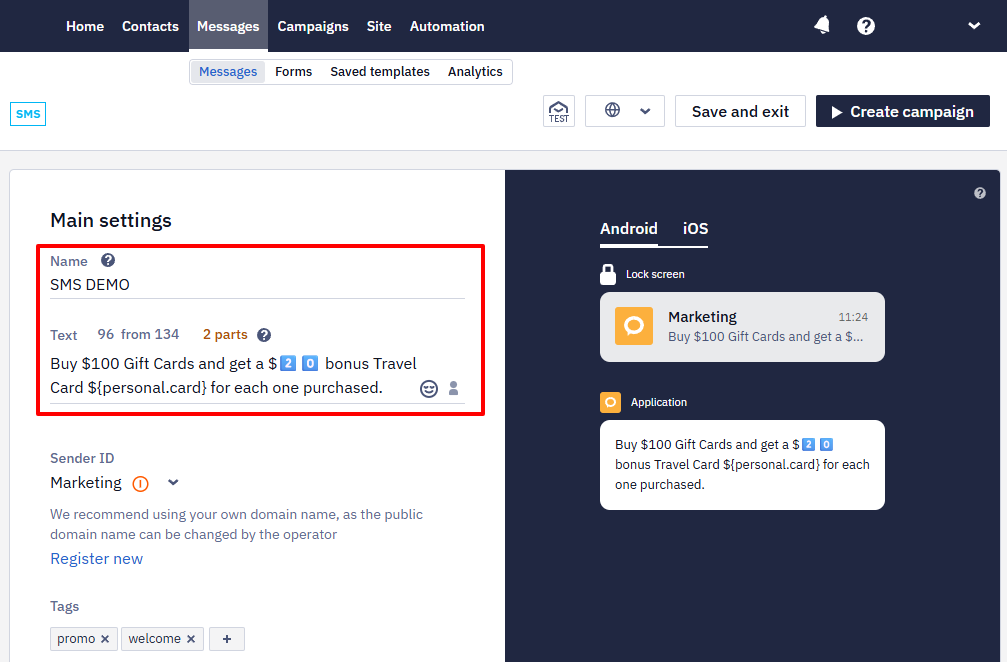
Fill in the following fields:
- Name. The system name that the recipient will not see.
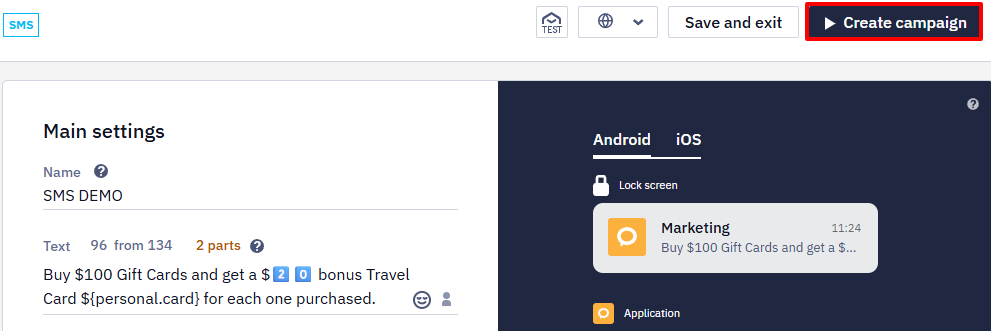
- Text. The main content of the SMS.
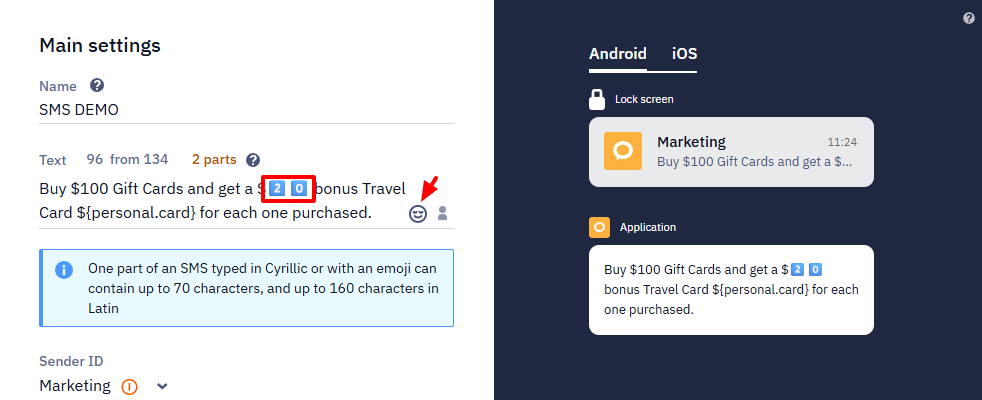
Messages support the use of special graphic symbols — emojis.
NoteSome emojis are not supported — mobile operators replace them with question marks or remove the emoji and the text following it.
Note
- One part of SMS contains 160 Latin characters or 70 Cyrillic characters.
- If the message contains at least one emoji, the maximum number of characters in one part of the message will decrease to 70.
- One individual emoji takes up two regular letter characters.
- When a message is split into several parts, each part fits fewer characters because of service headers: for Latin text — 153 characters per part; for Cyrillic text — 67 characters per part (134 characters for a 2-part message, 201 characters for a 3-part message).
- Each part of the message is charged as a separate SMS when sent.
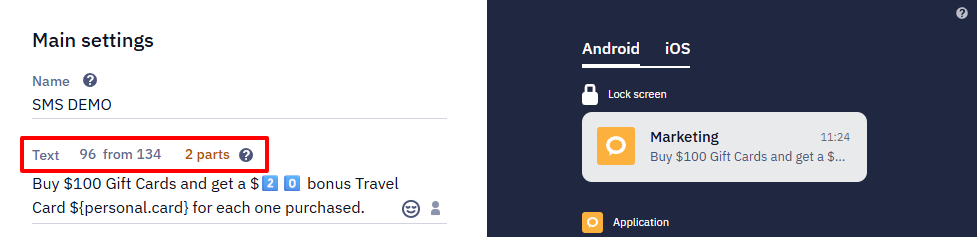
The message editor has counters for the characters and message part to help you control the message's length and calculate the campaign's cost.
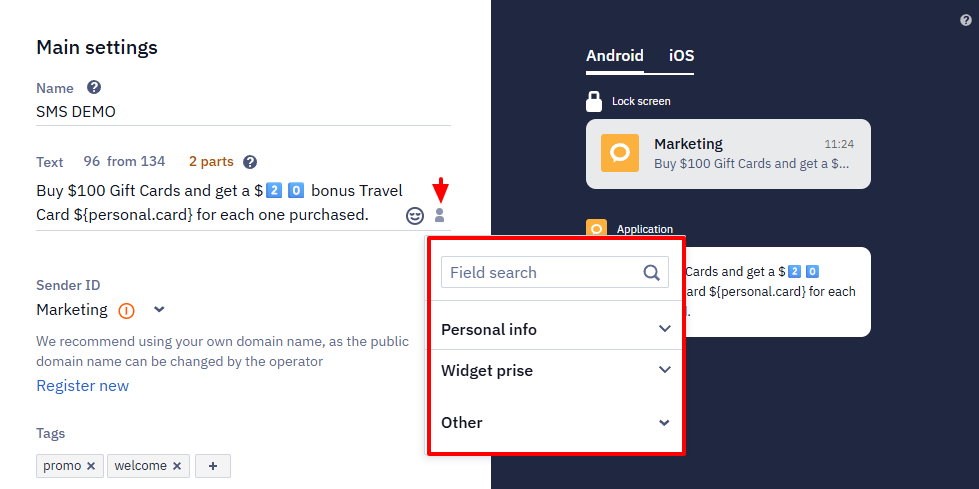
- Personalization. Use the dynamic variables to add a name, city, bonuses or any personal data available in the user profile. Click on the Personalization icon in the Text field to select data.
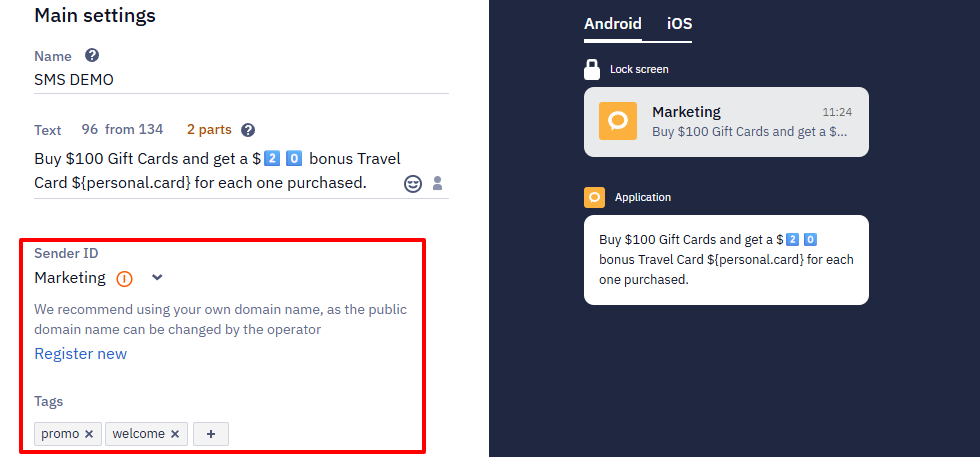
- Sender. The alpha name or the sender name will be displayed to your subscribers while receiving messages. Sender name Marketing is set by default. We recommend using your own domain name, as the operator can change the public domain name. If the message is sent with the Send SMS message resource, the sender comes from the request's
fromfield. - Tags. Use tags to filter search results and set campaign frequency strategy. Select tags from the list or enter a new one and click Enter.
Additional settings
Fill in the following field:
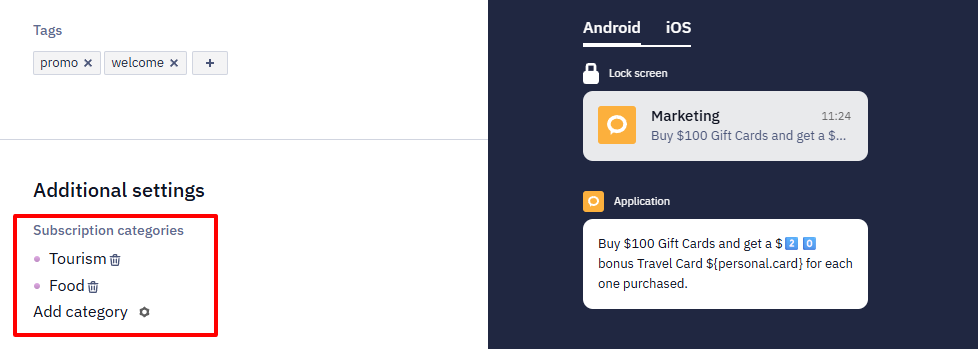
Subscription categories. Manage subscription categories to send messages to your contacts based on their preferences.
Multilingual version (optional)
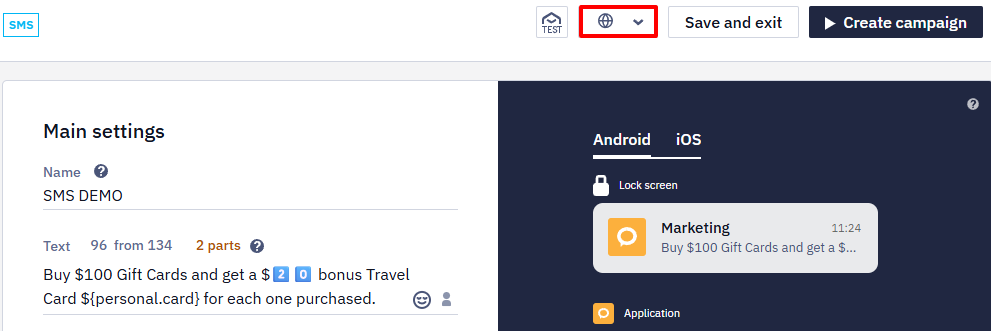
In our platform, you can create a multilingual version of any message. Click the Globe icon in the top panel, specify the default language and add language versions. Fill each version with the content in the corresponding language. You can switch between versions within one template in one click
Learn more about multilanguage >
Testing message
You can test a message in two ways:
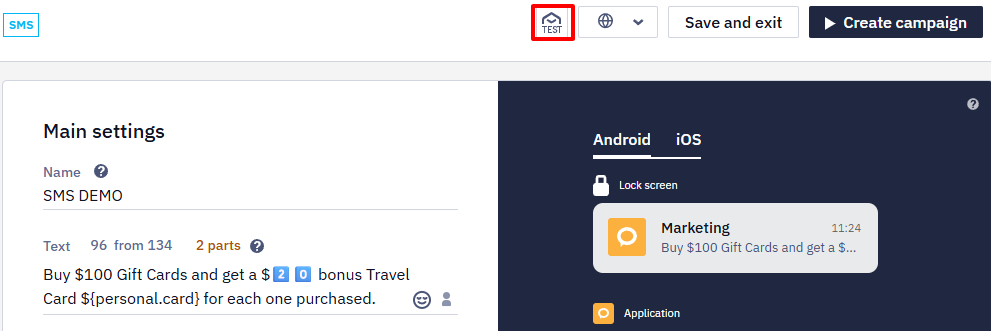
- In the message editor, click the TEST button on the top panel.
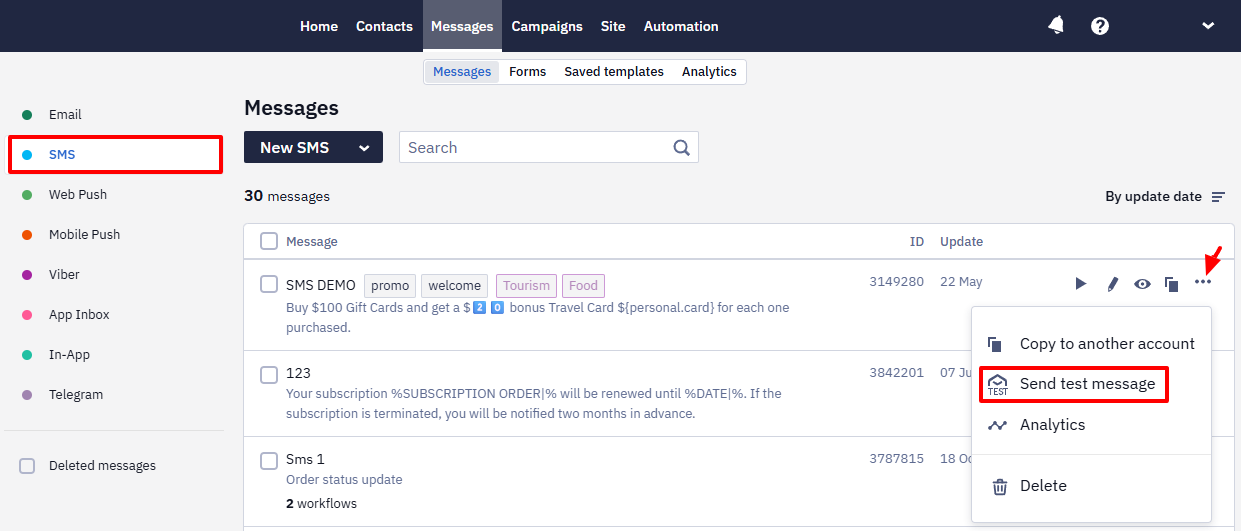
- From the message list — open the menu with three dots to the right of the message name and select Send test message.
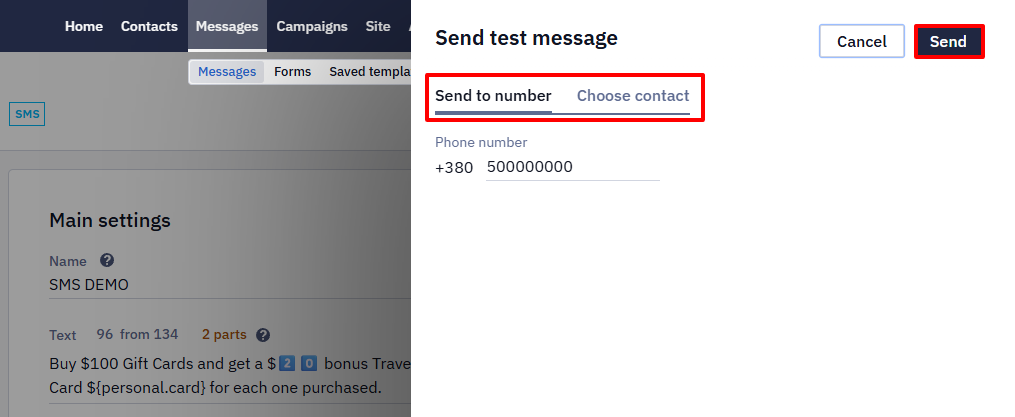
Then follow these steps:
- In a popup window, enter a phone number or select it from the Choose contact tab.
- Click Send.
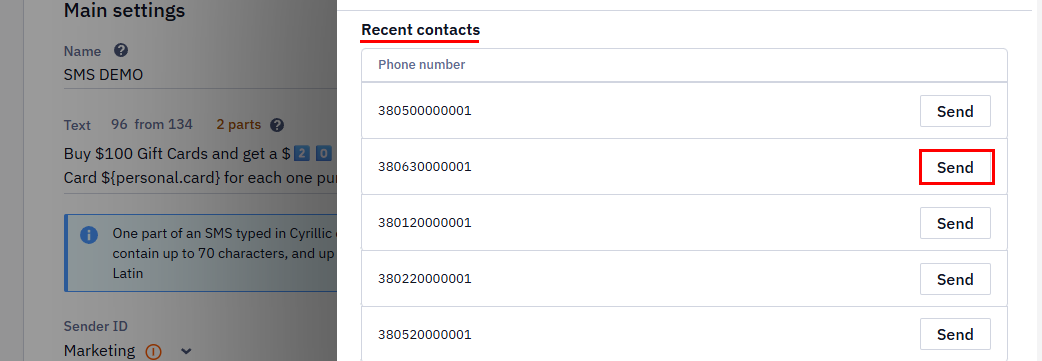
Recent Сontacts
The system stores up to five recently phone nuumbers. To send another test message, click the Send button next to the required contact.
Creating Campaign
-
Click on the Create campaign button.
-
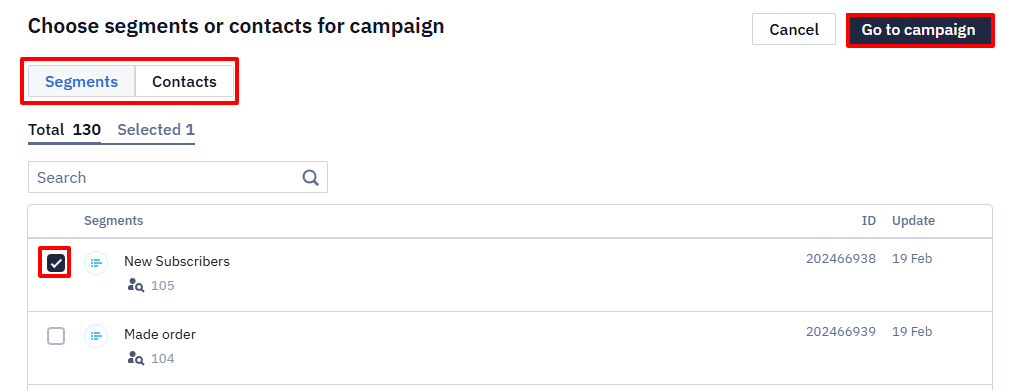
In a popup window, choose segments or contacts for the campaign. Click Go to campaign.
-
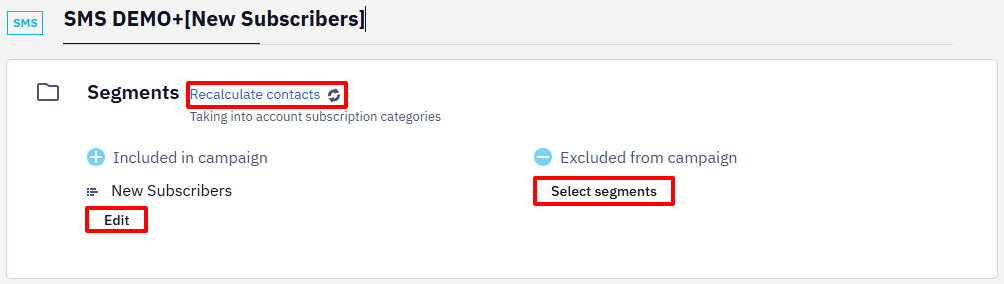
On the general checkout page:
-
In the Segments section, click Recalculate contacts to see the total number of contacts that will receive the notification. You can also edit segments or select new ones.
-
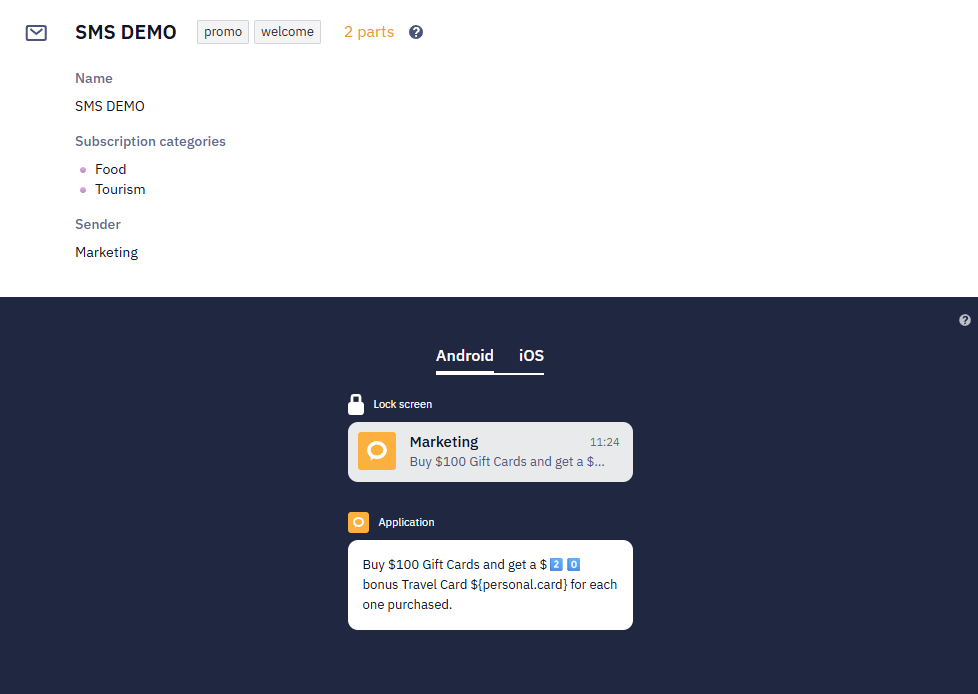
See all the necessary information for verification: Name, Subscription categories, Sender. You can see how the SMS will look on different platforms (Android, iOS).
-
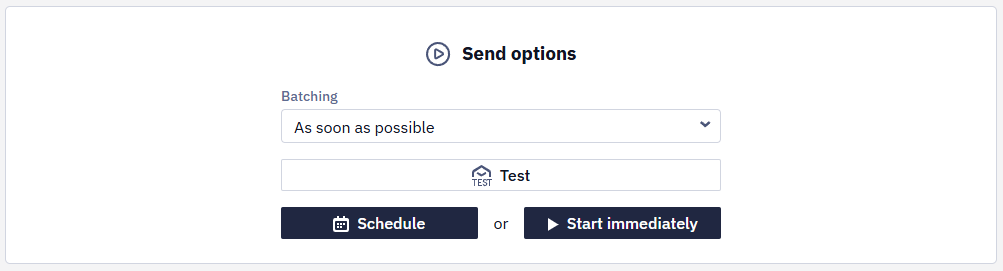
In the Send options, you can set the batching. Click the Start immediately button to launch the campaign. For a delayed start, select the Schedule button and set the date and time of sending.
Updated 24 days ago