Creating a Viber Campaign
Add a sender ID to send Viber via the eSputnik system. You can do this in one of the following ways:
- via message editor,
- via account settings,
- via sending a request to the sales department [email protected]
Creating New Viber Message
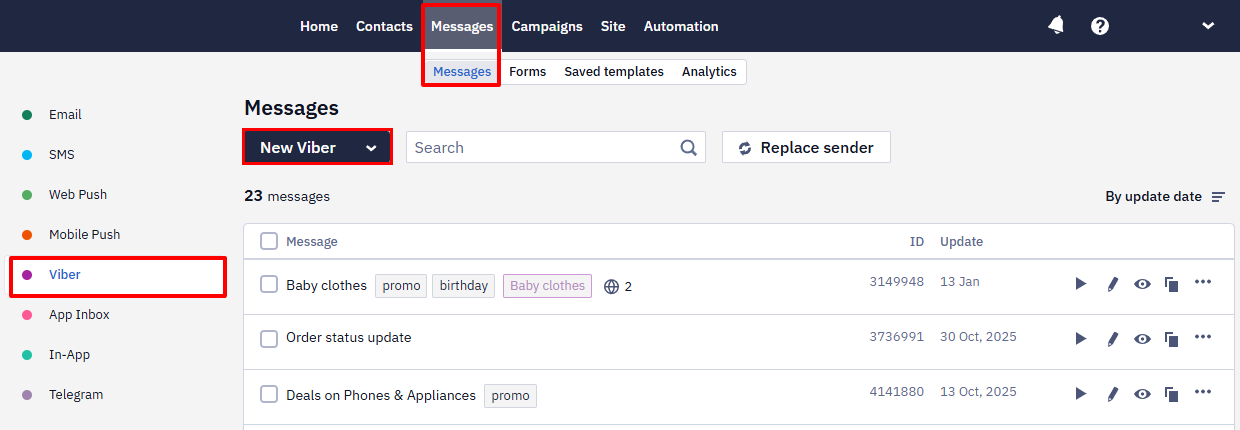
Go to Messages → Messages → Viber. Click the New Viber button.
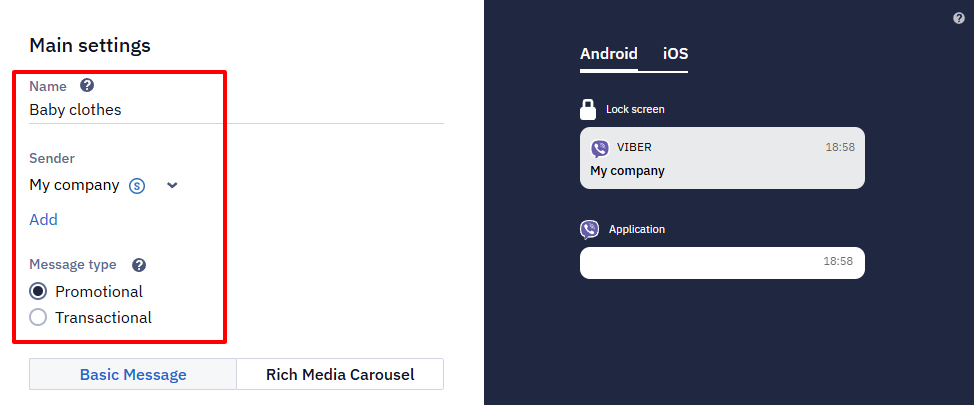
Main settings
Fill in the following fields:
- Name. Enter the message name. This field is used to search for messages in the general list.
- Sender. Sender ID that was added to the system. Users will see it as the sender of the message.
- Message type, depending on the purpose:
- promotional — used to advertise products, promote a brand, or engage customers. Includes text, images, and buttons. That’s why promotional messages cost more than transactional ones.
- transactional — used to send important information, such as order confirmations or delivery status updates. Contains text only.
ImportantBefore sending, Viber should approve the transactional message template. Messages with unapproved text will not be delivered.
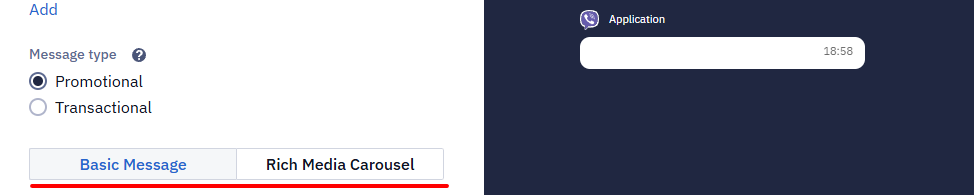
A promotional message can have the following formats:
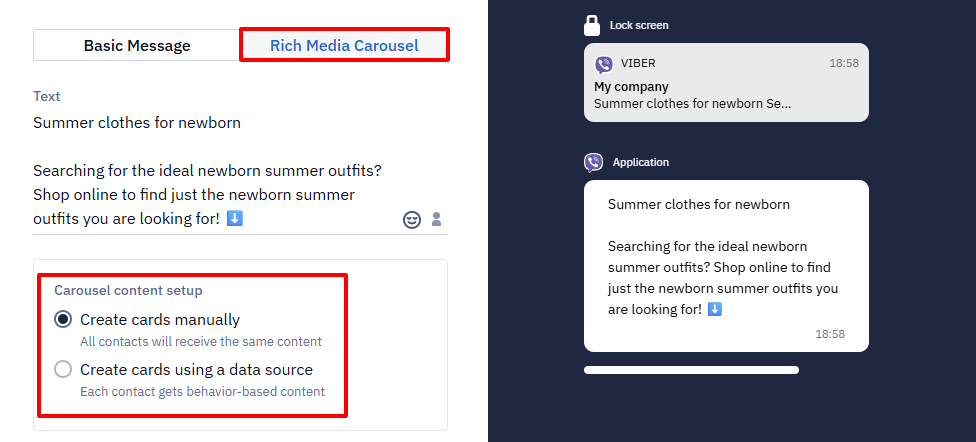
- Basic Message — text with one image and one button.
- Rich Media Carousel — text with multiple images and buttons.
NoteThe Rich Media Carousel message format is available for sending Viber via the following providers:
- Decision Telecom
- GMS Hyber
- Infobip
- SMSBAT
- Streamtools
- TurboSMS
- AlphaSMS
- Omnicell
- Intel Telecom
Learn more about provider technical parameters >
- Text. Fill in the basic information in the message.
The message text may include:
- ordinary text;
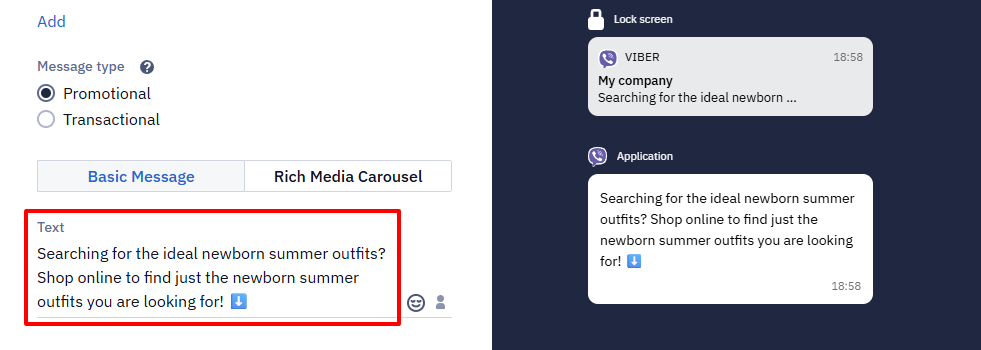
- emoji;
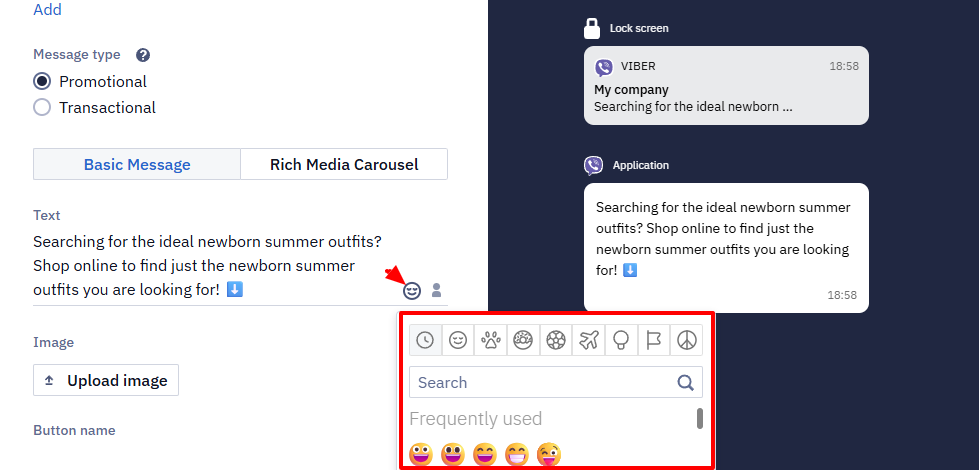
- clickable links that drive additional traffic to the website and allow the recipient to immediately learn more about the promotion or product details.
- a phone number that is clickable, enabling the recipient to make a call instantly.
NoteClicks are tracked for clickable links starting with
http:// andhttps://, as well as for dynamic links, such as$data.get('link').
Known limitationIf click tracking (UTM tags or short links) is enabled for the message,
tel:andmailto:links are wrapped into a tracking short URL — Viber then opens them as regular web links instead of triggering the dialer or mail app. This doesn't affect Rich Media Carousel links, which aren't wrapped. If you need workingtel:/mailto:links in a Basic Message, disable click tracking for that message or use the carousel format instead.
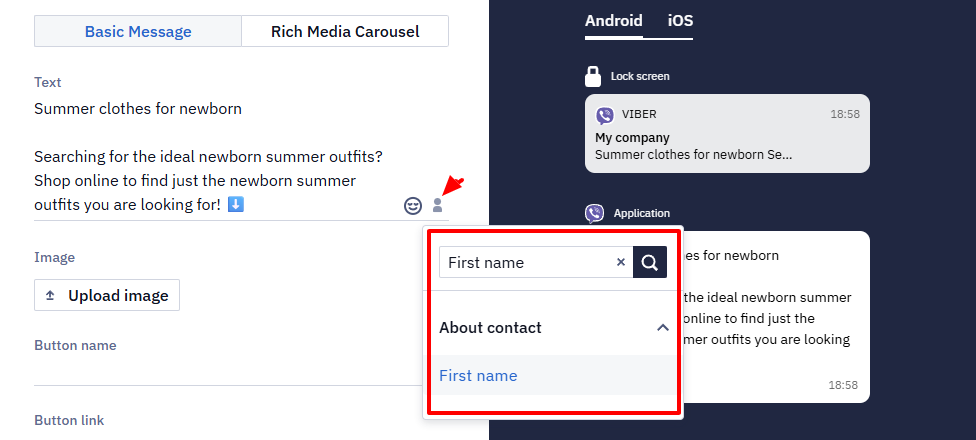
- personalization. Use the dynamic variables to add a name, city, bonuses or any personal data available in the user profile. Click on the Personalization icon in the Text field to select data.
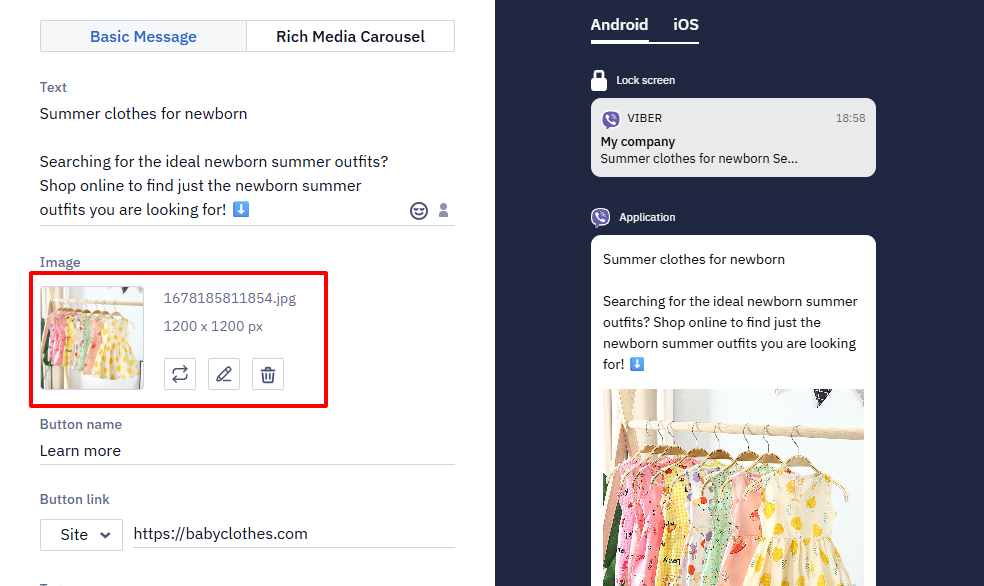
- Image. Upload
JPEGorPNGfile up to 2 MB. It is better to use square images (1:1 aspect ratio). It is recommended to use square images (aspect ratio 1:1) as they display correctly on all devices, even when scaled. You can also use a variable or a link to the image. Use only thehttpsprotocol for direct references in expressions.
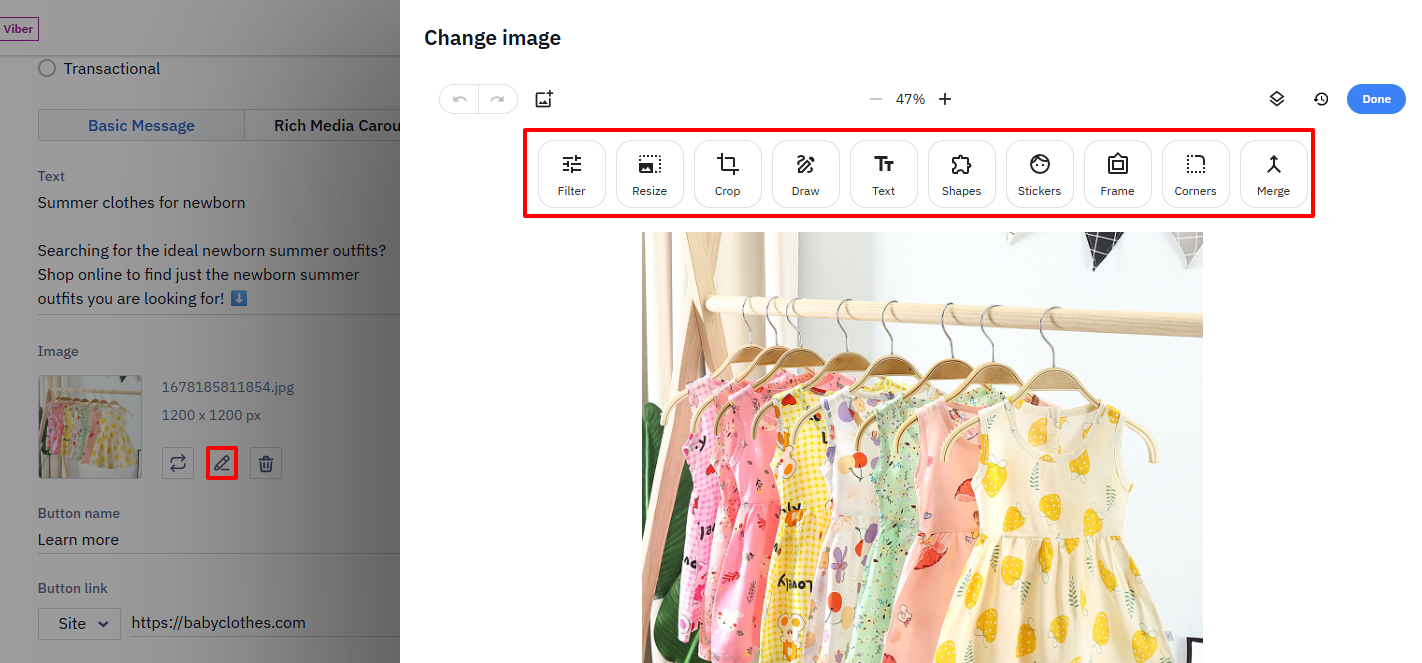
NoteYou can edit the image directly in the editor when uploading (if it does not meet the requirements) or after uploading (the Edit button). After editing, the image is saved in
PNGformat.
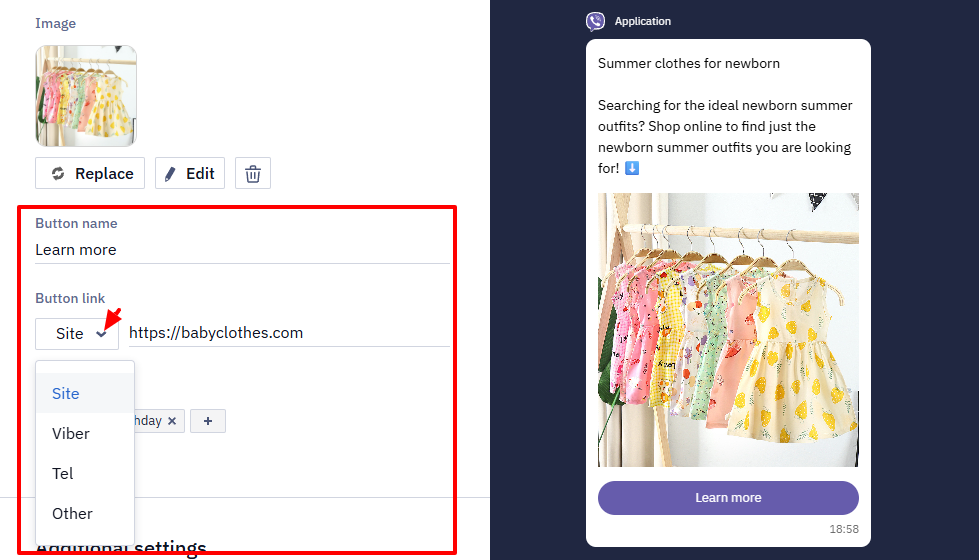
- Button. You can add one button with the following parameters:
- Name — display text on a button.
- Link — a website link, phone number, Viber, and other.
Rich Media Carousel
The Rich Media Carousel is a format that allows displaying up to 5 product cards in a single message (2 minimum).
In the carousel content setup, select the method for creating cards:
- Manually — all contacts will receive the same content.
- Using a data source — each contact gets behavior-based content (for example, viewed products, abandoned cart, etc.). For more details, see the article Recommendations in Viber Messages.
For each card, select an image and fill in the following fields:
- a title (up to 38 characters);
- the name (up to 10 characters) and link for the primary button;
- the name (up to 12 characters) and link for the secondary button (optional).
ImportantCharacter limits for the title and button names apply only to static values. For dynamic expressions (Velocity), these limits are not shown in the editor but are validated during sending. If the substituted value exceeds the limit, the message will not be sent. Velocity can be used in all fields of the Rich Media Carousel.
NoteFor button links in Basic Messages and in the Rich Media Carousel:
- The Other parameter is intended for dynamic links. For example,
$data.get('link').- Click tracking works only for
http://orhttps://links used in the Site and dynamic links used in the Otherparameters.
- Tags. Select tags from the list or enter a new one and click Enter. Use tags to filter search results and set campaign frequency strategy.

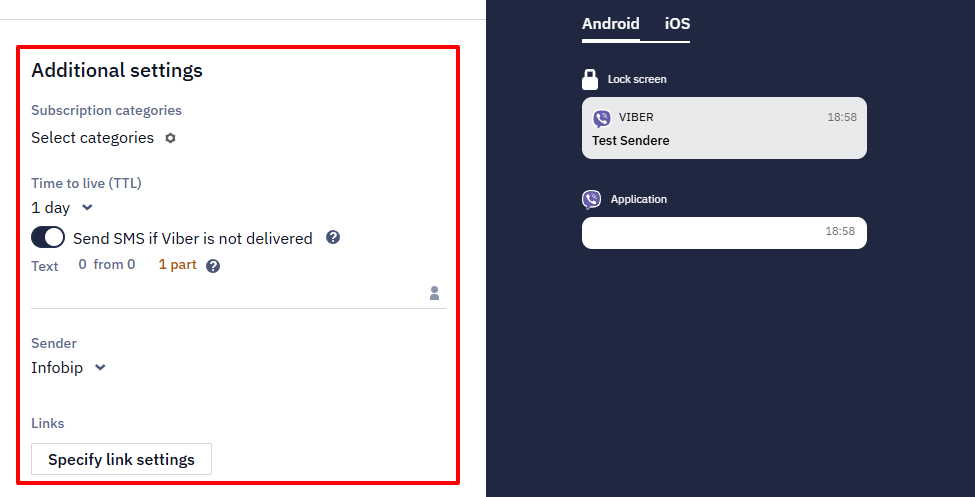
Additional settings
Fill in the following fields:
- Subscription categories. Manage subscription categories to send messages to your contacts based on their preferences.
- Send SMS if Viber is not delivered. If you use the services of a Viber provider, you can automatically send SMS to contacts who do not have a Viber account. To do this, activate the appropriate option and enter the text of the SMS message. The sender of such SMS can only be the same as for Viber campaign.
- Time to live (TTL). Set the period after which the message will not be displayed if it has not been delivered to the contact by that time.
- Links. Configure link settings for UTM tags. Learn more >
NoteIf your account does not have the Send SMS if Viber is not delivered option, please send a request for activation to [email protected].
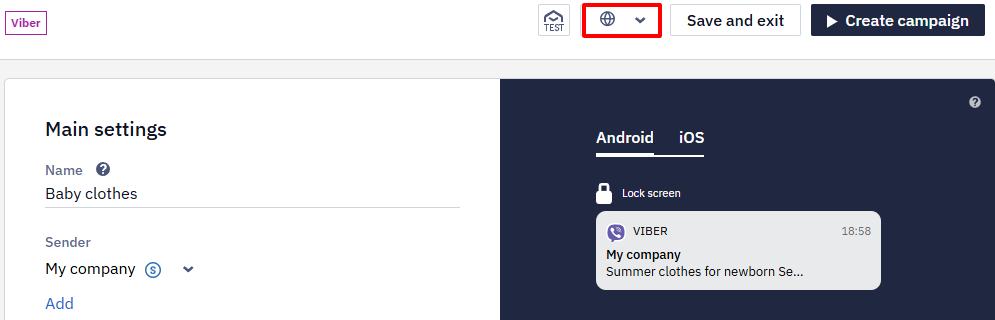
Multilingual version (optional)
In our platform, you can create a multilingual version of any message. Click the Globe icon in the top panel, specify the default language, and add language versions. Fill each version with the content in the corresponding language. You can switch between versions within one template in one click.
Learn more about multilanguage >
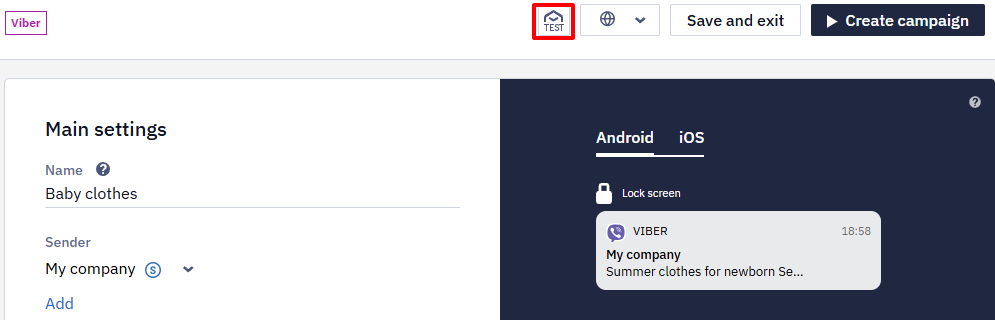
Testing Message
You can test a message in two ways:
- In the message editor, click the TEST button on the top panel.
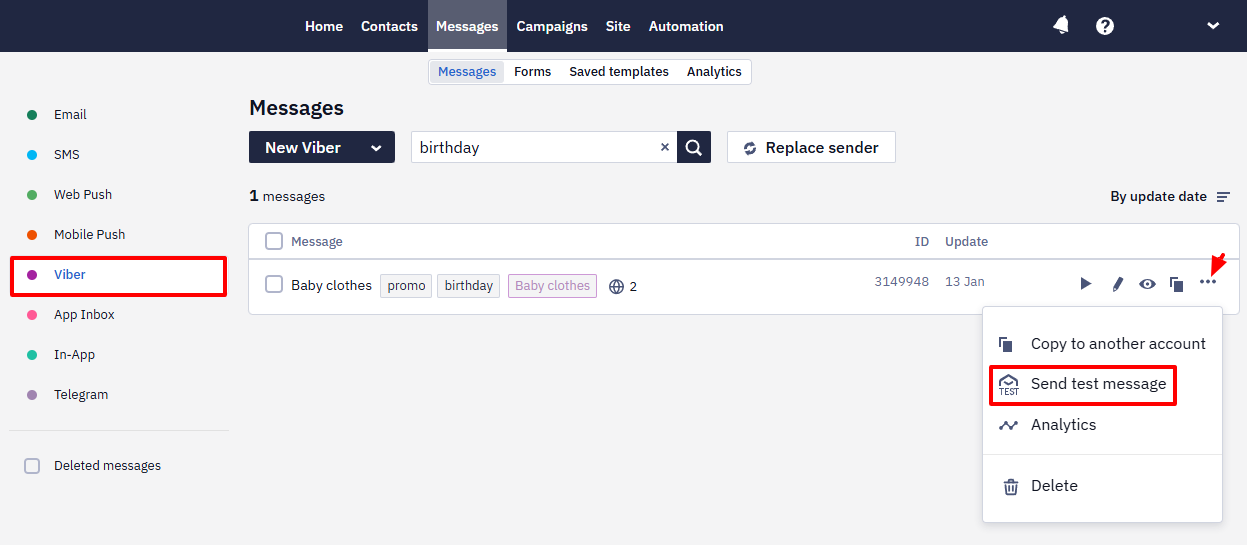
- From the message list — open the menu with three dots to the right of the message name and select Send test message.
Then follow these steps:
- In a popup window, enter a phone number or select it from the Choose contact.
- Click Send.
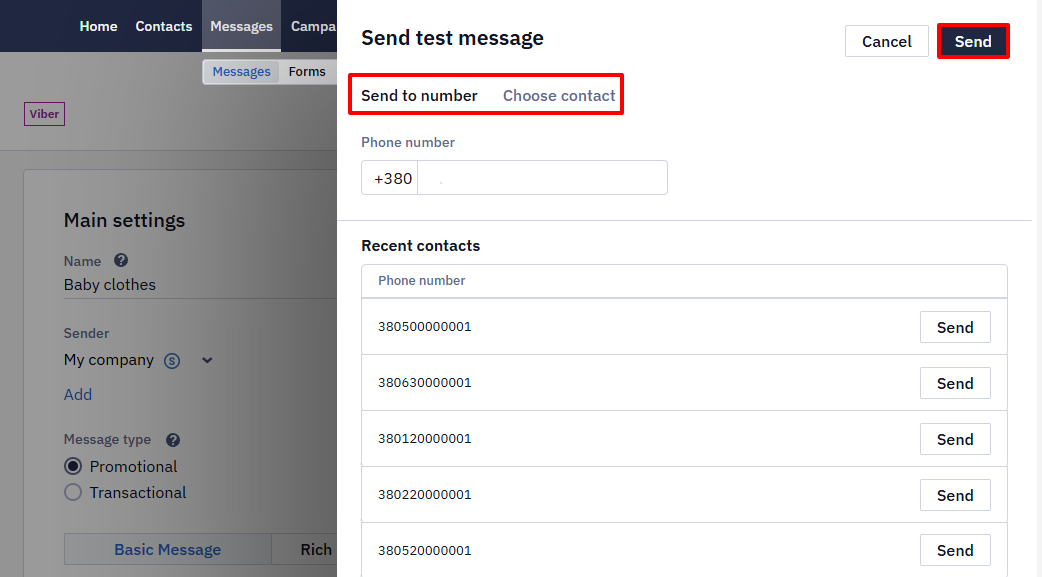
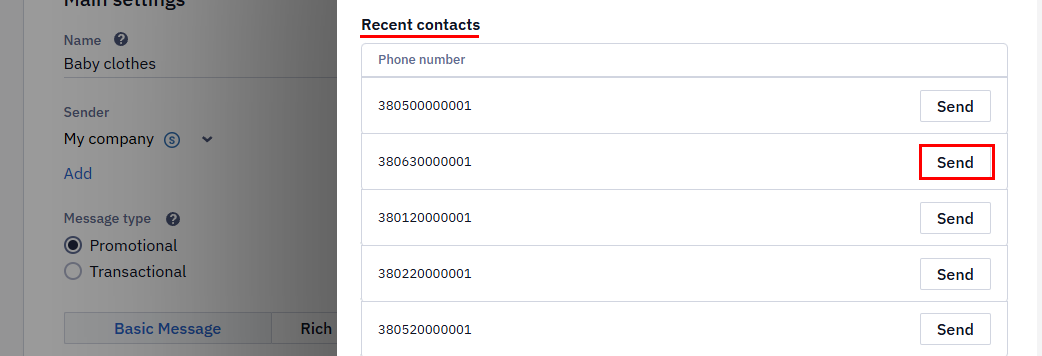
Recent Сontacts
The system stores up to five recently contacts. To send another test message, click the Send button next to the required contact.
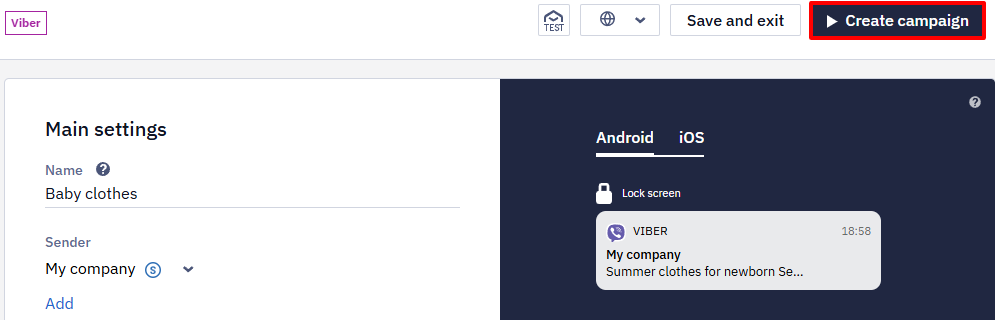
Creating Campaign
- Click on the Create campaign button.
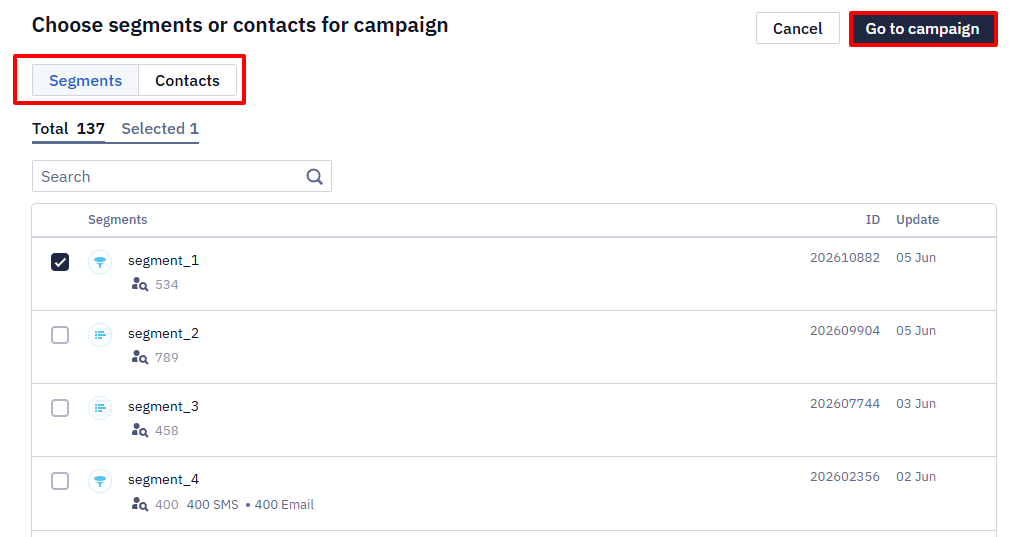
- In a popup window, choose segments or contacts for the campaign. Click Go to campaign.
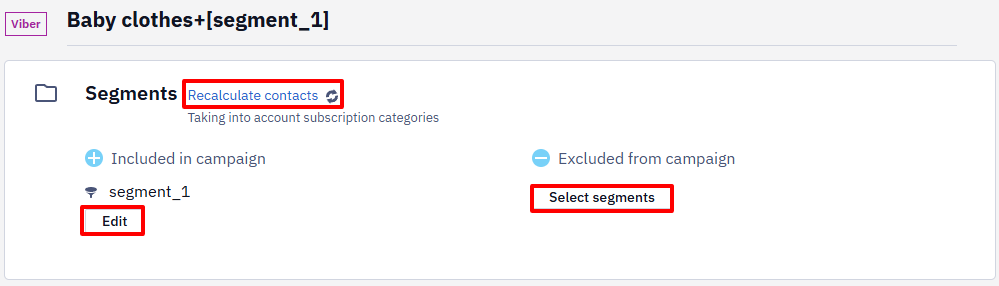
- On the general checkout page:
- In the Segments section, click Recalculate contacts to see the total number of contacts that will receive the notification. You can also edit segments or select new ones.
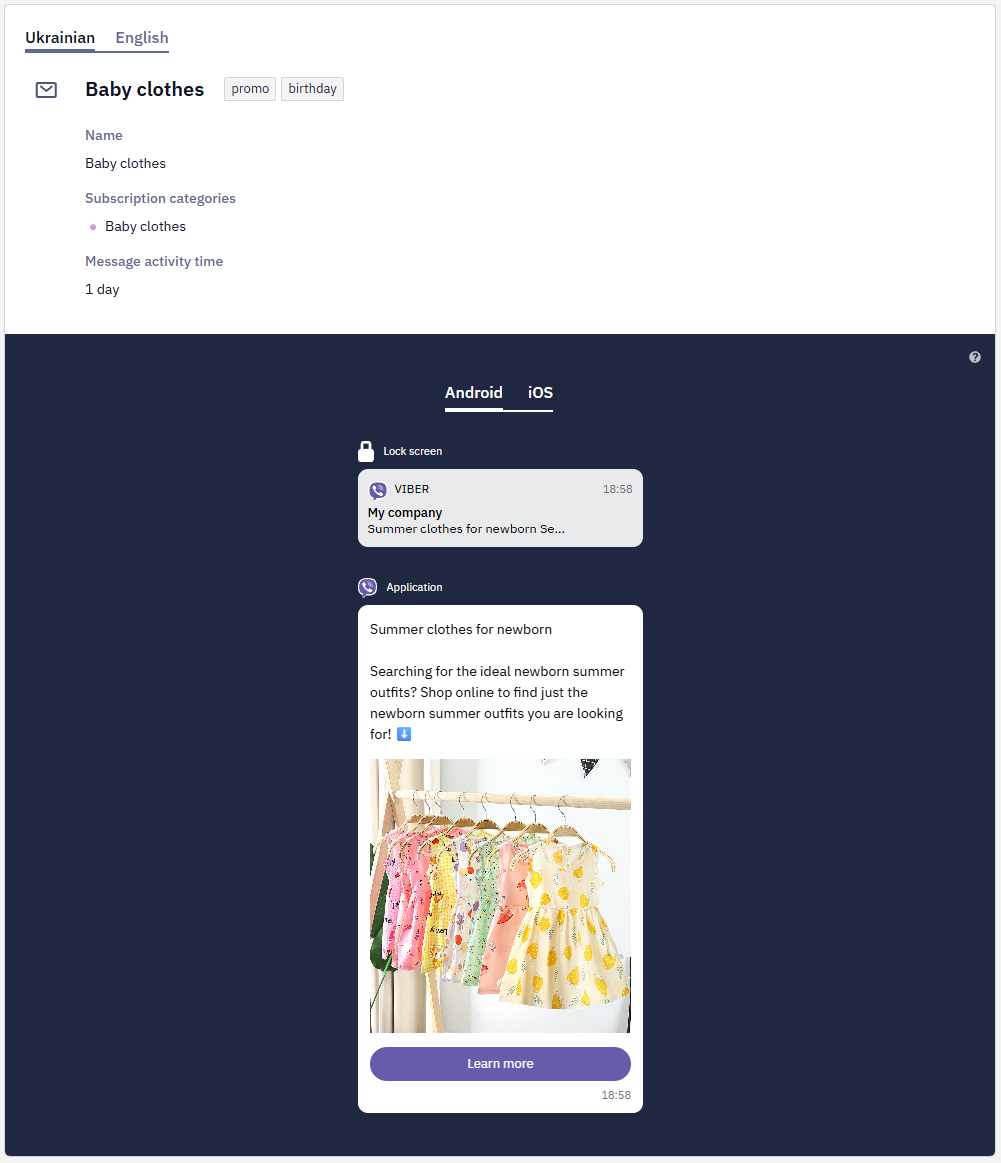
- See all the necessary information for verification: Name, Subscription categories, Message activity time. You can see how the message will look on different platforms (Android, iOS).
- In the Send options, you can set the batching. Click the Start immediately button to launch the campaign. For a delayed start, select the Schedule button and set the date and time of sending.

Updated 6 days ago