
Editing Cards in the Products Block
The Products block displays recommended offers in the email. You can modify the appearance of product cards and save them as modules for reuse in other messages.
NoteBefore editing product cards, make sure you have configured structure and data substitution rules
Editing a Product Card
- Open an existing email or create a new one.
- Drag the Products block into the message content area.
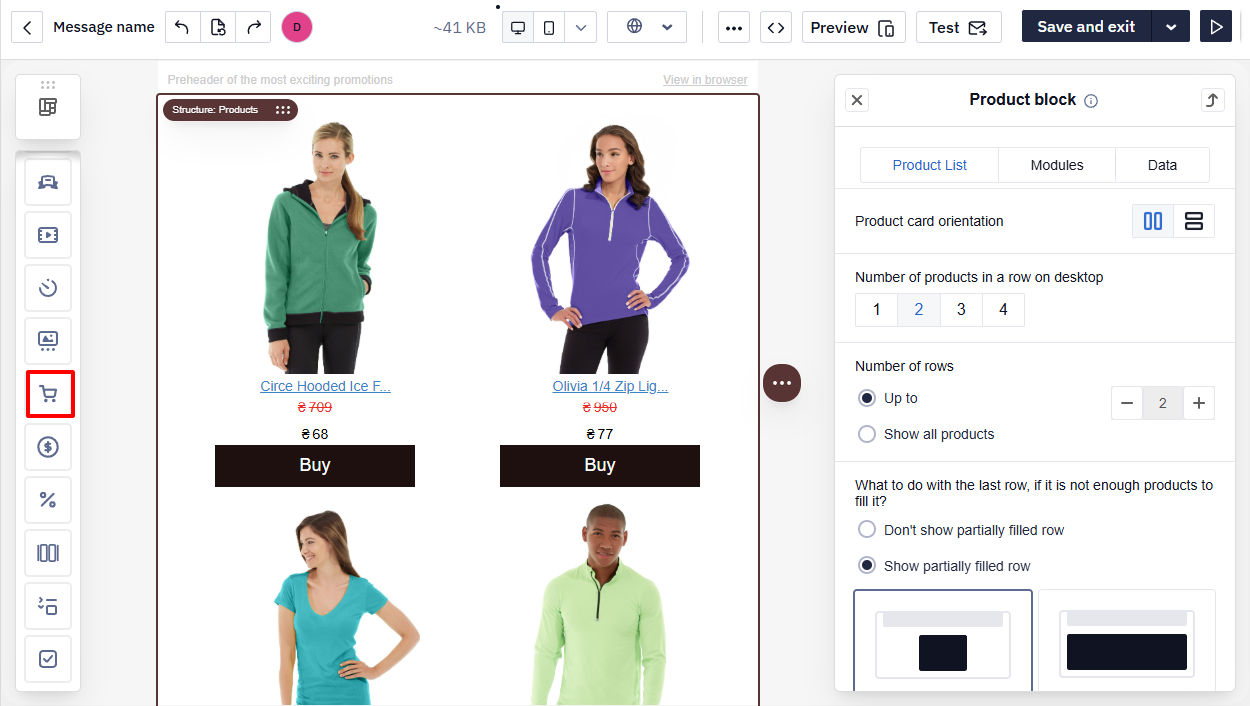
- Open the Structures & Modules panel.
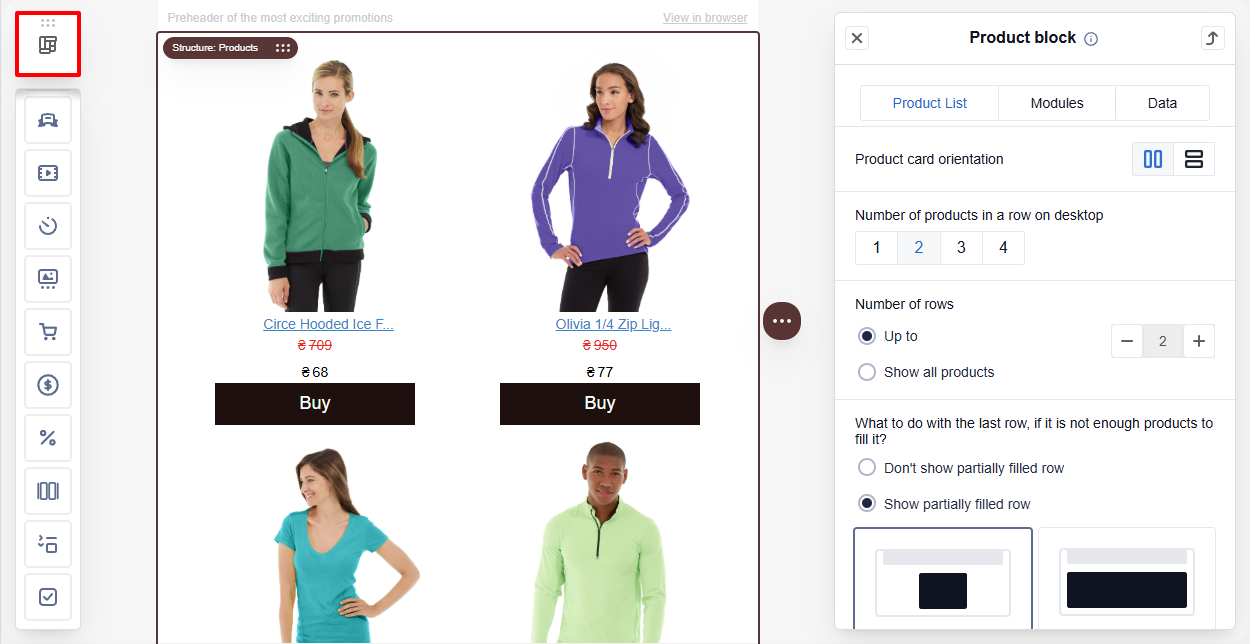
- Drag a structure into the message.
The structure is used only for editing. You can delete it after updating the module.
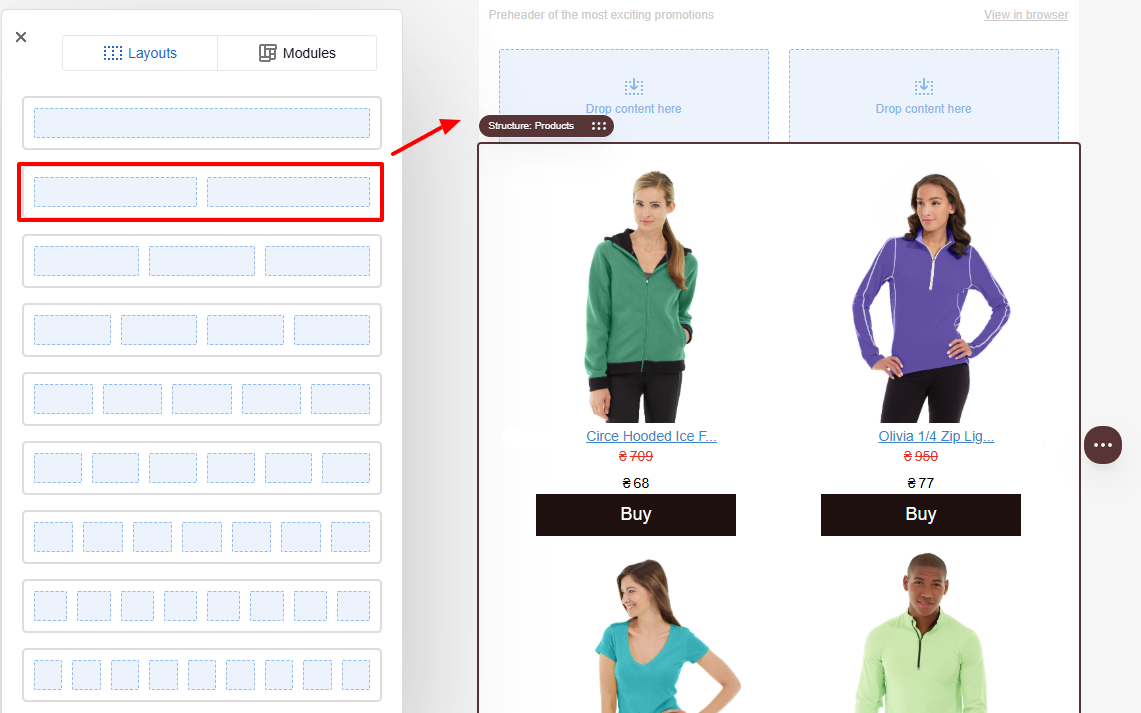
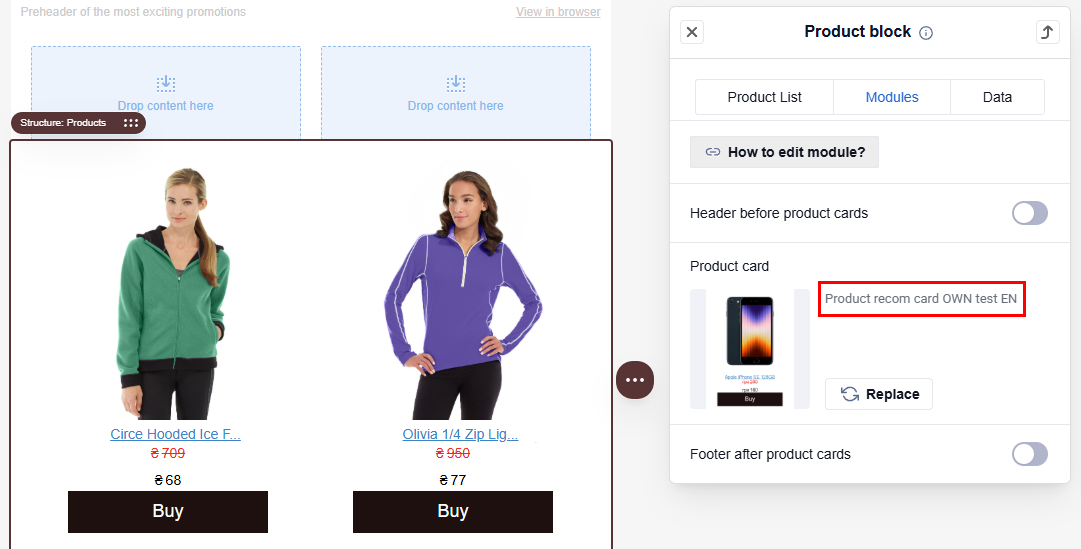
- Click the Products block and go to the Modules tab.
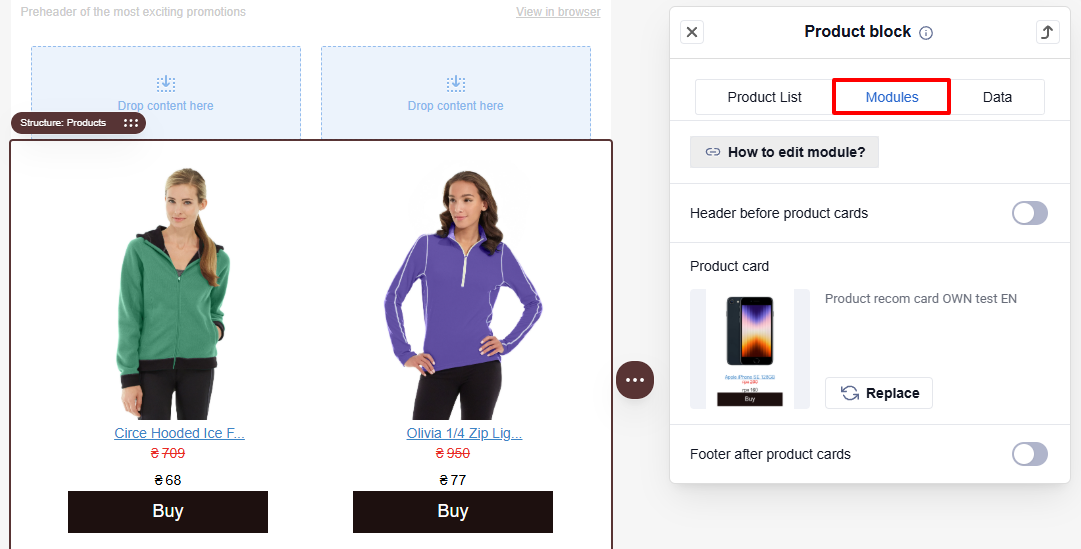
- In the Product card section, copy the module name used in the block.
- Go to the Modules → My modules.
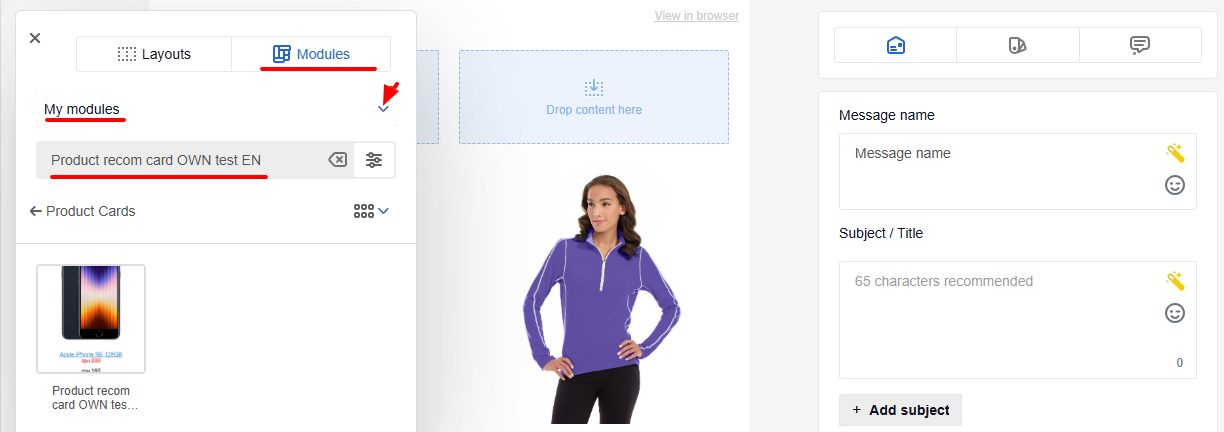
- Paste the module name into the search field.
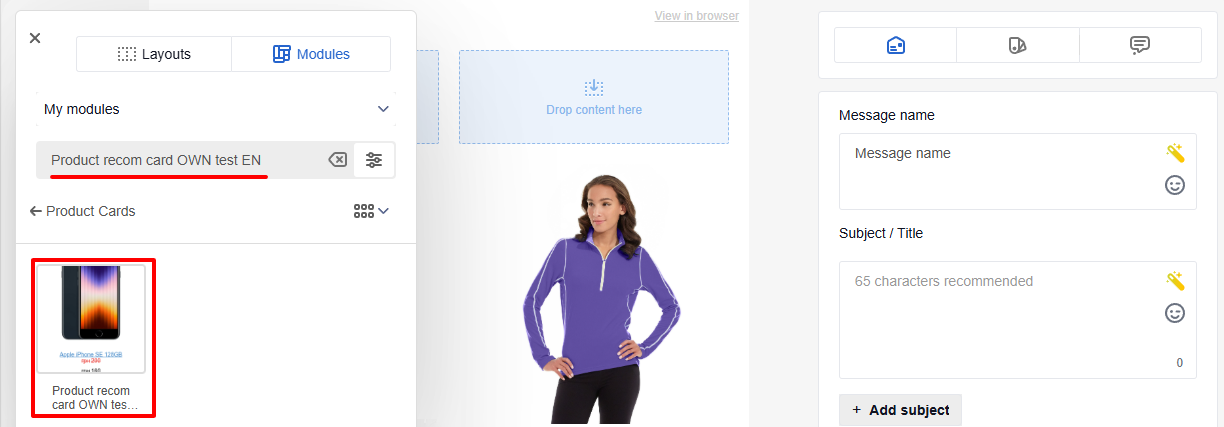
NoteIf the module is not found, the block uses a default module. Open General modules and find it there.
- Drag the module into the added structure.
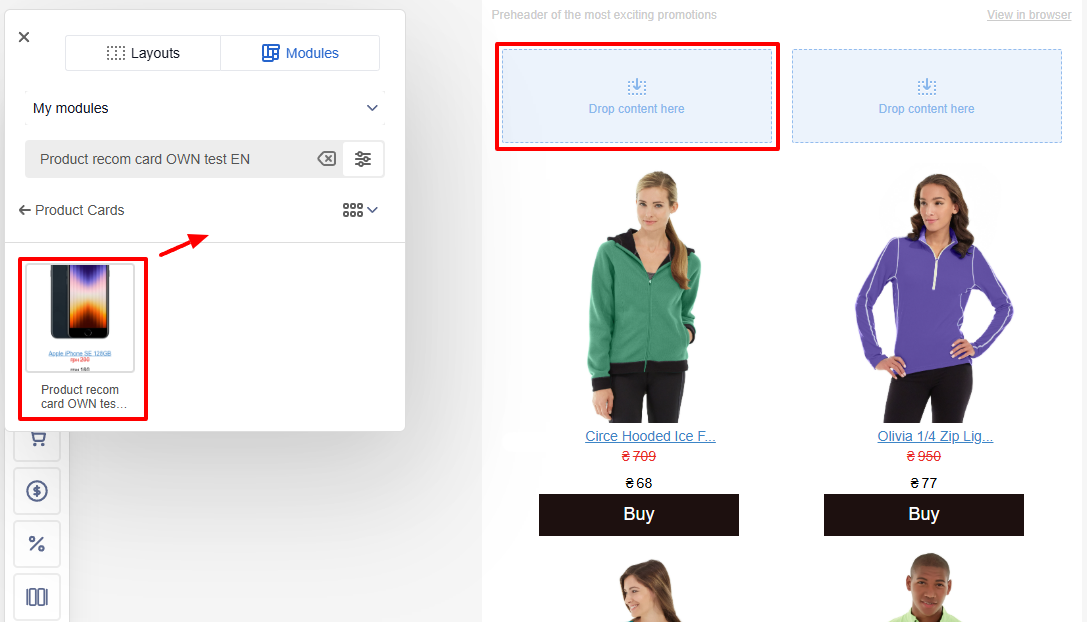
- Make the required changes (for example, update the button color).
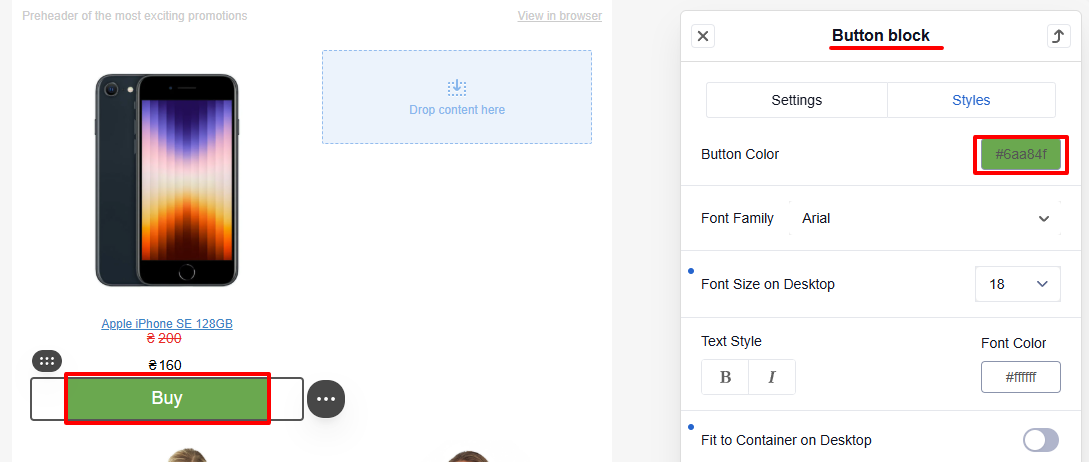
NoteSet the currency symbol and its position in Settings → My account. New and updated Price blocks use that format; a block already added to a card keeps the previous one until you update it manually.
What a Card Can't DoA card is rendered as static HTML, so effects that depend on the pointer — swapping the image on hover, for example — are not part of the block. Such an effect takes custom development outside the block, and it would work on desktop only, since there is no hover on mobile.
Adding Product Parameters
By default, the product card includes variables for:
- Link
- Name
- Price
- Image
- Old Price
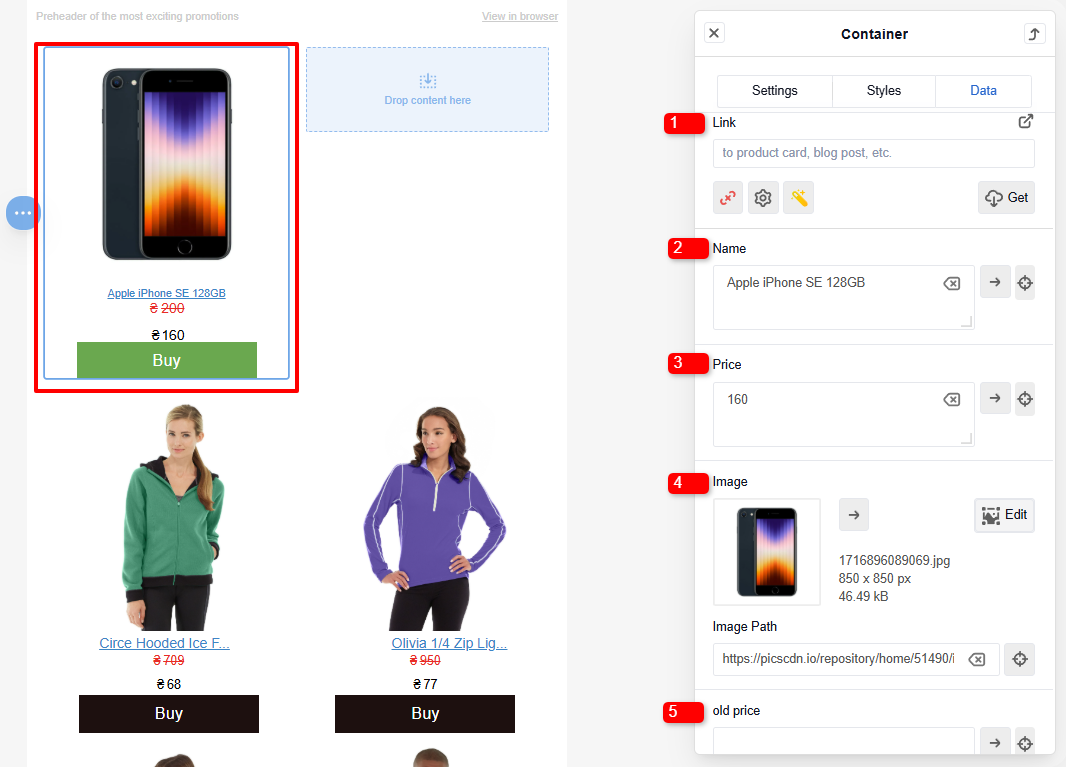
You can add additional parameters from the product feed. Example: adding product category
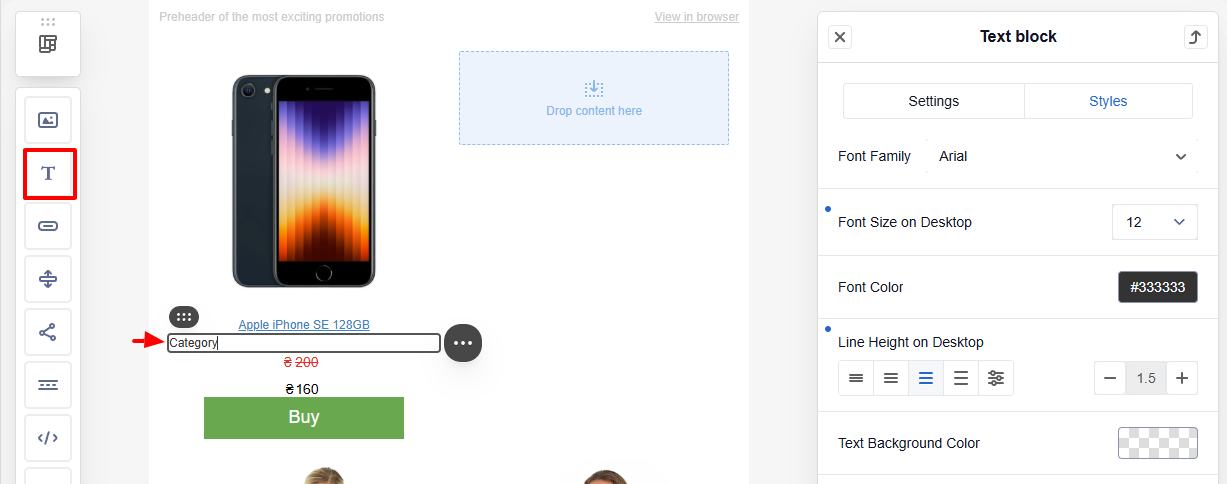
- Add a text block inside the product card.
- Enter placeholder text, for example: Category.
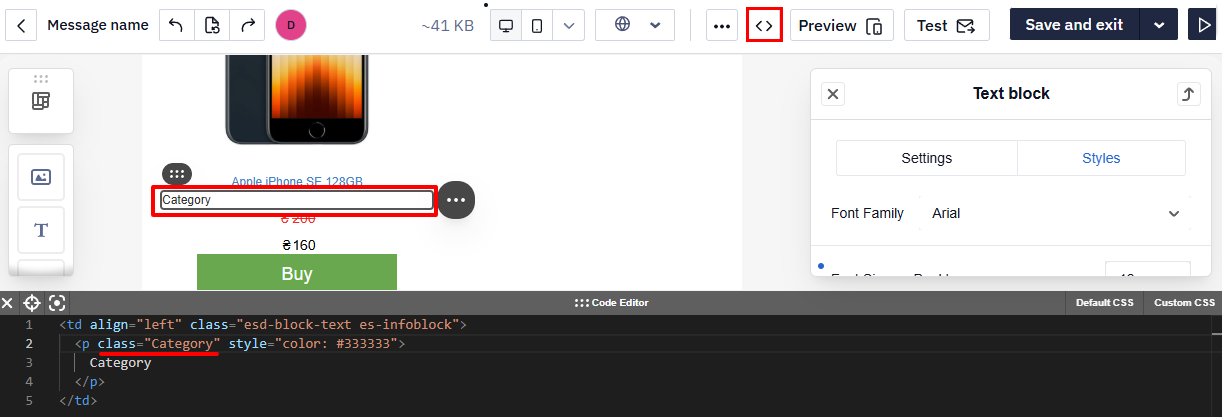
- Open the block code and add:
class="Category".
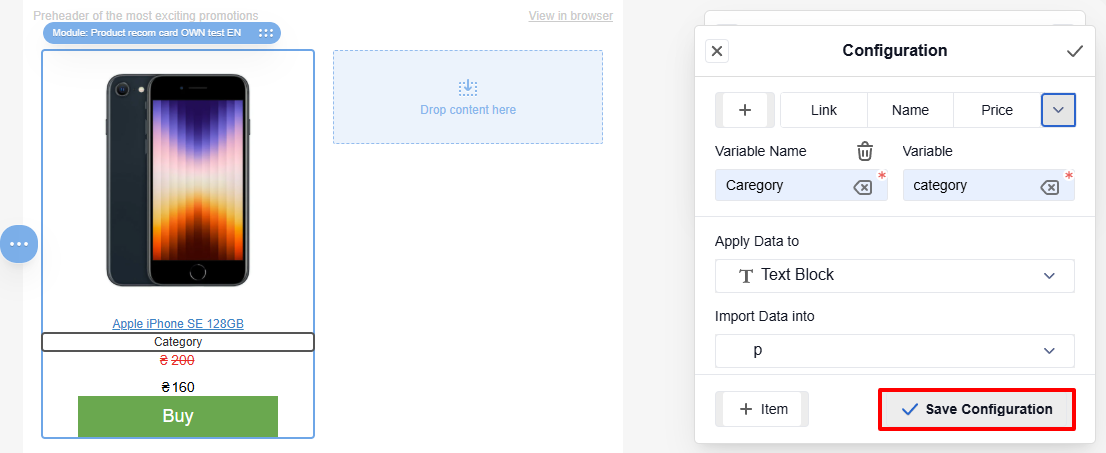
- Select the module and go to Data → Configuration.
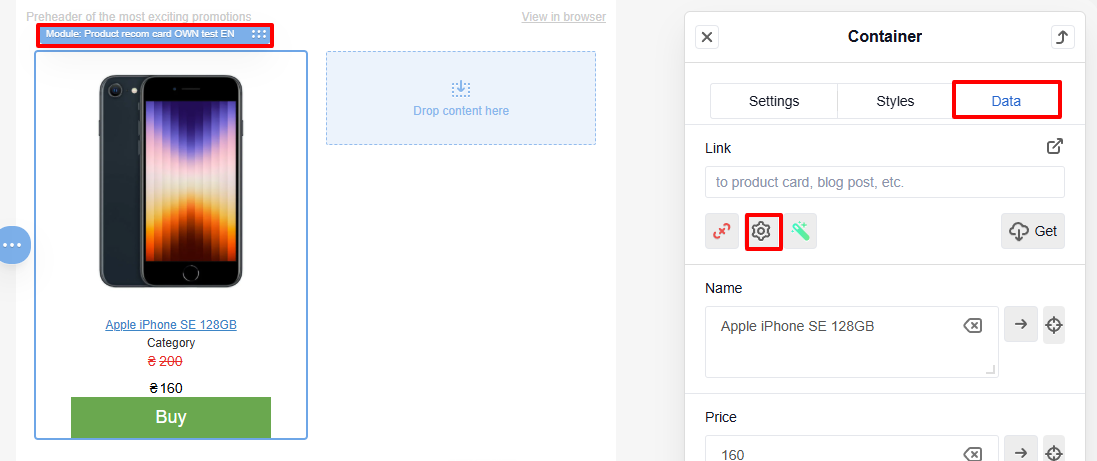
- Click + and add:
- Variable name: Category
- Value:
category
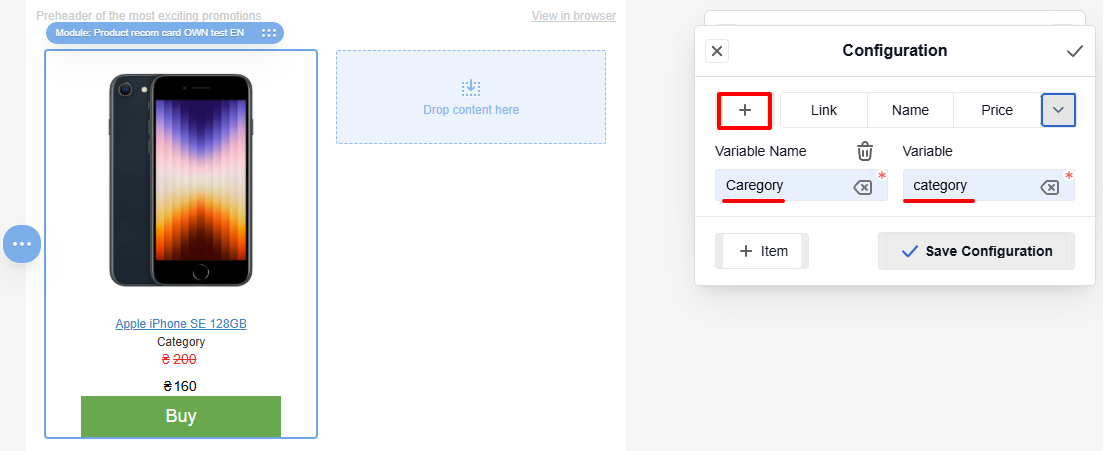
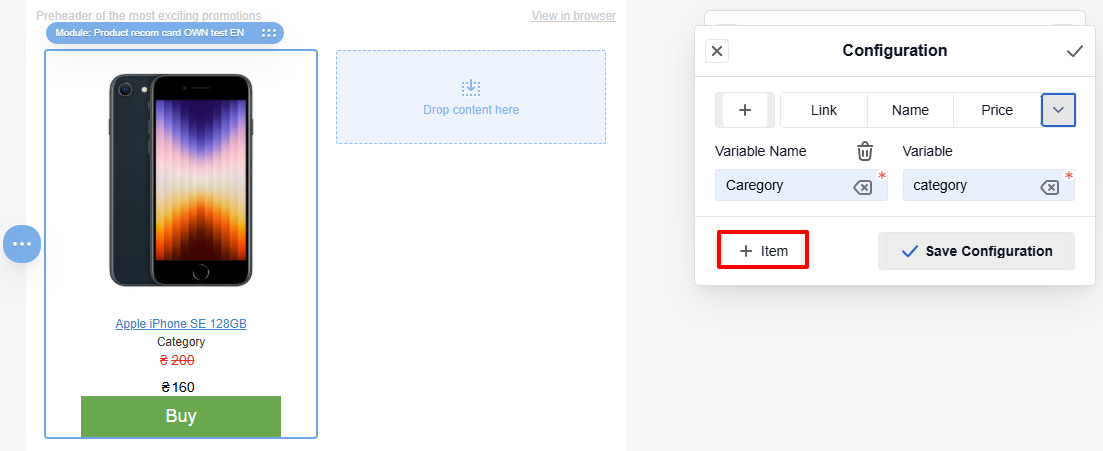
- Click + Item.
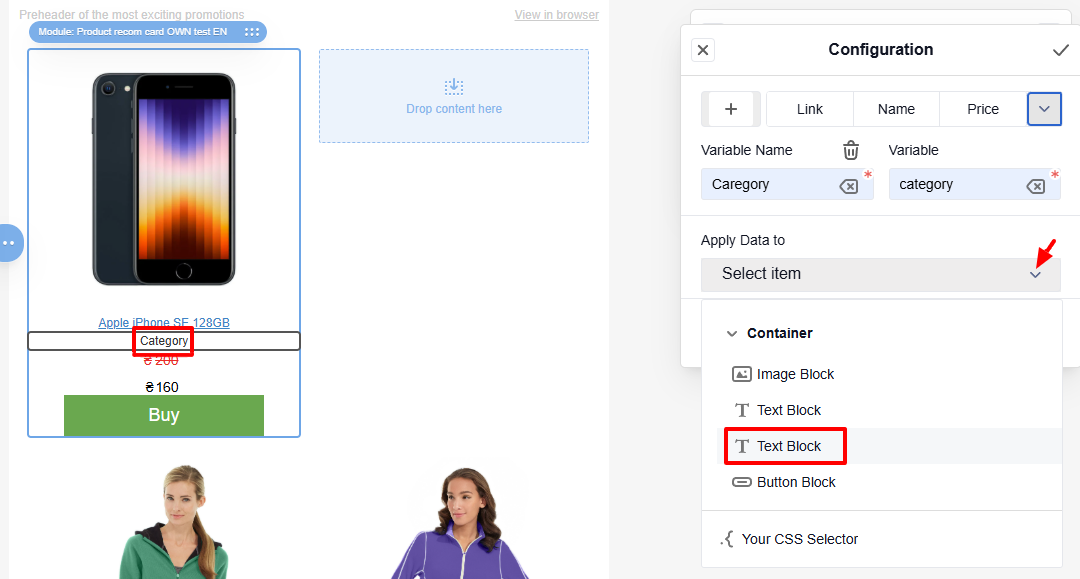
- Select the text block with the Category value.
- Save the configuration.
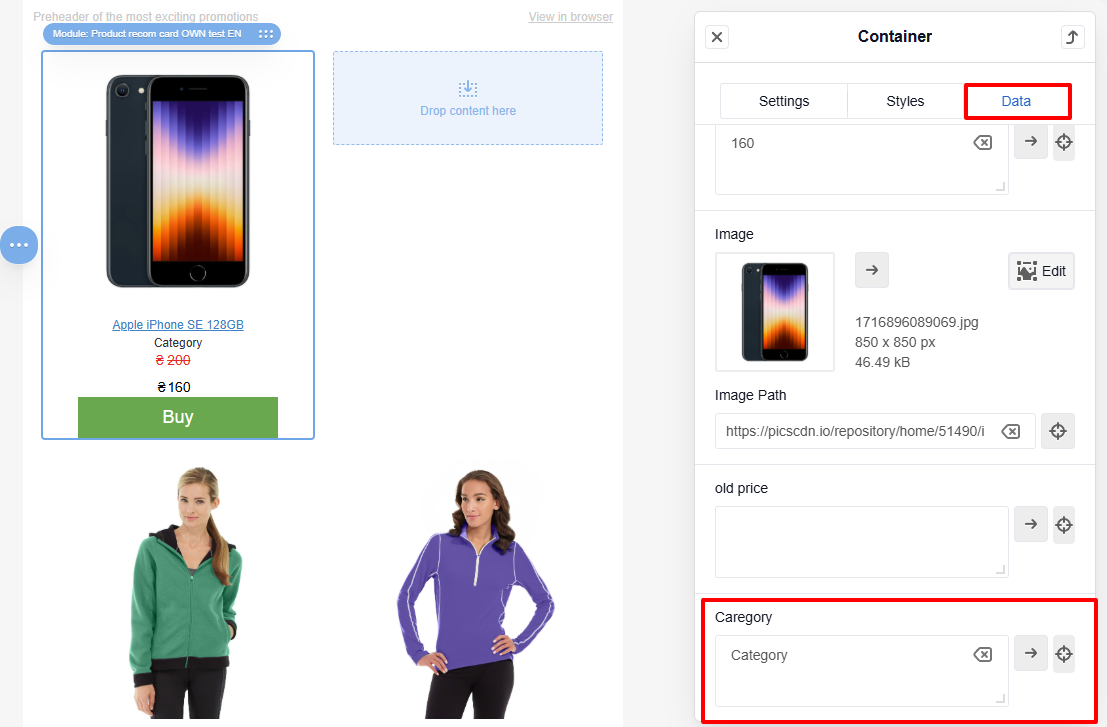
- Open the Data tab and verify that the new field appears.
Saving a Card as a Module
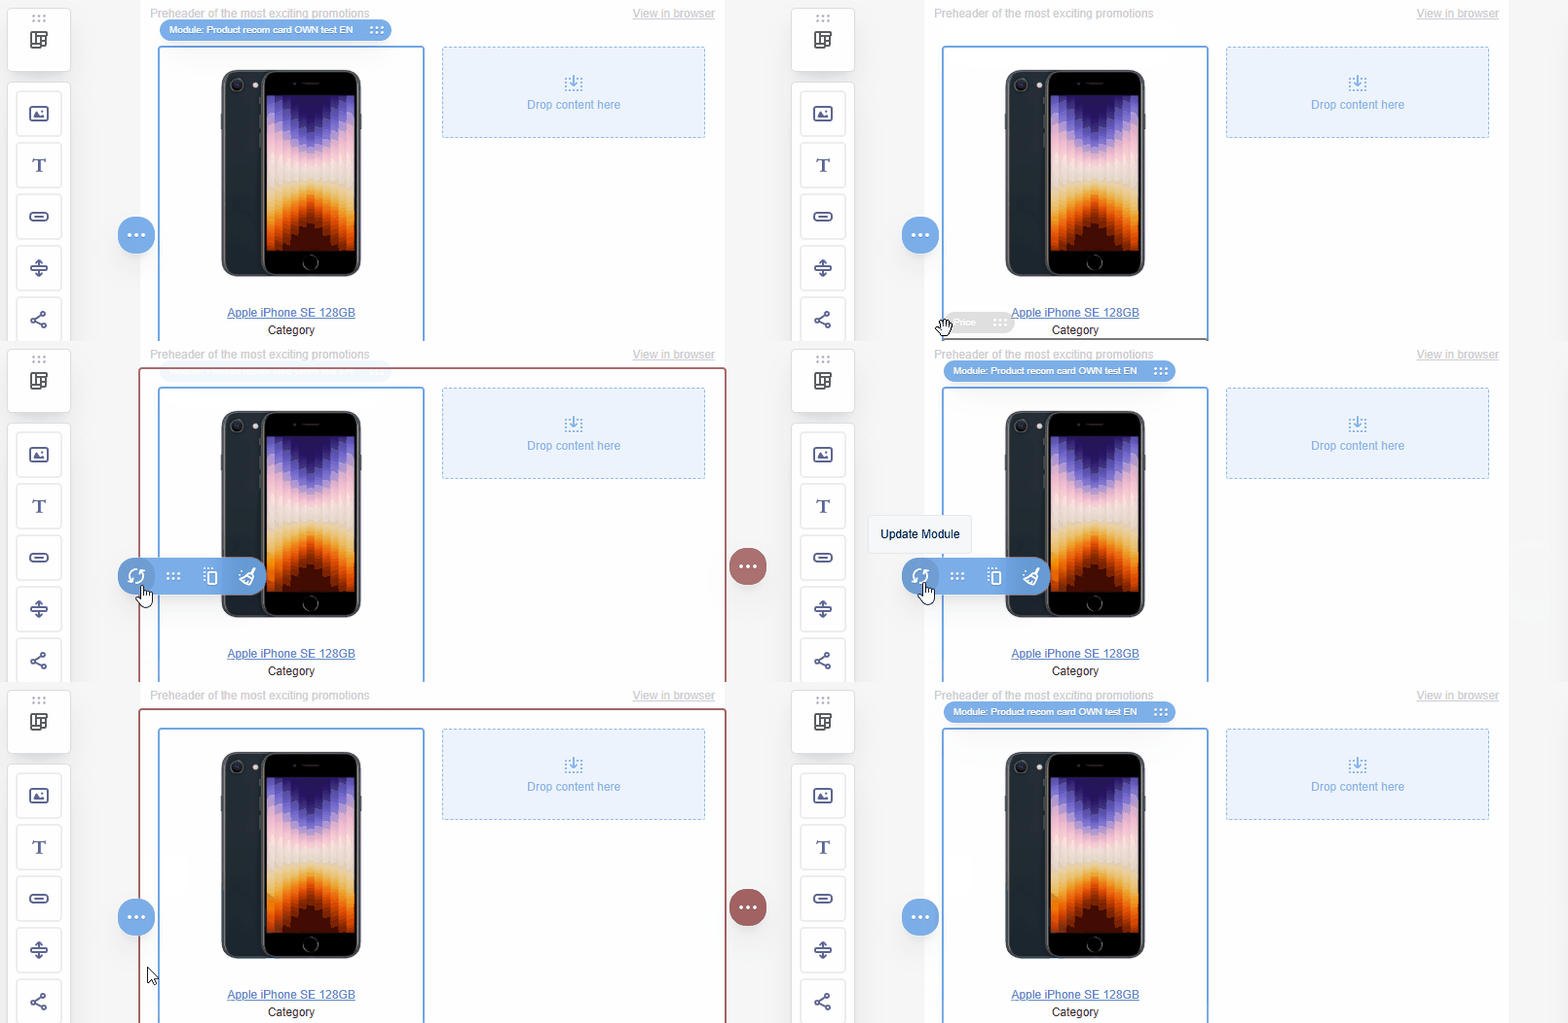
- Select the module and open the menu (three dots).
- Click Update module.
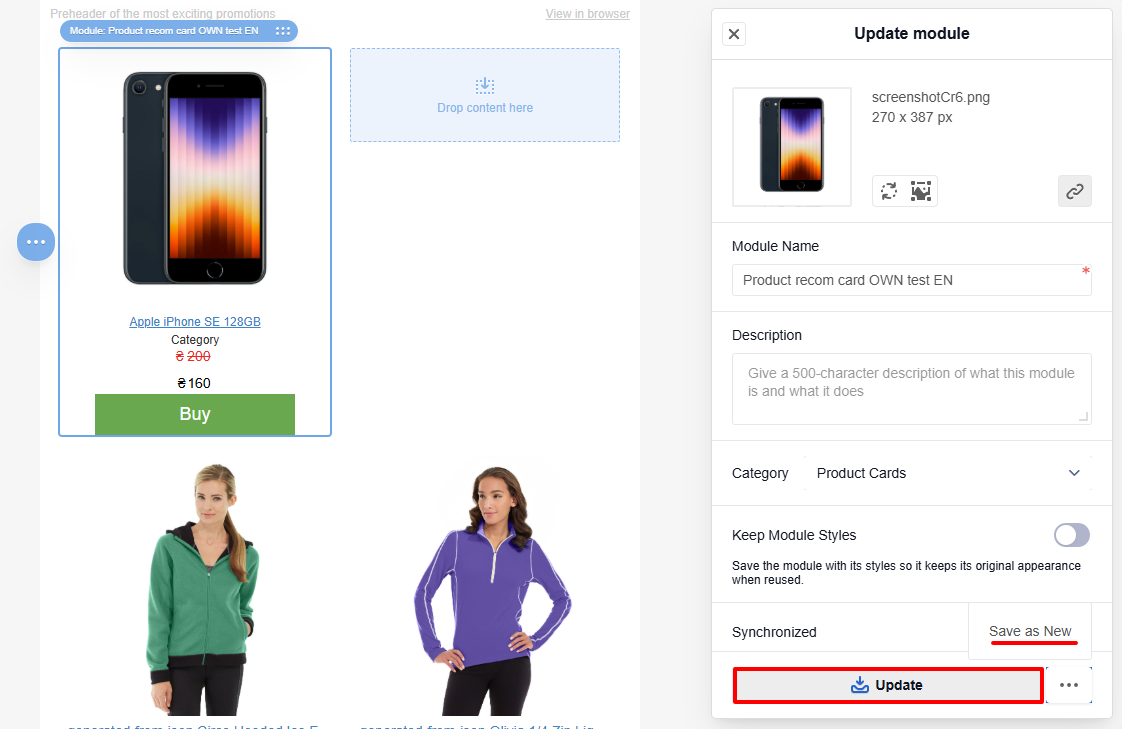
- Choose:
- Update — overwrite the existing module
- Save as new — create a new module
If you saved a new module instead of updating the existing one, you need to manually update the Products block in the message.
- Click the Products block and open the Modules tab.
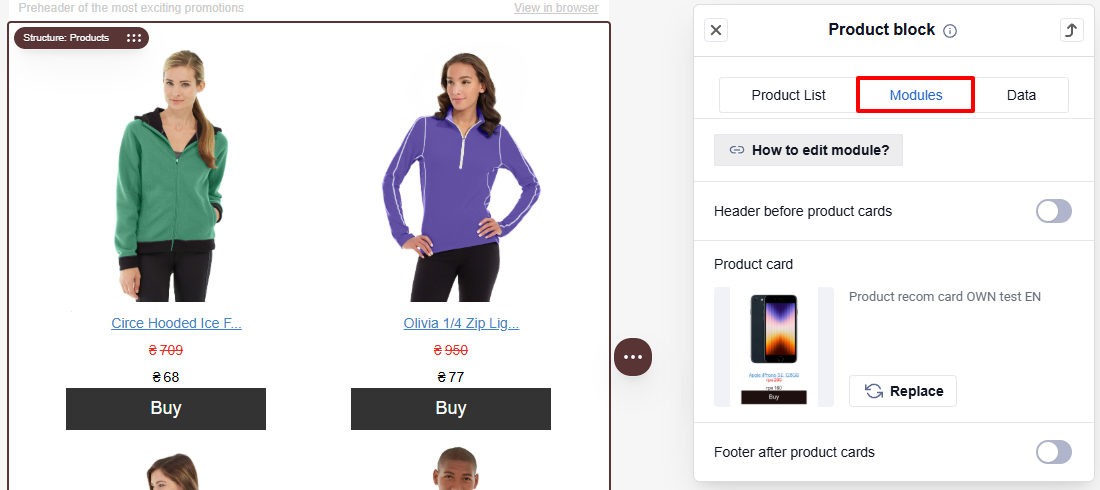
- Click Replace in the Product card section.
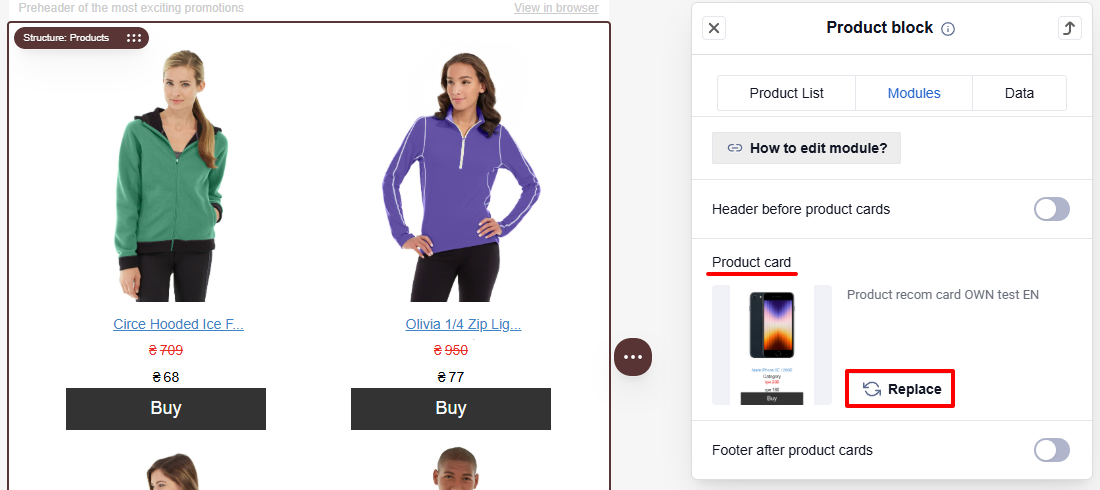
ImportantOnly cards configured as a smart container can be used in the Products block. A card created from scratch without this configuration will still appear in the list, but the system will show a warning when you try to select it.

To configure the card, go to the Data tab and click Connect Website Page.

- Select the new module.
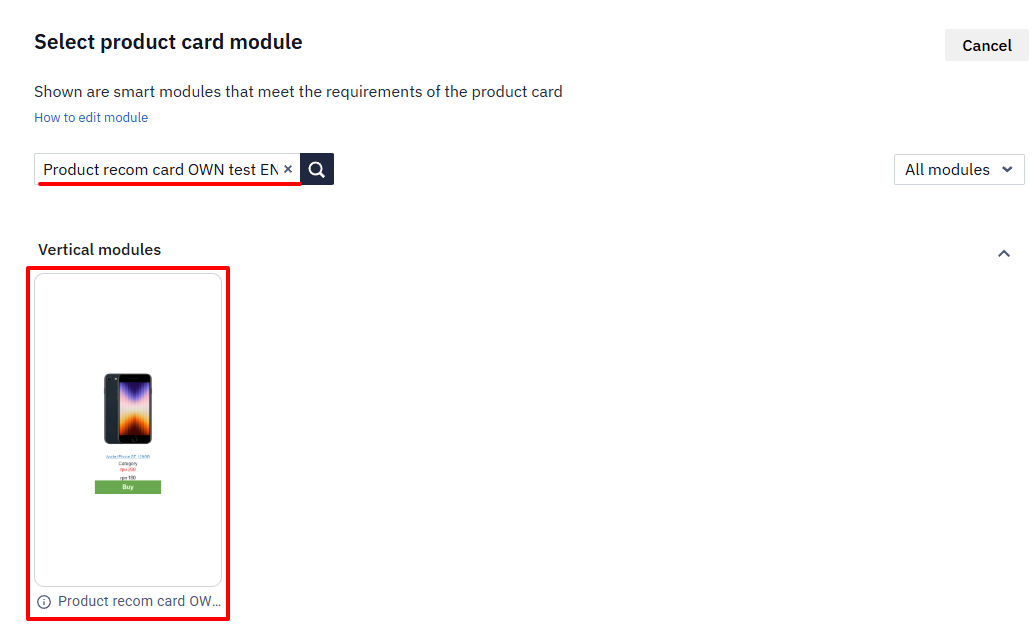
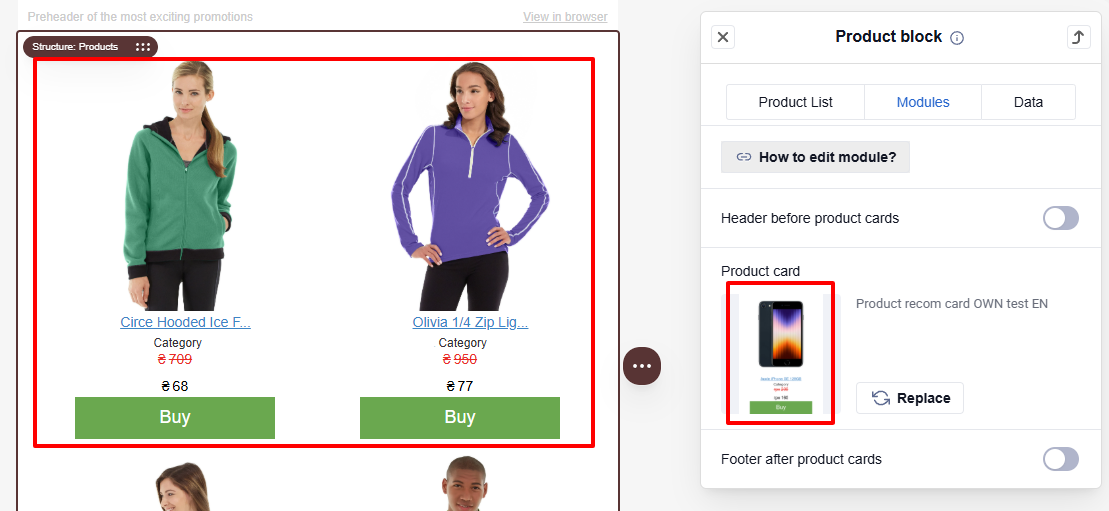
Result: the block updates after selection.
Update Modules in Messages
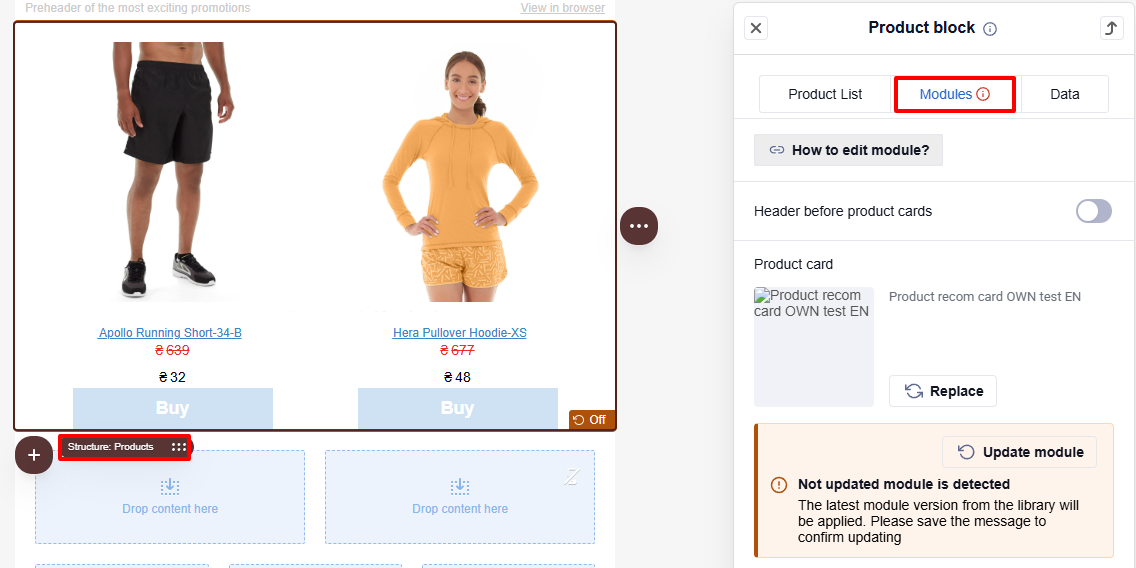
If you update a module in the library after adding it to an email, the Products block shows the module with an Off icon, and the Modules tab displays a warning. This means the email uses an outdated version of the module.
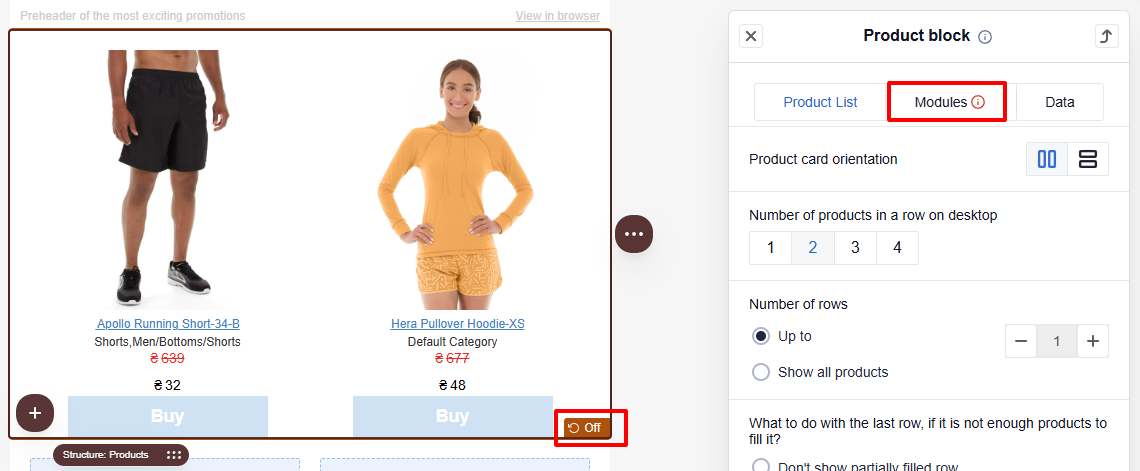
To update the module to the latest version:
- Select the Products block and open the Modules tab.
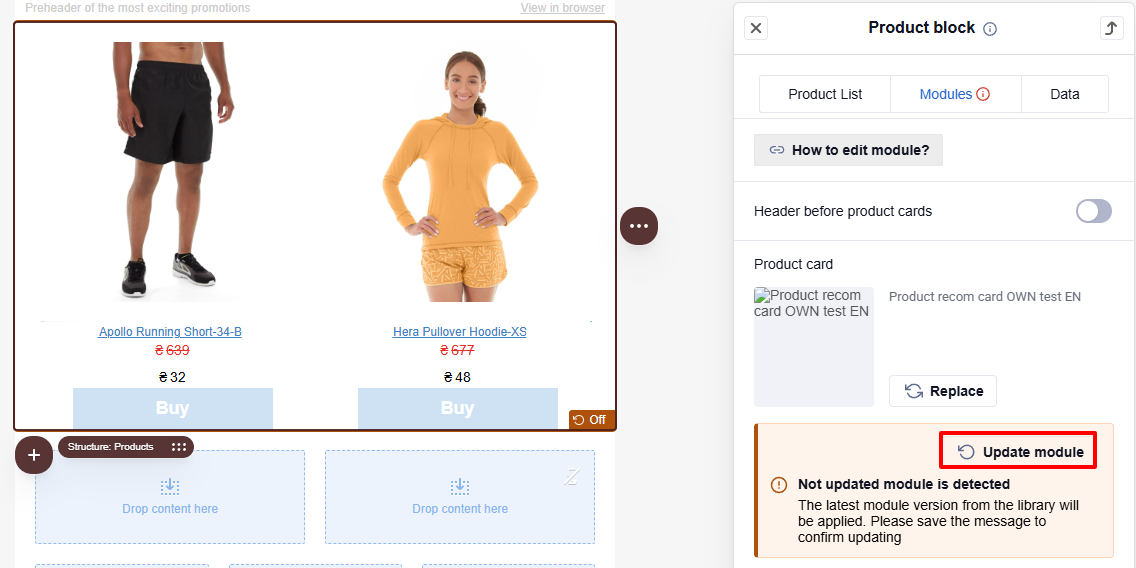
- Click Update module.
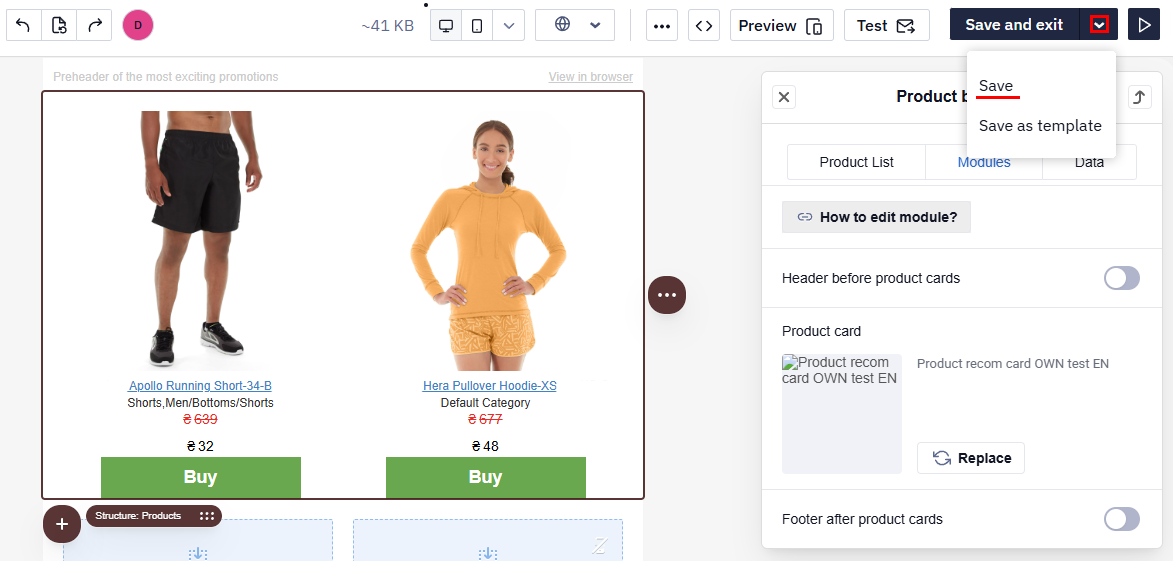
- Save the changes in the email.
Updated 24 days ago