
Working with Images
This section explains how to use the Image block in the eSputnik email editor to make your messages more attractive, informative, and emotionally engaging.
Uploading an Image
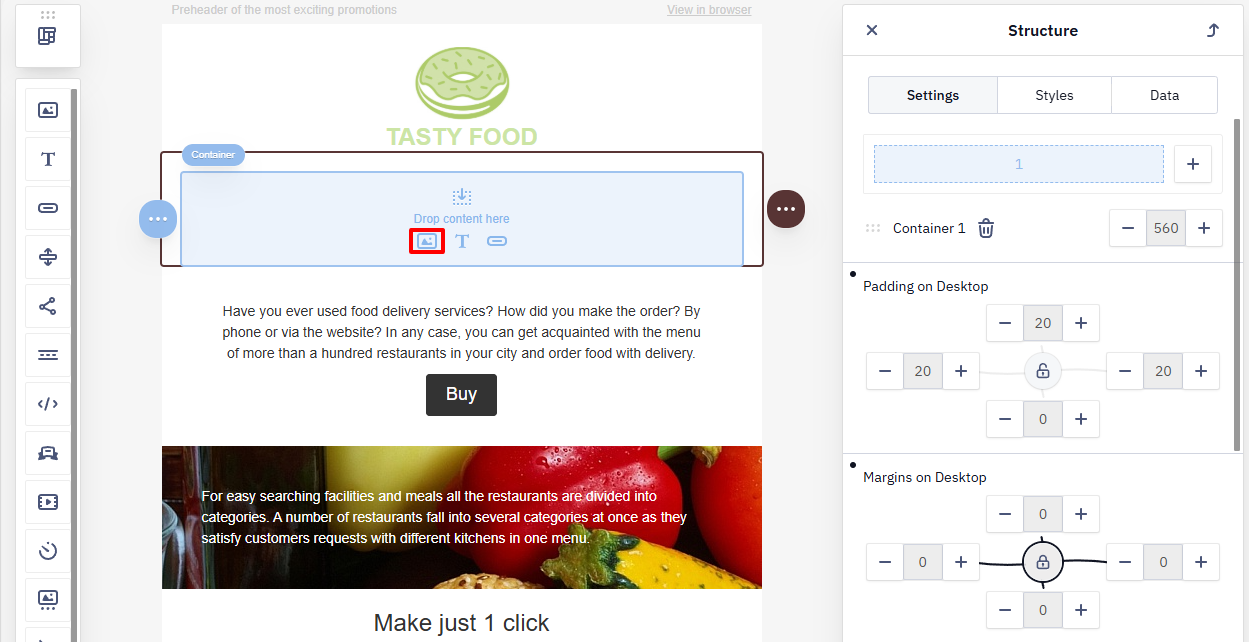
- Click the block inside the container to open the Image Gallery.
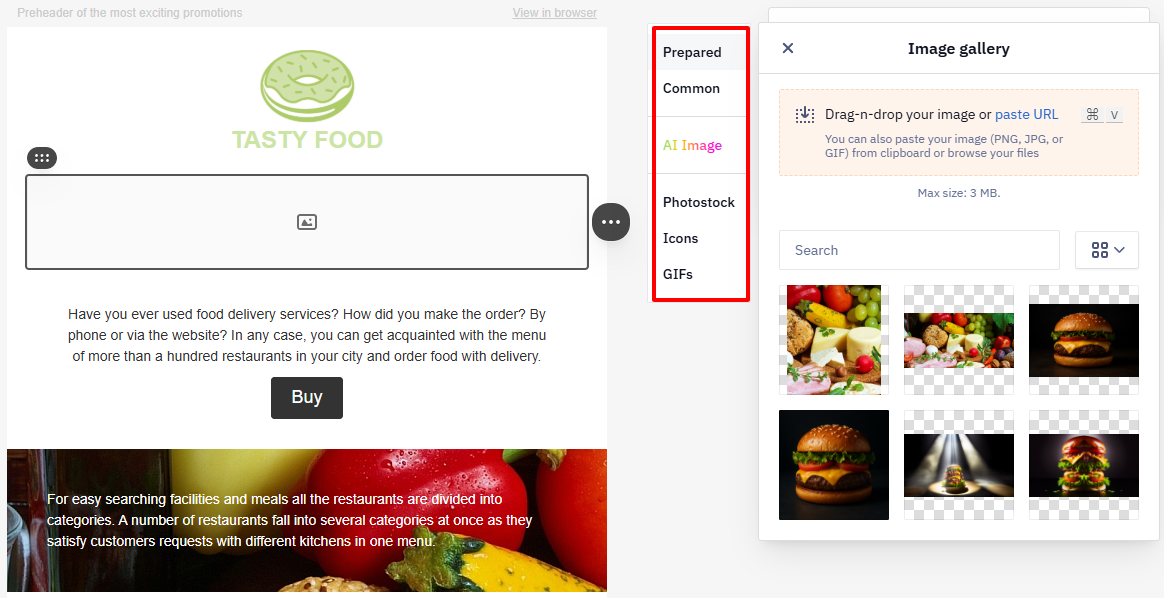
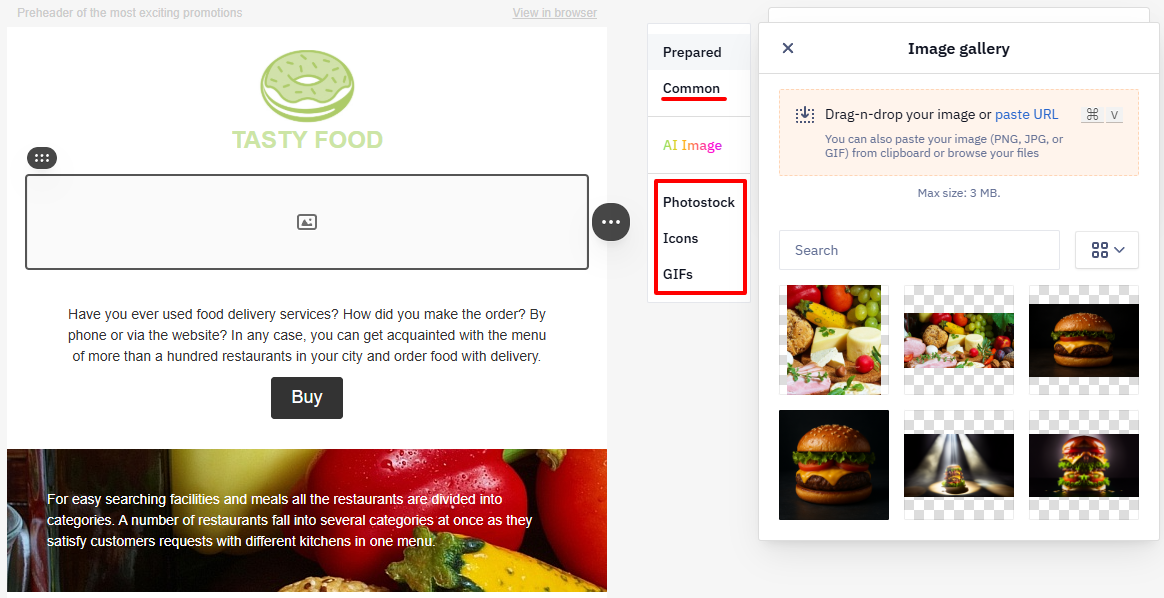
The gallery contains the following tabs:
- Prepared — upload images from your computer, clipboard, or a URL.
- Common — images already saved in the account library.
- AI images — generate images from a text prompt directly in the editor.
- Photostock — choose images from stock photo libraries.
- Icons — select icons from the icon set.
- GIFs — animated images (
GIF).
Images are added one at a time: you can't upload an archive of files, and the system doesn't produce a list of links to the uploaded files.
- Select the method you want to use to add an image.
Upload from a Computer
Open the Prepared tab.
Click the upload icon (labeled Add image or similar, depending on your interface version) and select a file from your computer.
The system supports the following formats:
PNGJPGGIF
The file size must not exceed 3 MB or 4000 pixels in width.
WebP isn't among them: an image in this format isn't added, whether you upload it or paste a link to it. Convert it to PNG or JPG first. Do the same for WebP images that come from a product feed — mail services can convert them and lose transparency along the way.
Add an Image by URL
- Click Paste URL.
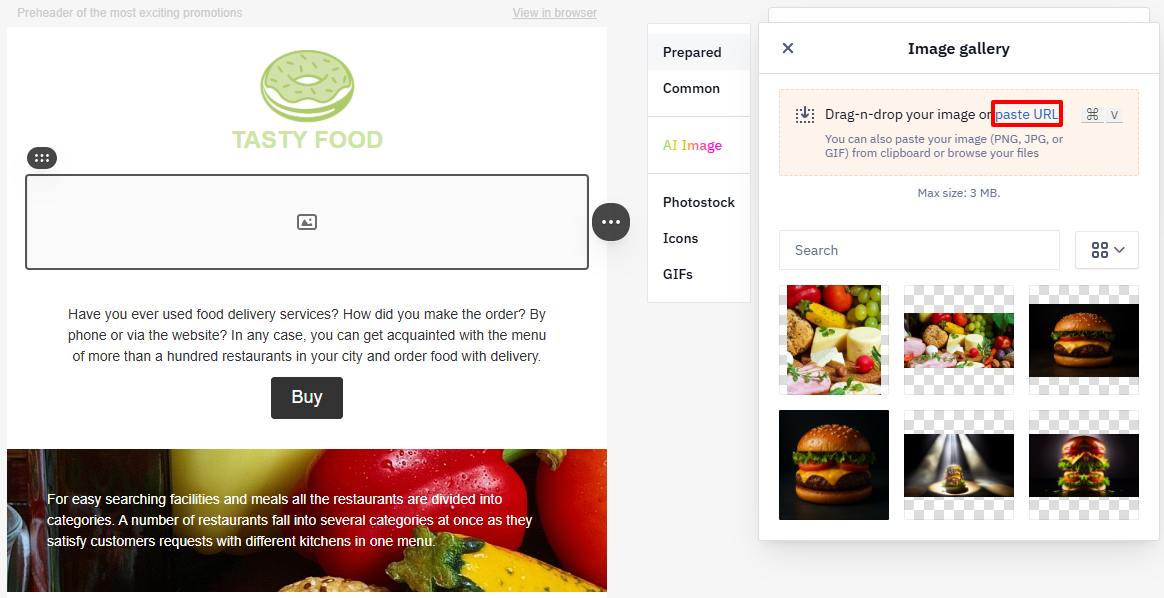
- Enter the image URL in the field.
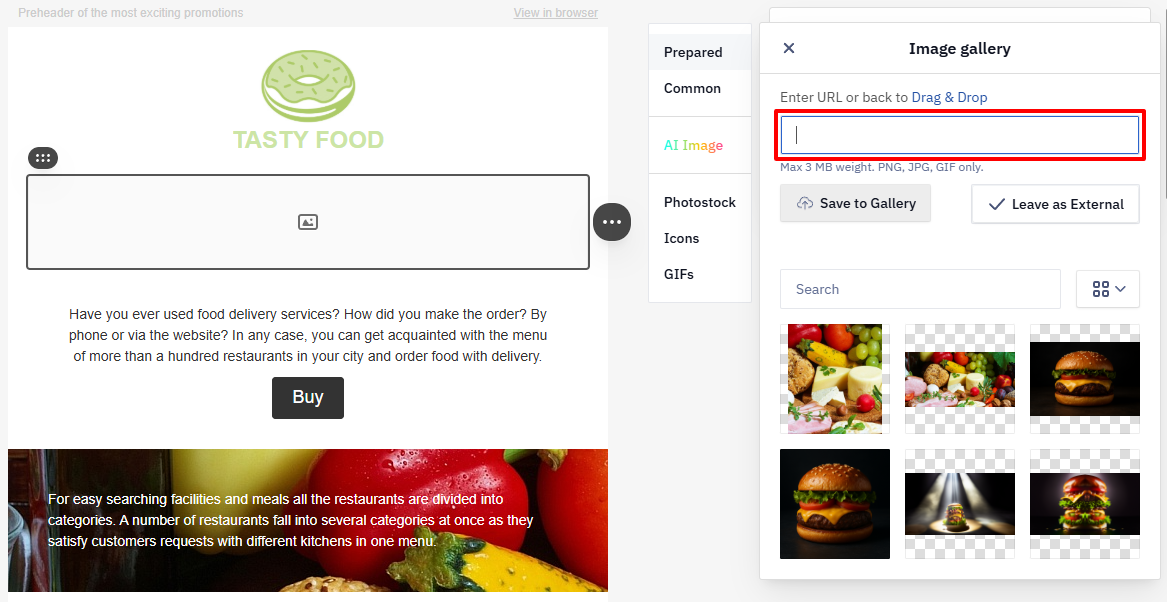
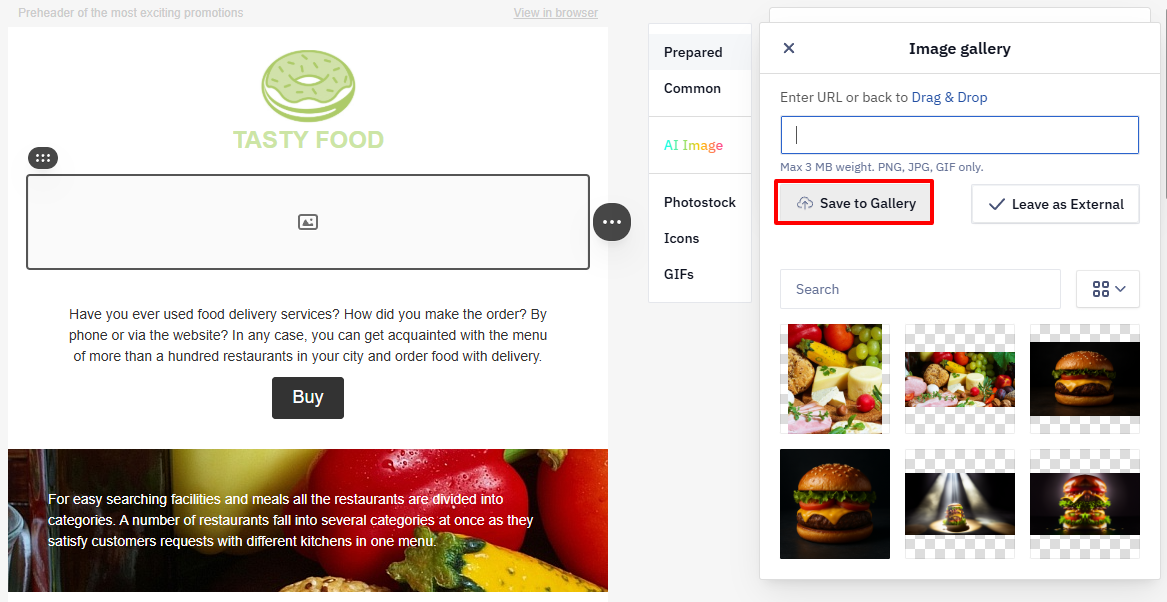
TipWhen you add an image via URL, the email relies on the external source to serve the file. If someone removes or modifies the file at that URL, the image will not appear in the email. To prevent this, save the image to the gallery.
ImportantDon't embed an image as a base64 string in the
srcattribute — this also applies to generated images such as QR codes. Base64-embedded images don't render in Gmail or Yahoo. Host the image externally (or in the gallery) and reference it by URL instead.
Image Library
The image library includes images from the following tabs:
- Photostock
- Icons
- GIFs
Open the required tab and select an image.
AI Images
Use this tool to generate unique illustrations from a text prompt without uploading files.
- Enter a detailed description of the image you want to generate.
- Select an AI model (for example, DALL·E).
- Choose an image style if needed.
- Select the aspect ratio (for example, 1:1).
- Click Generate.
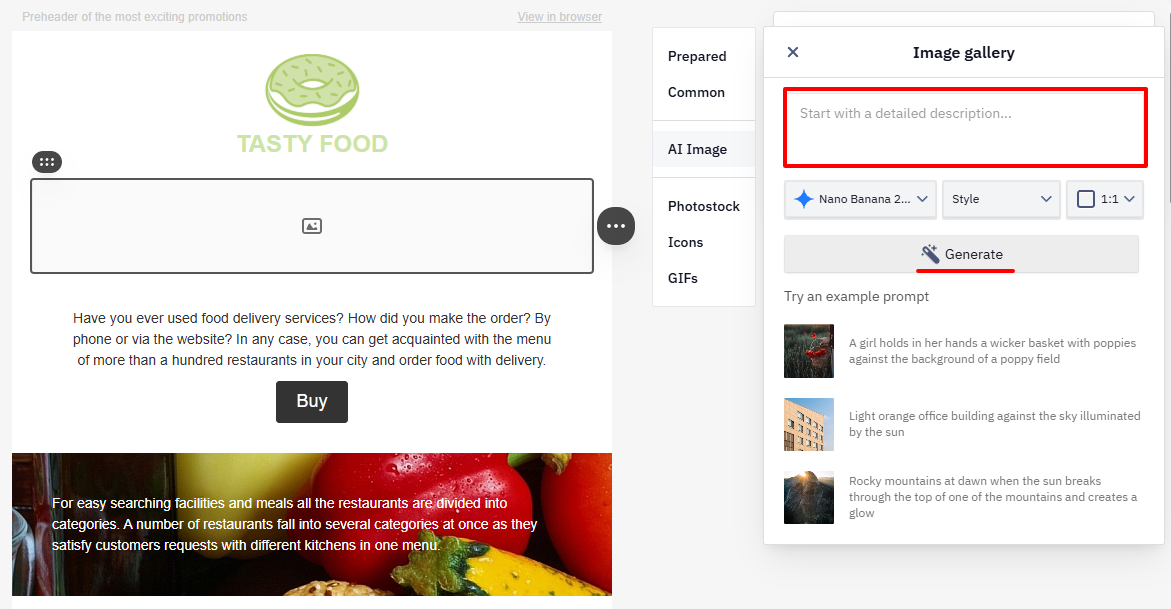
- Select the result that fits your needs and insert it into the email. If necessary, generate new images.
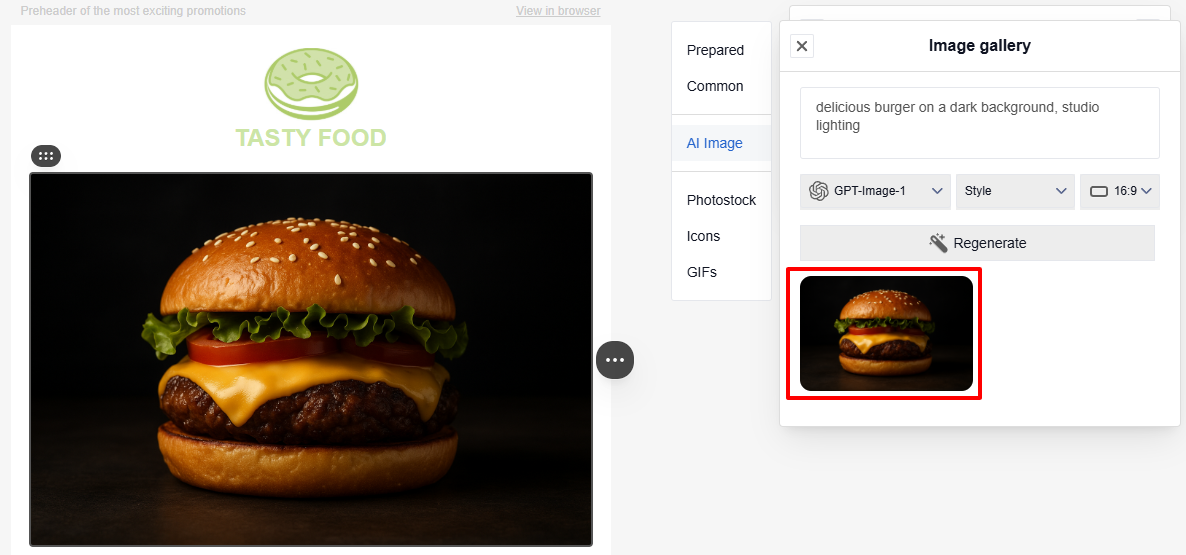
Image Settings
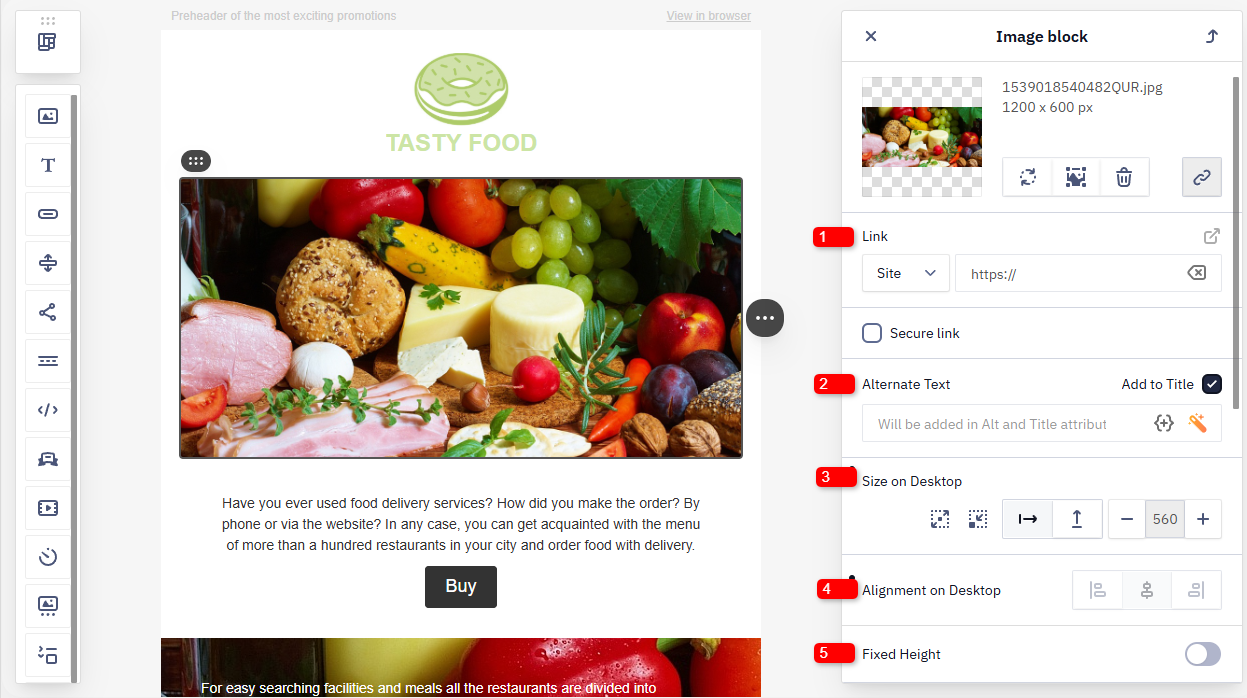
After you upload or select an image, click it in the editor to open the settings panel on the right. Use these settings to control the appearance, behavior, and additional properties of the image in the email.
- Link — opens a website, email address, file, phone number, or another resource.
- Alt text — displays if the image fails to load.
- Size — set the width and height in pixels.
- Desktop alignment — align the image left, center, or right.
- Fixed height.
- Radius — round the image corners.
- Rollover effect — display a second image when the user hovers over the image.
- Hide element — hide the image in the desktop or mobile version of the email.
- Margins (desktop) — set the distance between the image and other elements.
- Include in — control visibility in HTML and AMP versions.
- Anchor link — move the reader to a specific section of the same email.
- Event type — used for automation. For example, you can specify an event triggered when the image is clicked.
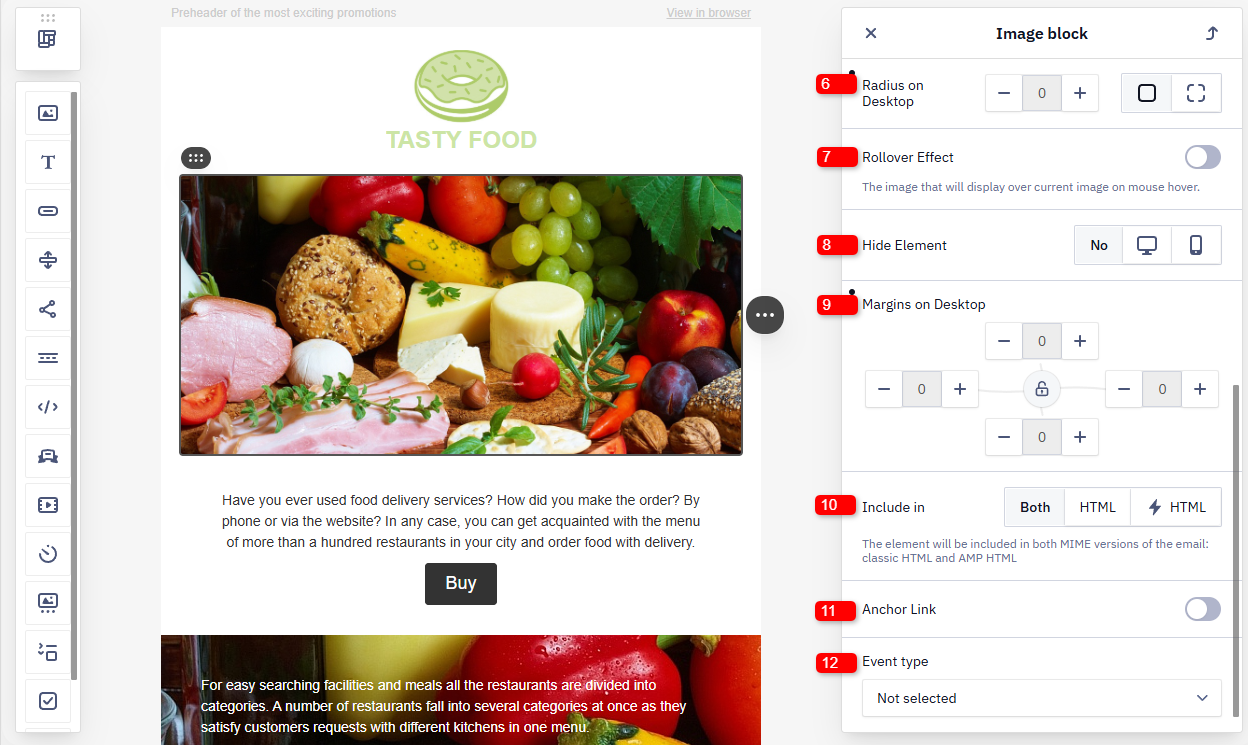
Image Actions
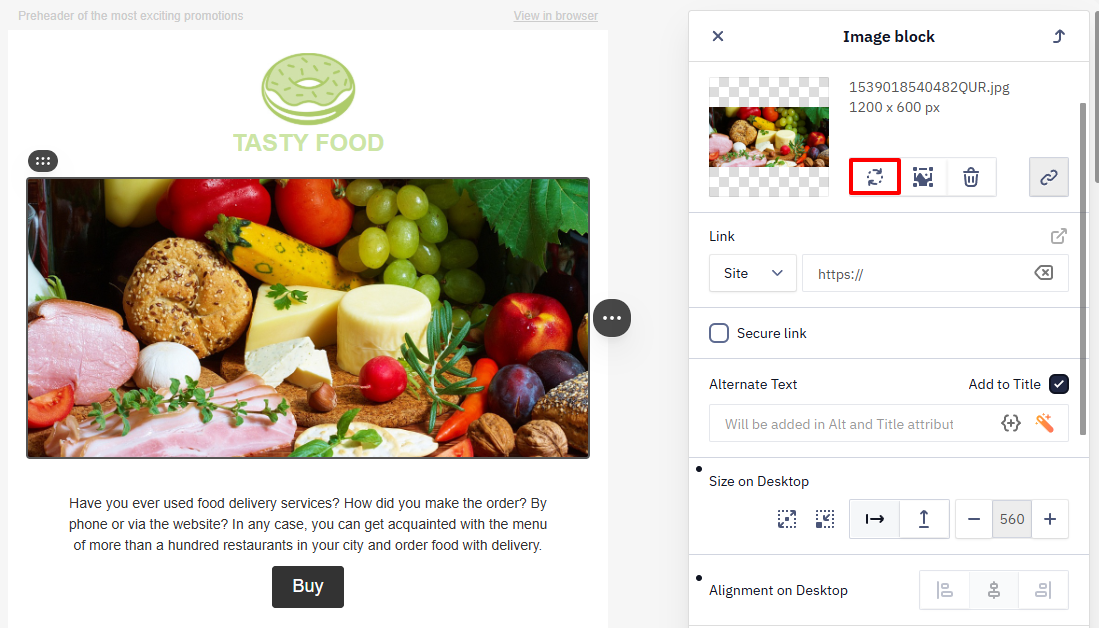
The top of the settings panel contains actions that allow you to manage the image.
- Replace — open the gallery and select another image or upload a new one.
- Edit — open the built-in image editor.
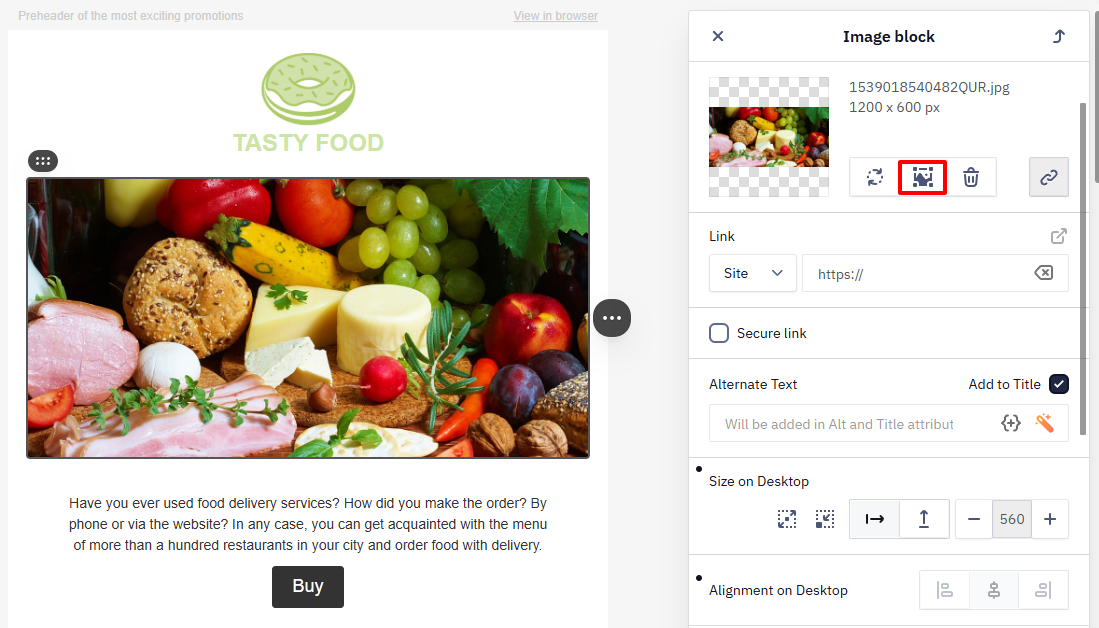
The editor tools include the following groups:
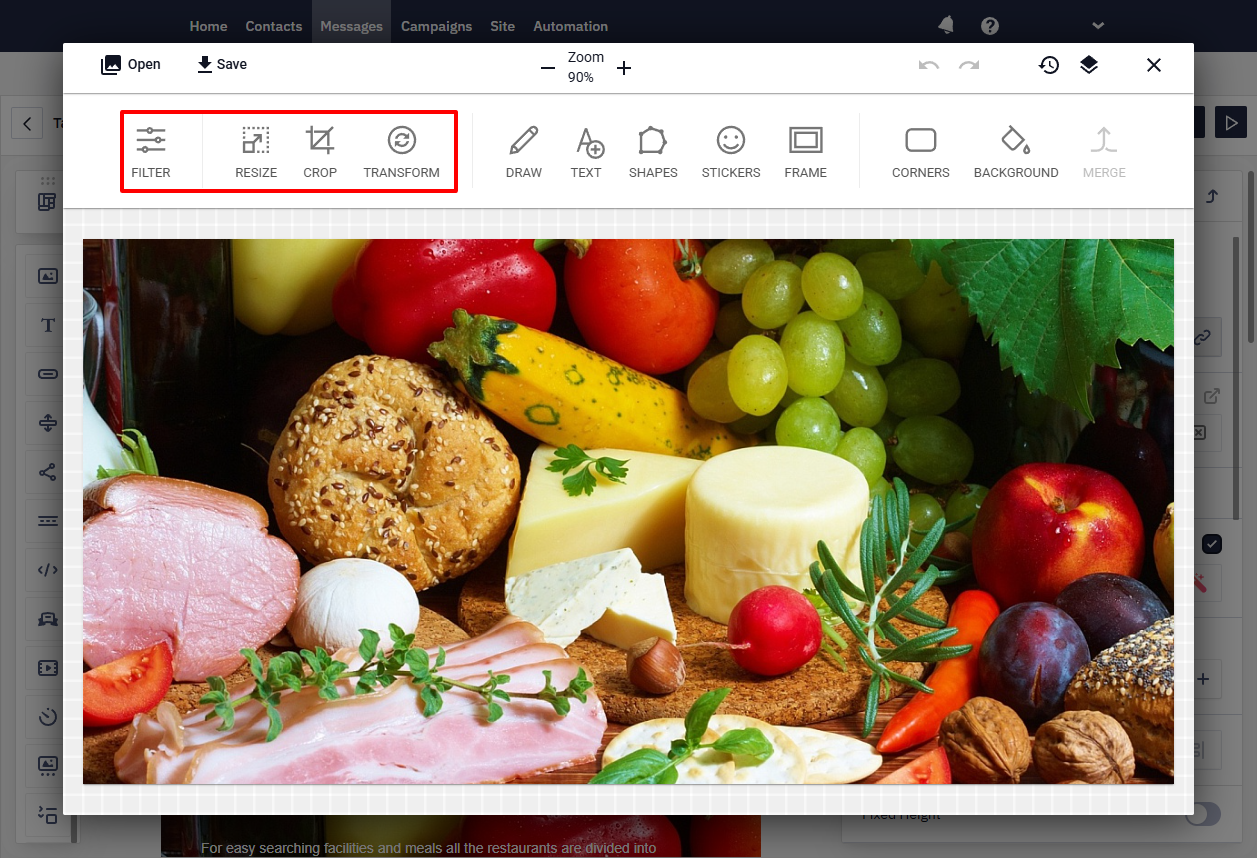
- Appearance adjustments: apply filters (black and white, sepia, contrast, etc.), resize the image, crop the image, transform the image (rotate, flip).
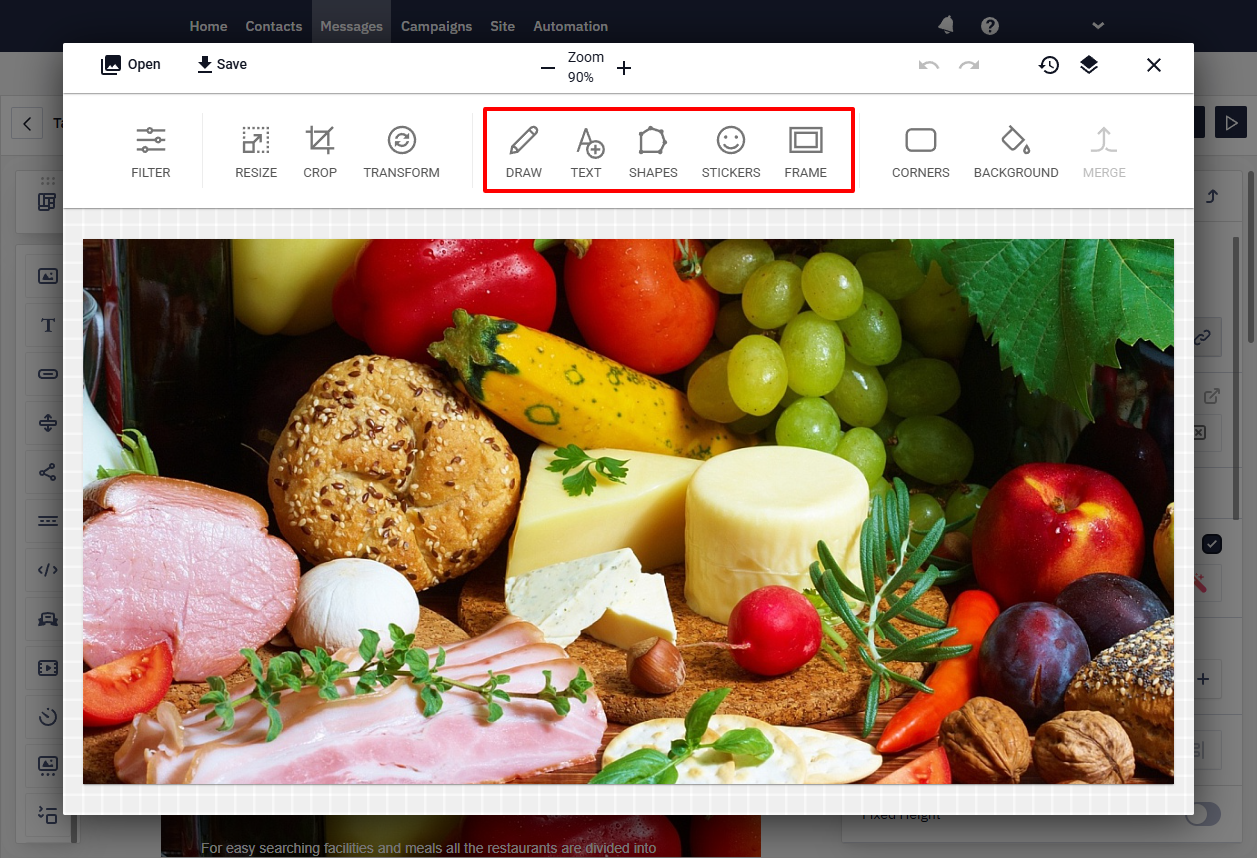
- Add elements: drawing tools, text, shapes, stickers, frames.
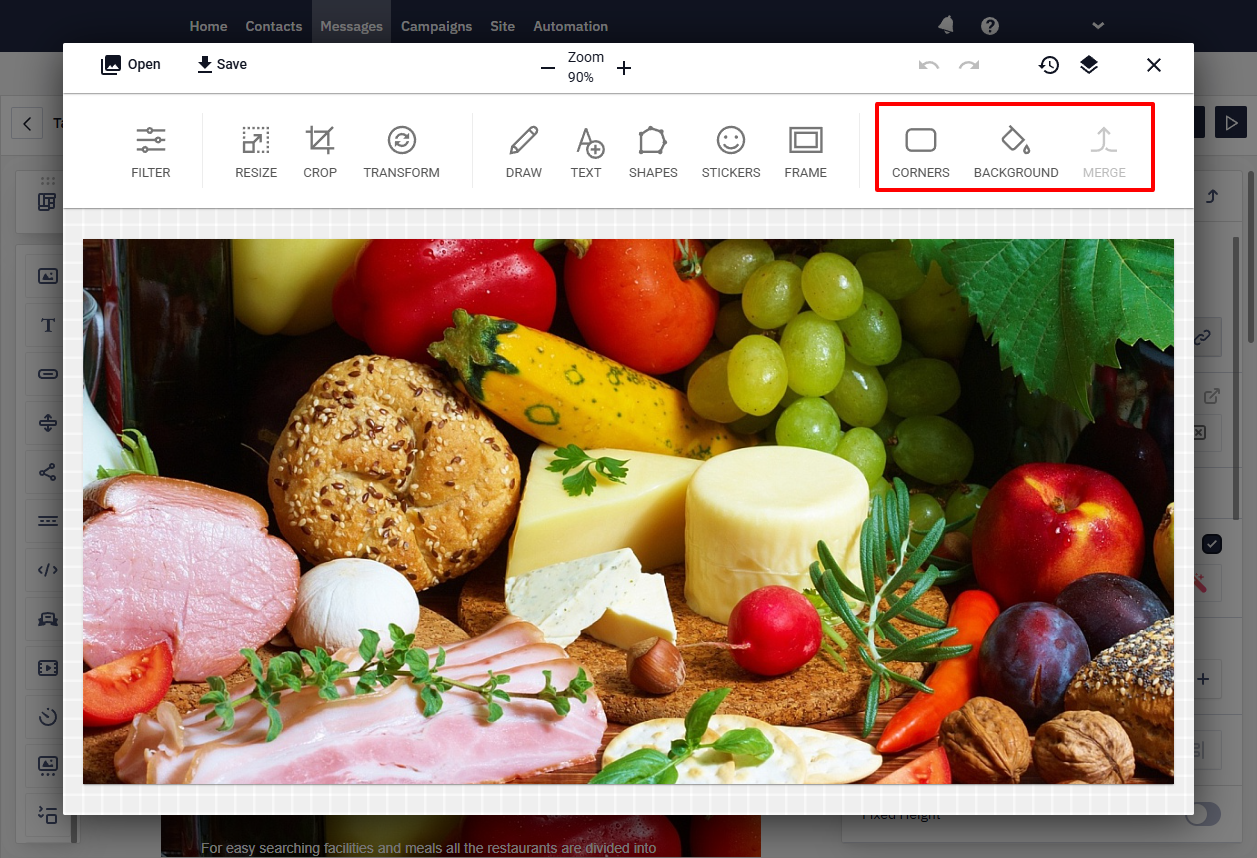
- Styling: round the corners, change or add a background, combine multiple images.
After editing, click Apply → Save.
NoteAdding text through the built-in image editor merges the text permanently into the picture. If you'd rather keep the text editable, combine an image with text another way instead: use a Banner block, which lets you overlay editable text on an uploaded image, or set the image as a structure's background (Stripe/Structure Styles → Background image) and place a regular Text block on top of it.
- Delete — remove the image from the block completely.
- Copy or remove the direct image file link.
Updated 17 days ago