Integration with Wix Forms
This is a guideline for integration with contact collection forms published on sites built on Wix.
Before getting started with integration, you need to:
- Create additional fields in the system. They should be similar to the fields of the form.
Step 1. Form Creation
- Go to Site → Integrated forms and click the New integrated form button.

- Enter the form name and select Wix in Services. Click Next.

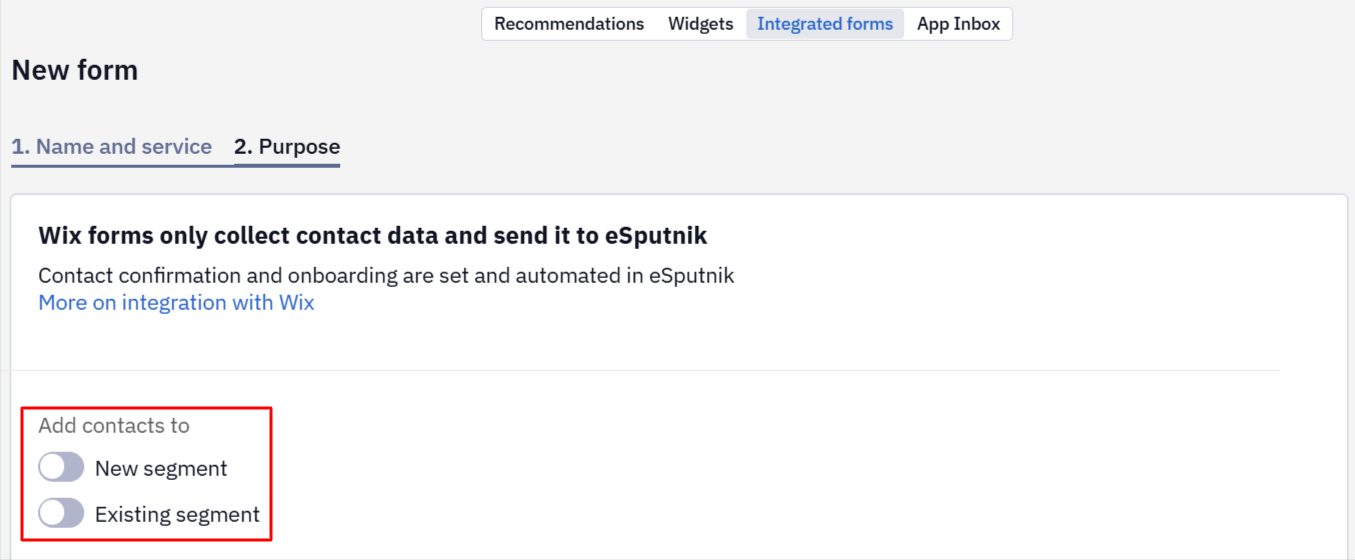
- In Add contacts to, enable a segment where the contacts who fill in the form will be added.
- For the New segment, create a segment.
- For the Existing segment, select a segment from the list.
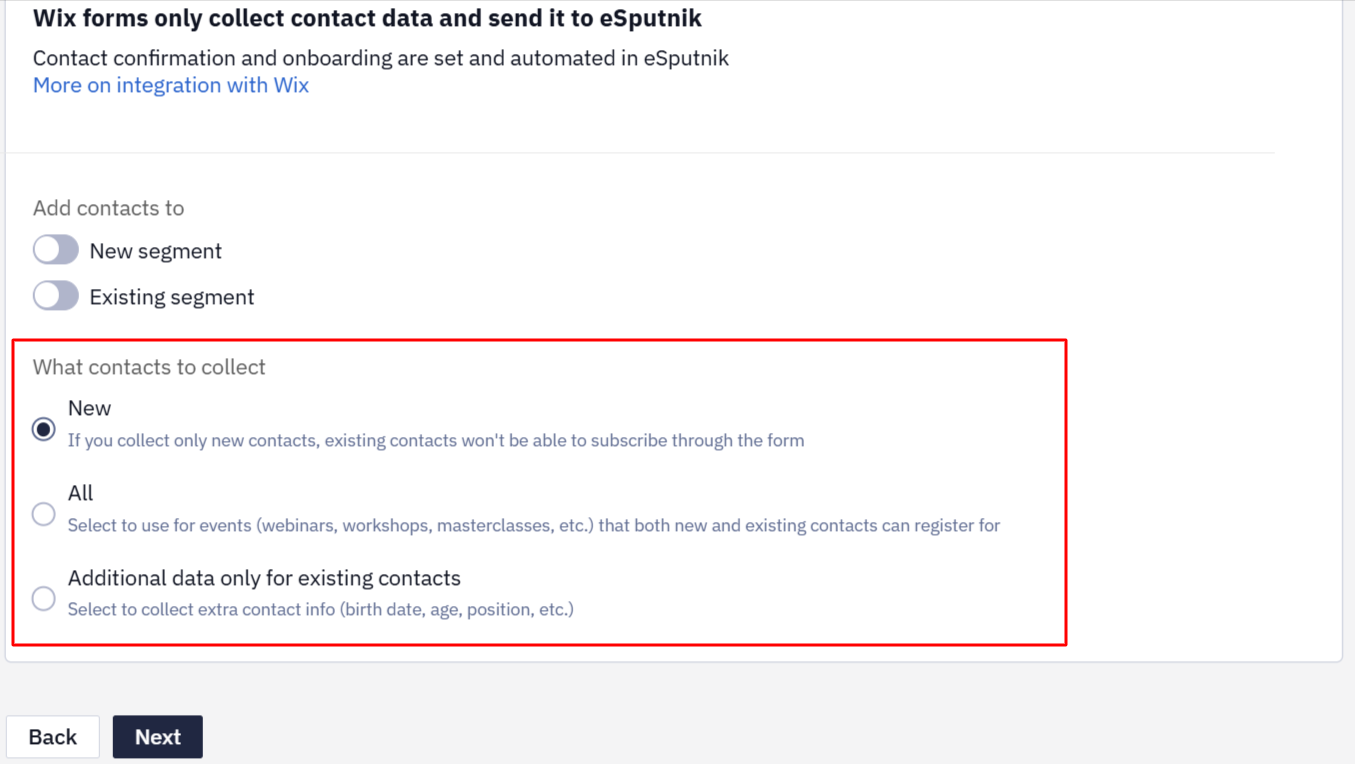
- Select what contacts to collect:
- New. Select to collect new contacts. Further, you will need to set Double Opt-In and select a confirmation email that will be sent to new subscribers automatically.
- All. Select to collect both new and existing contacts. For new contacts, you will need to set Double Opt-In and select a confirmation email that will be sent to new subscribers automatically. Existing contacts will not be sent a confirmation email.
- Additional data only for existing contacts. New contacts will not be able to subscribe through this form.
- Click Next.
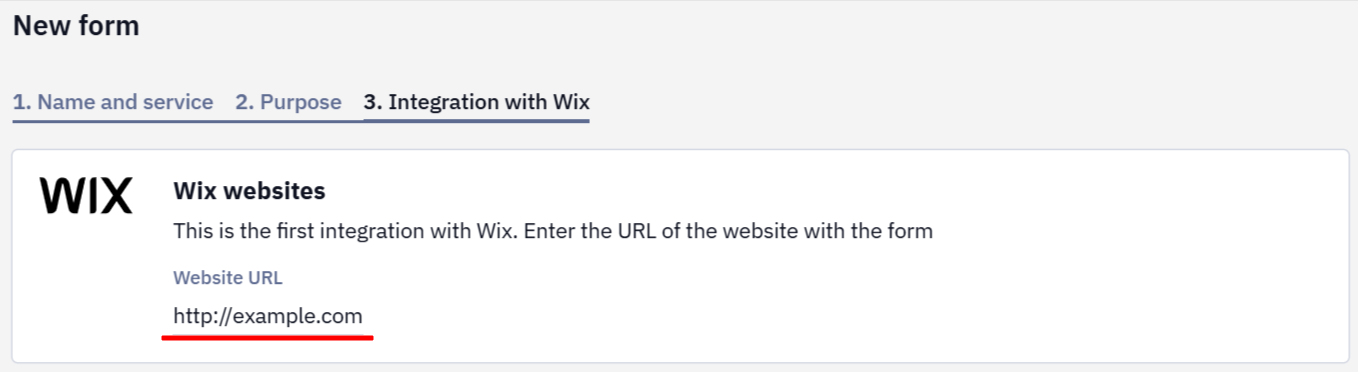
Step 2. Integration with Wix
- In Wix websites, enter your site URL.
- Copy the Webhook URL and enter it in your Wix account as described below.
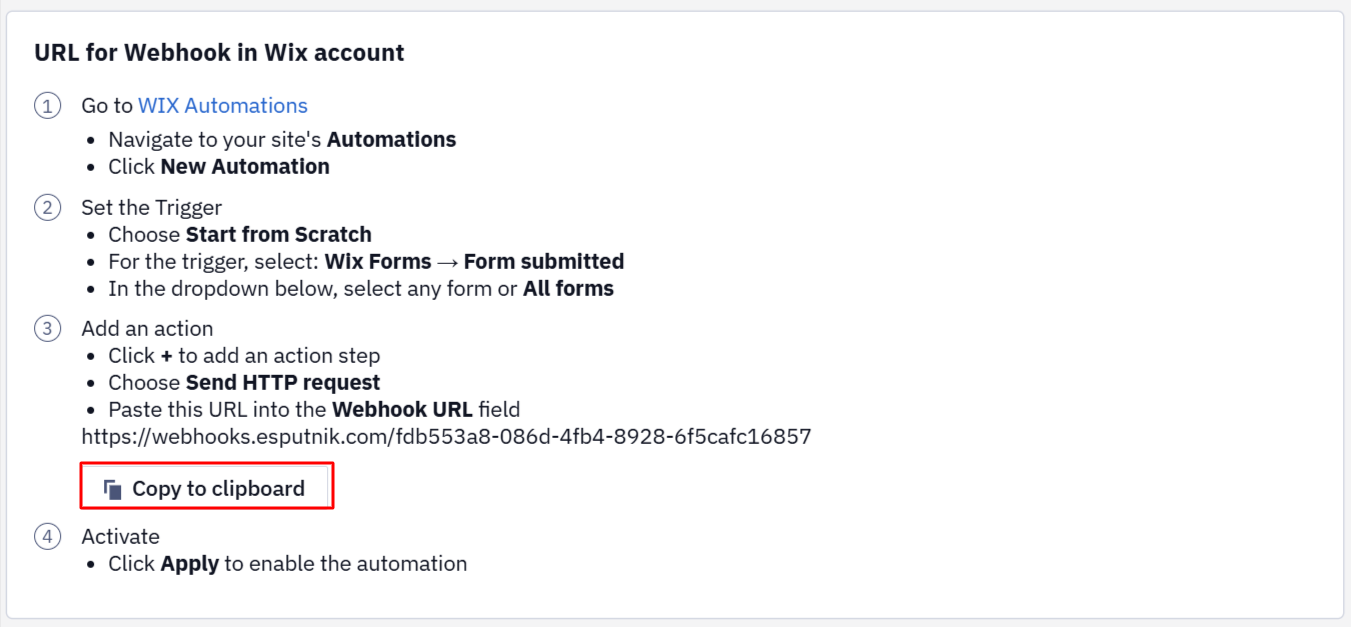
- In your Wix account, go to Automations → New Automation.
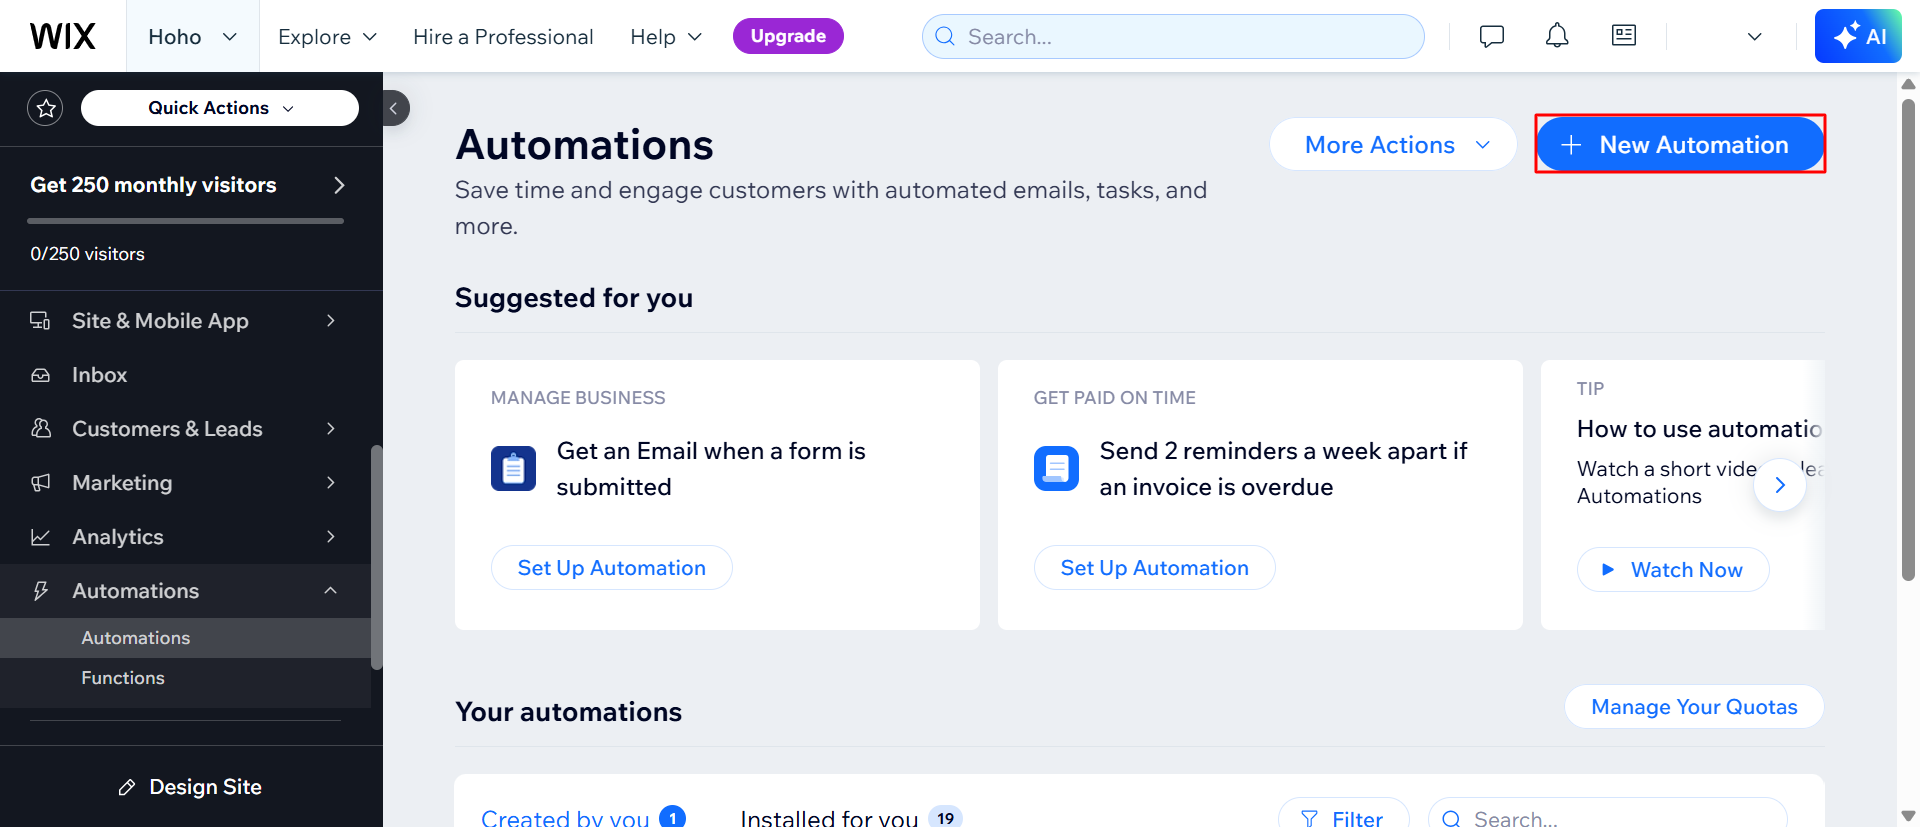
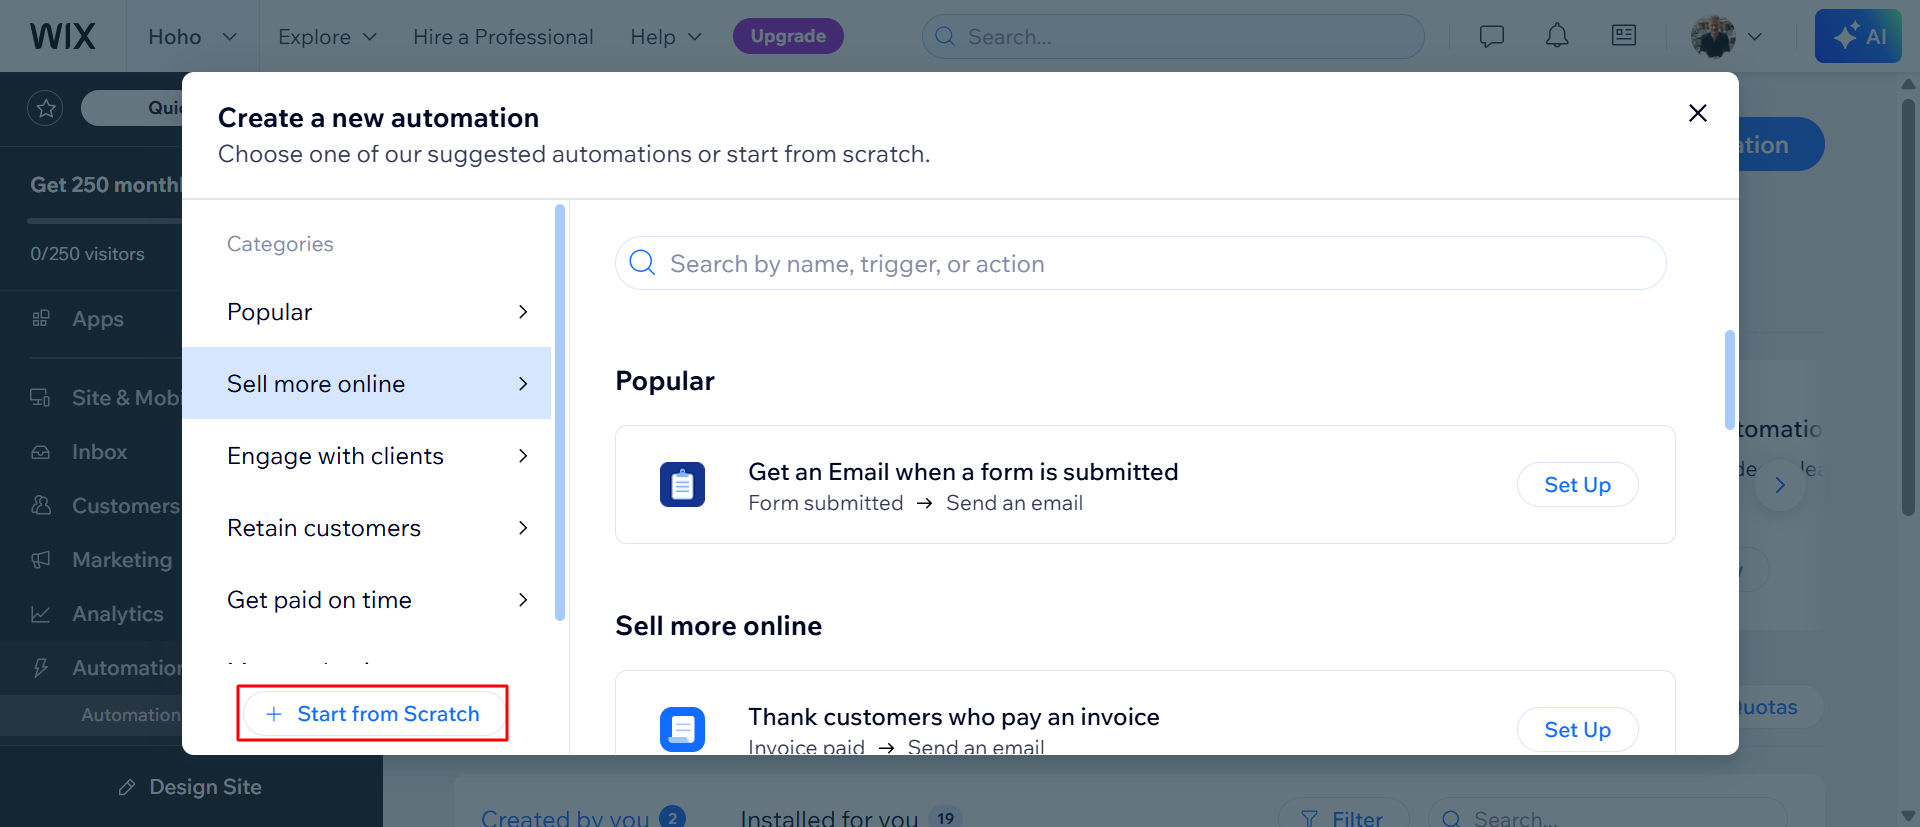
- Select Start from Scratch.
- Select Wix Forms → Forms submitted in trigger settings.
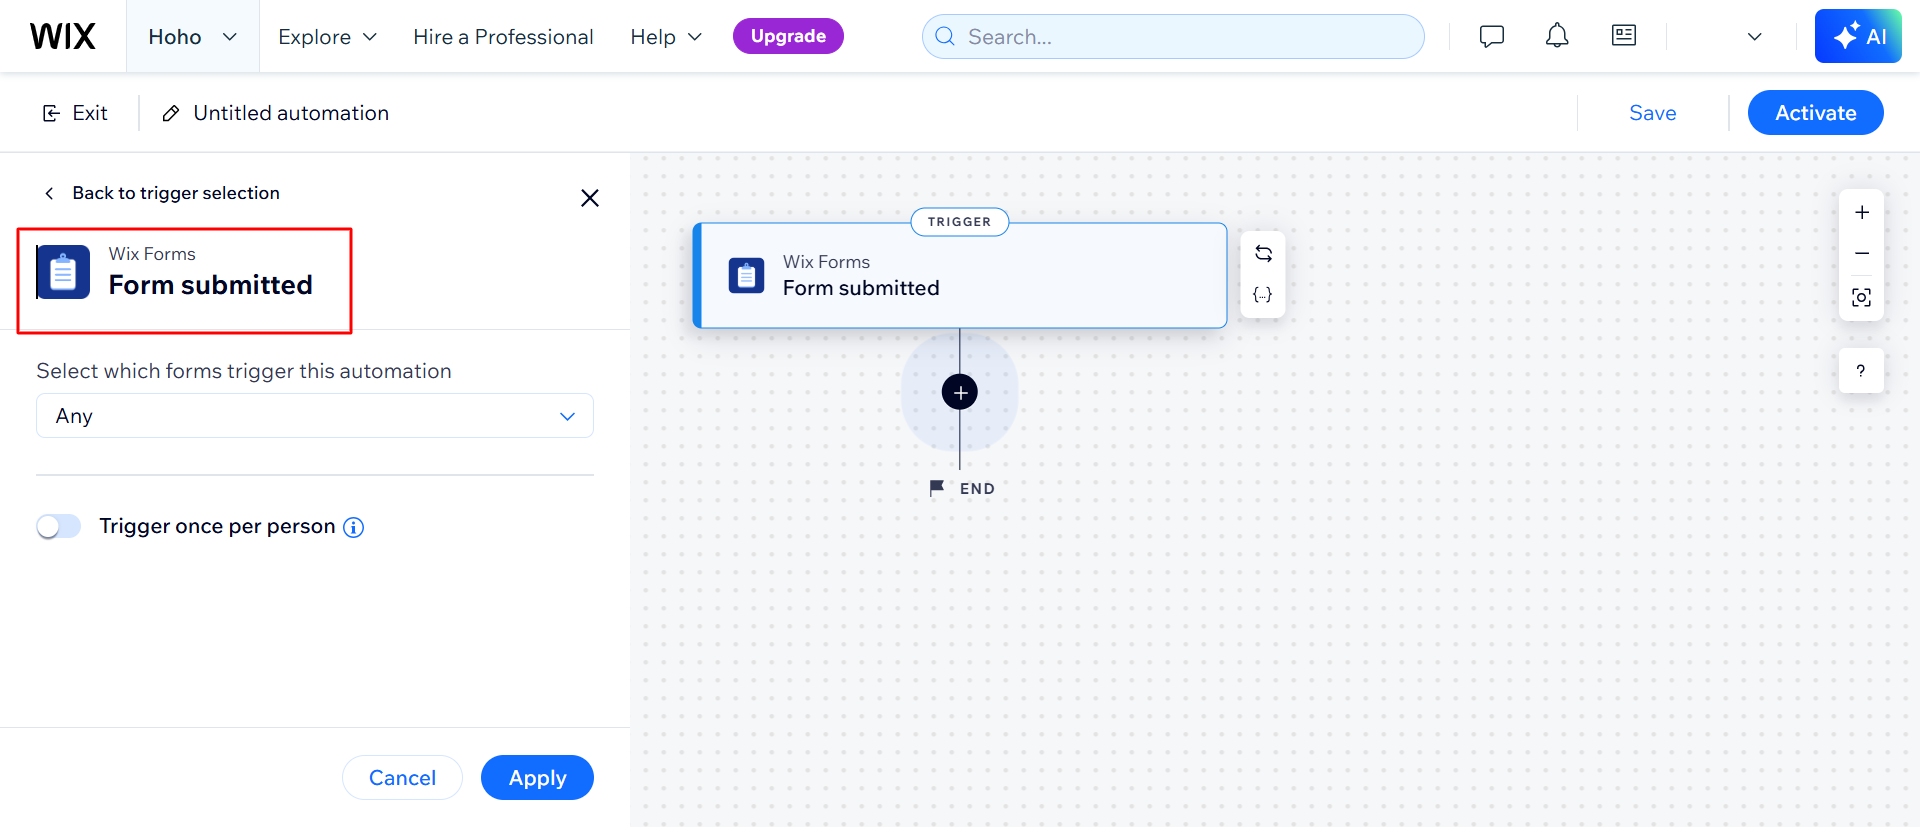
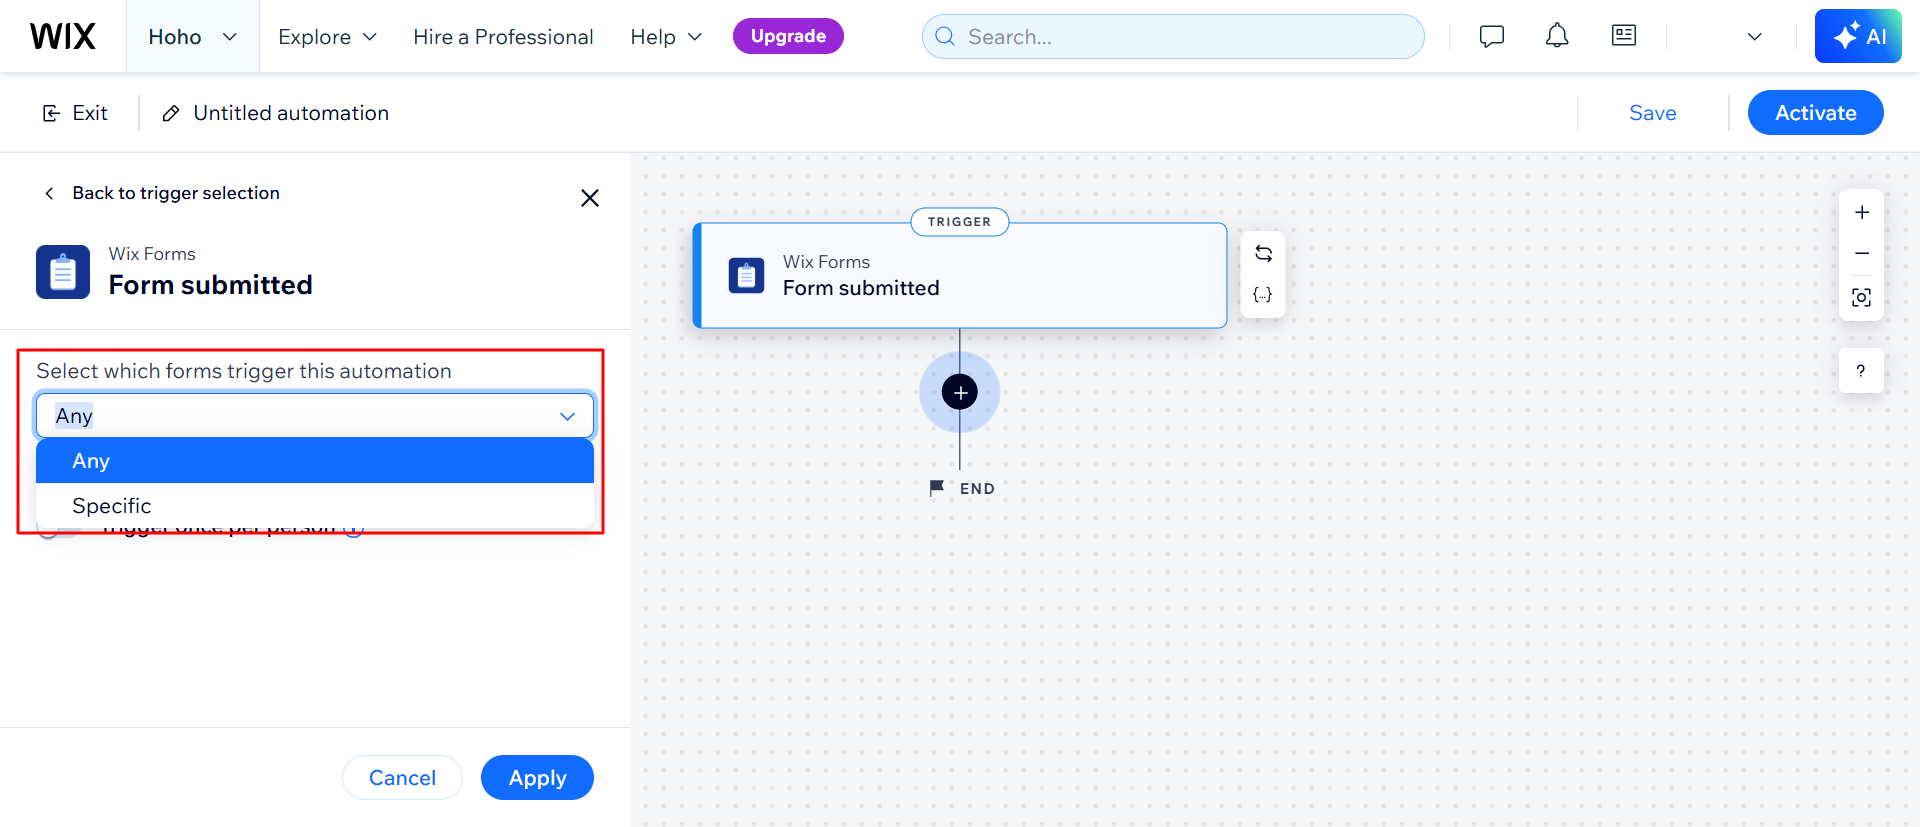
- Select any or specific forms.
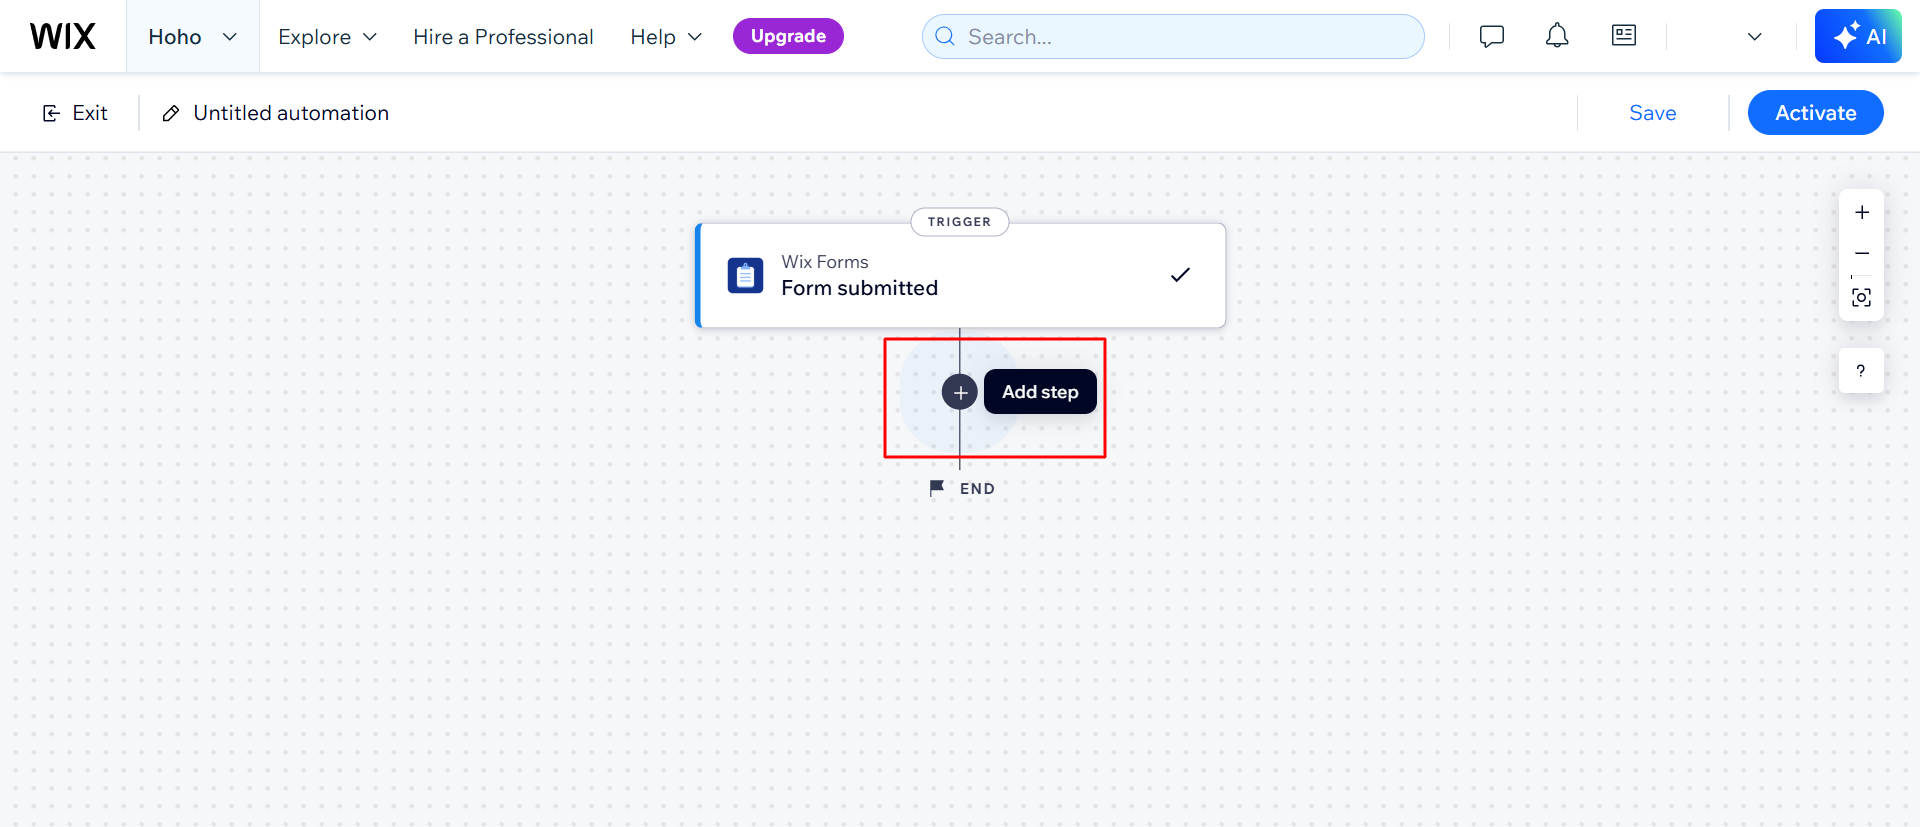
- Click + to add a step.
- Select Action.
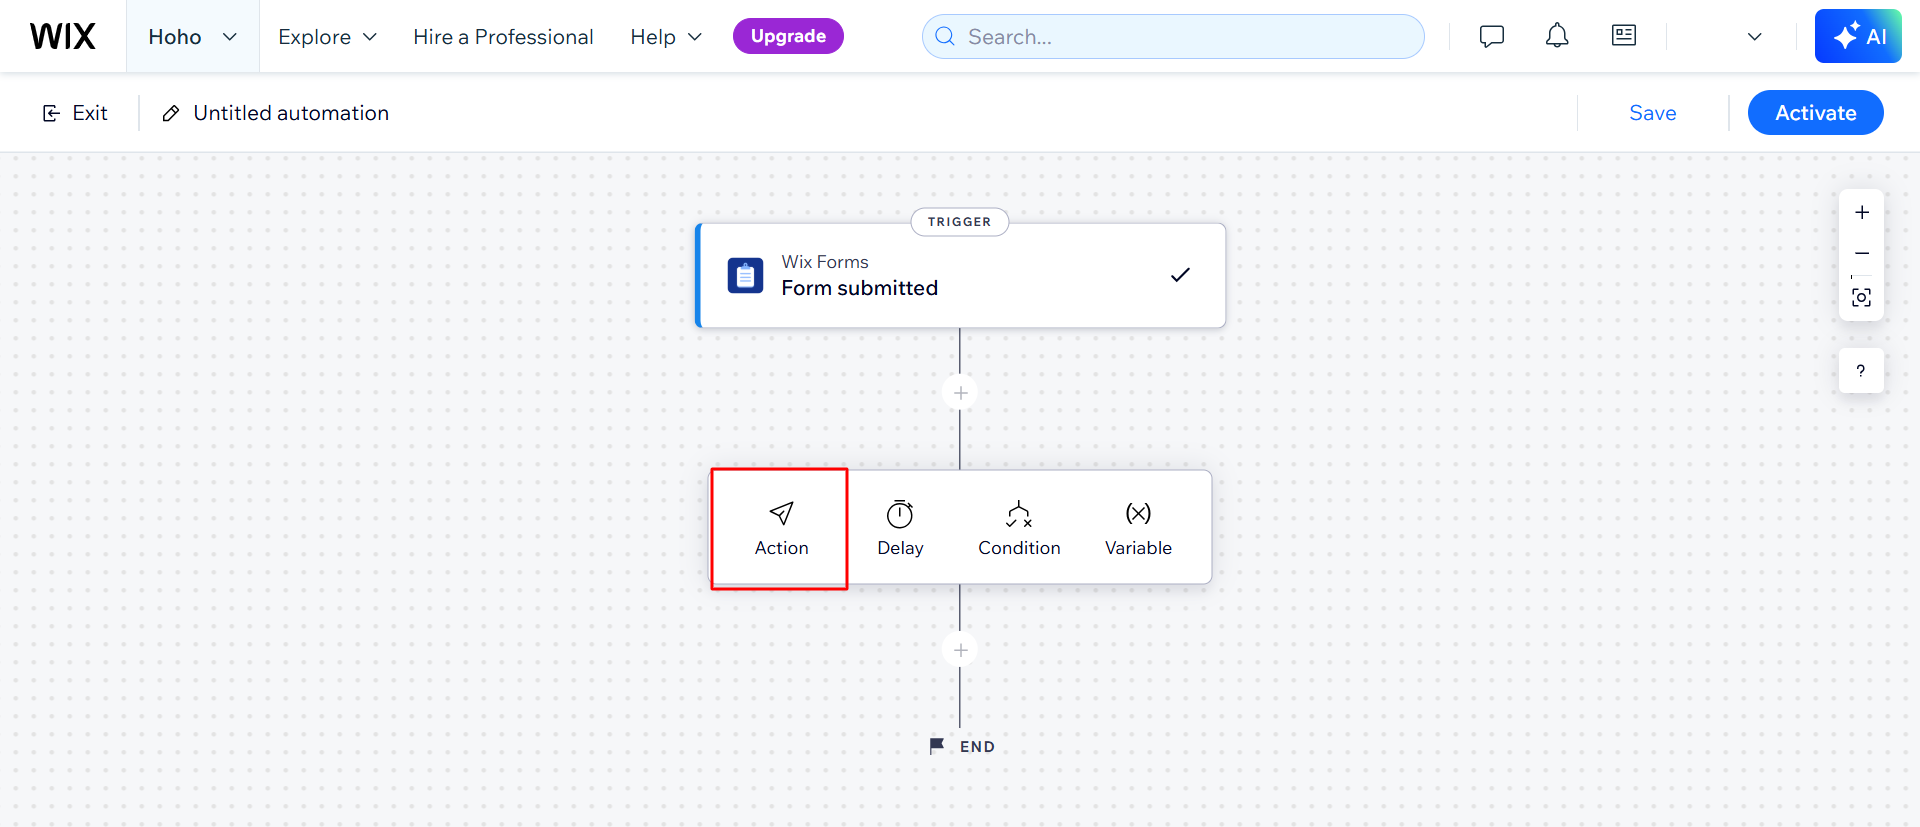
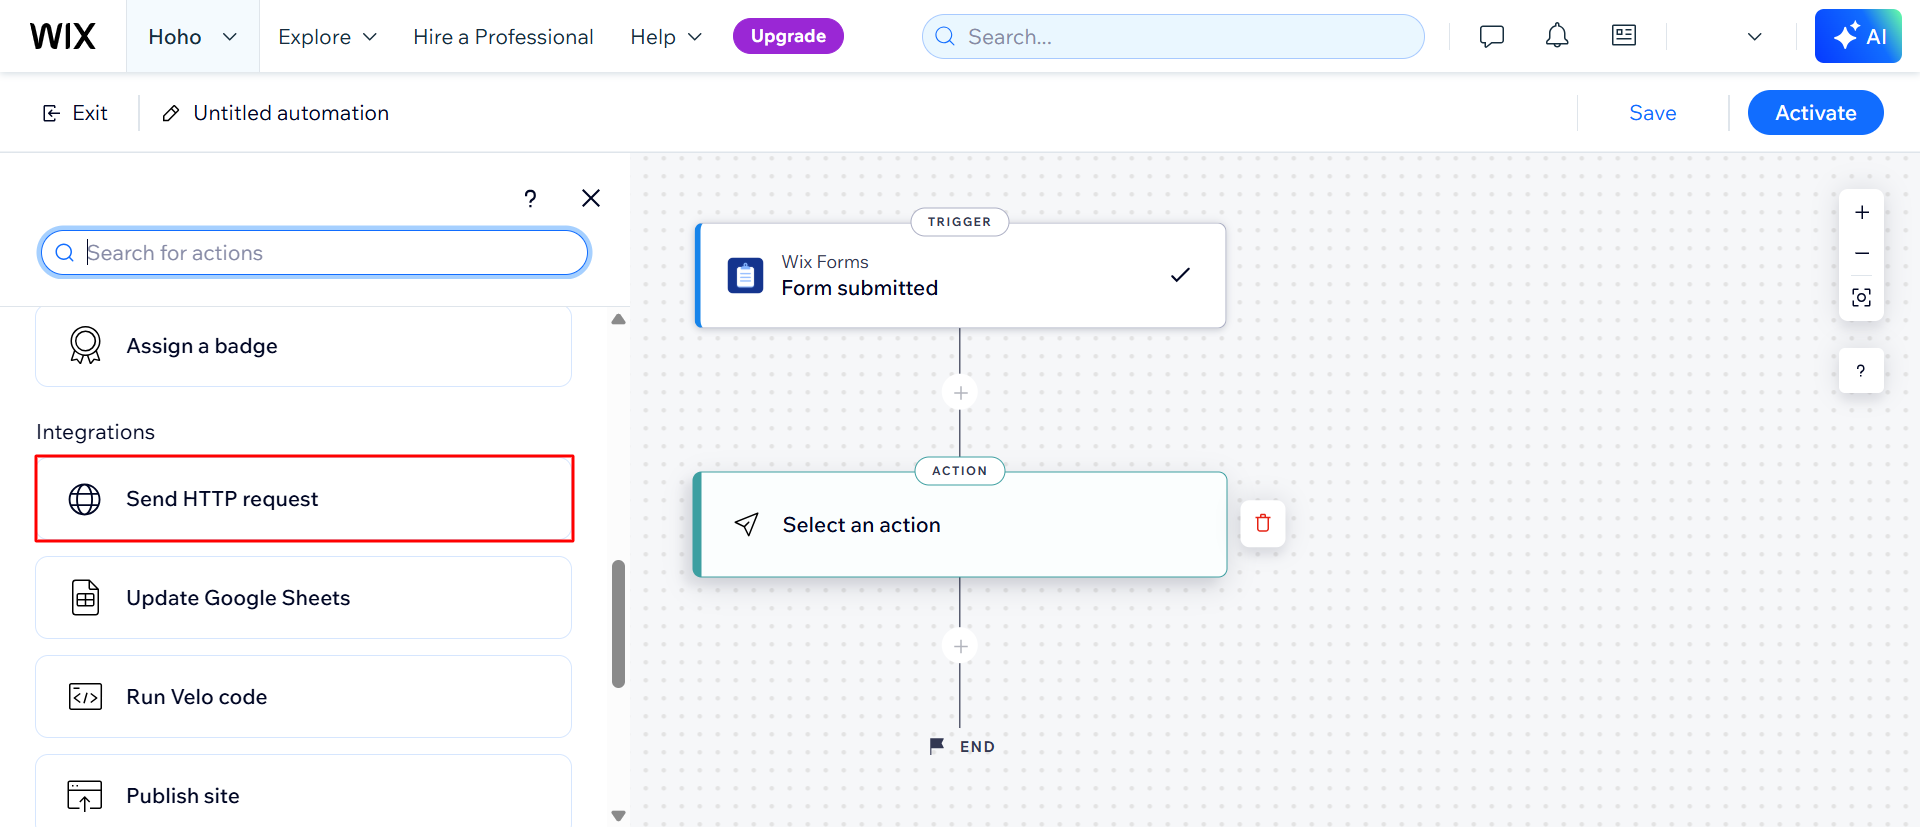
- Select the action type — Send HTTP request.
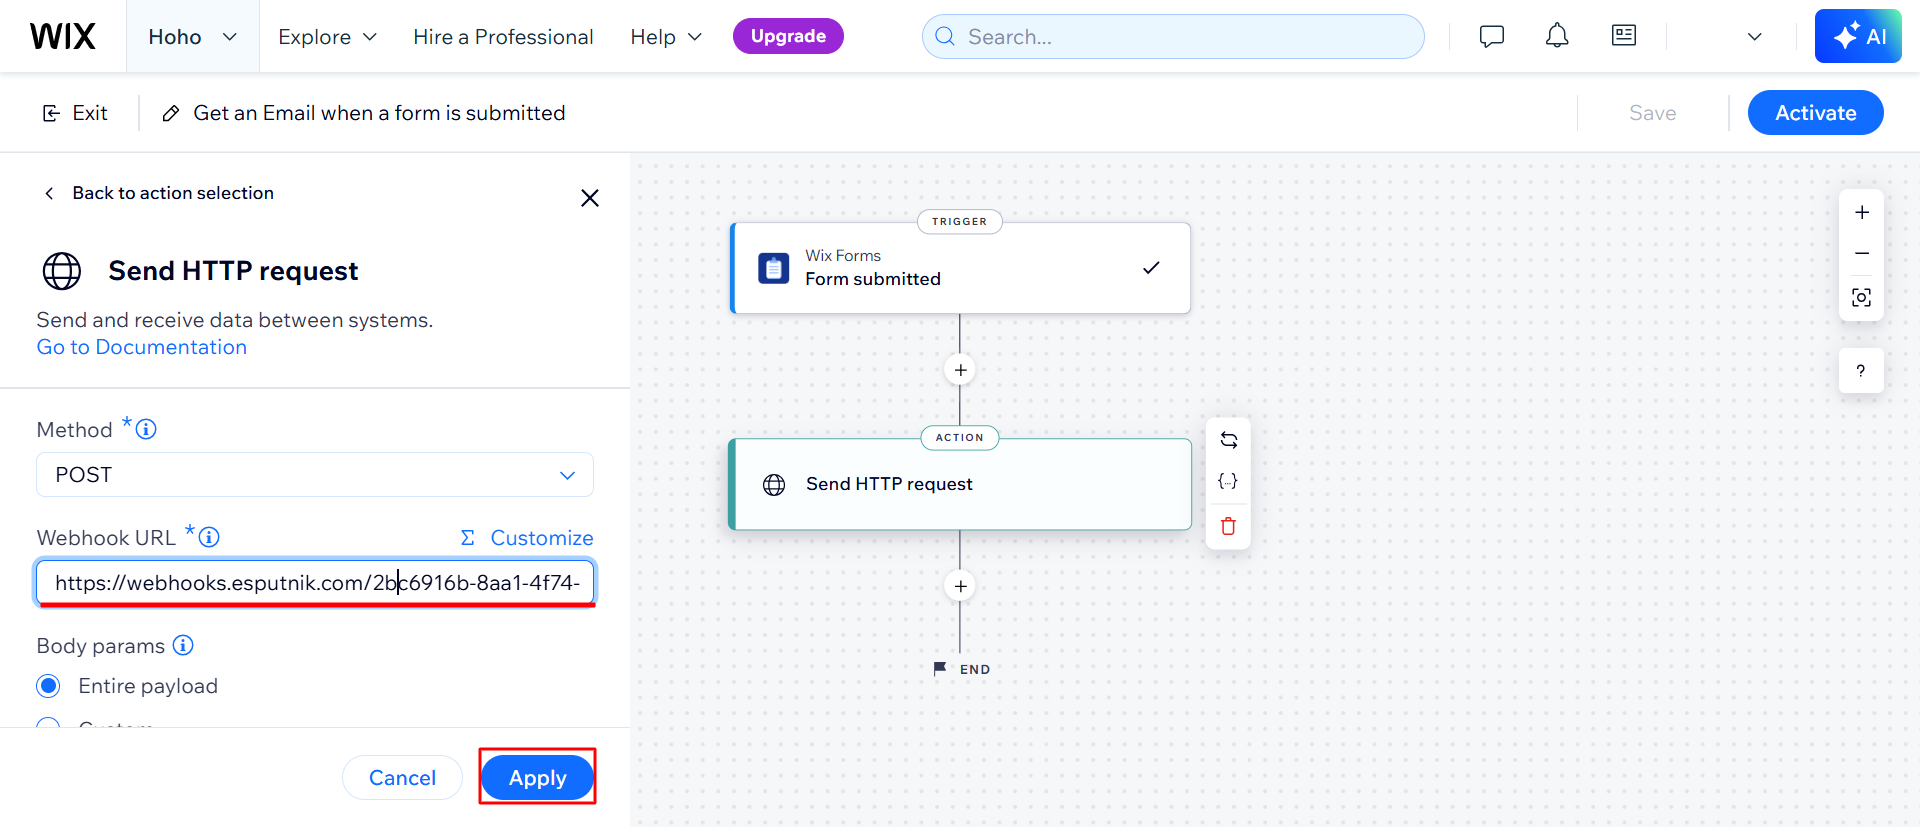
- Paste the eSputnik Webhook URL and click Apply.
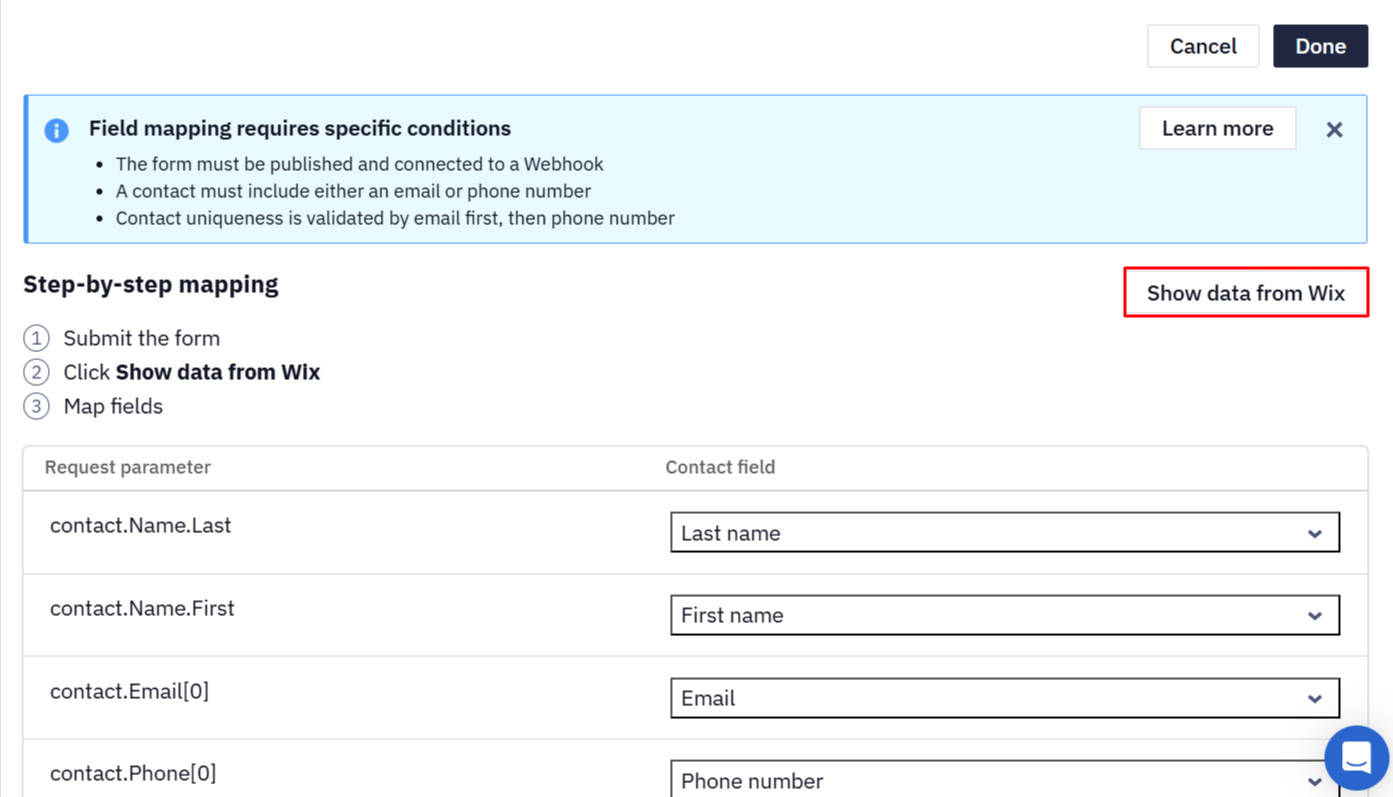
Step 3. Field Mapping
- Fill out the form and send the submitted data.
- Click Show data from Wix.
- Map it to the contact field.
- Click Done.
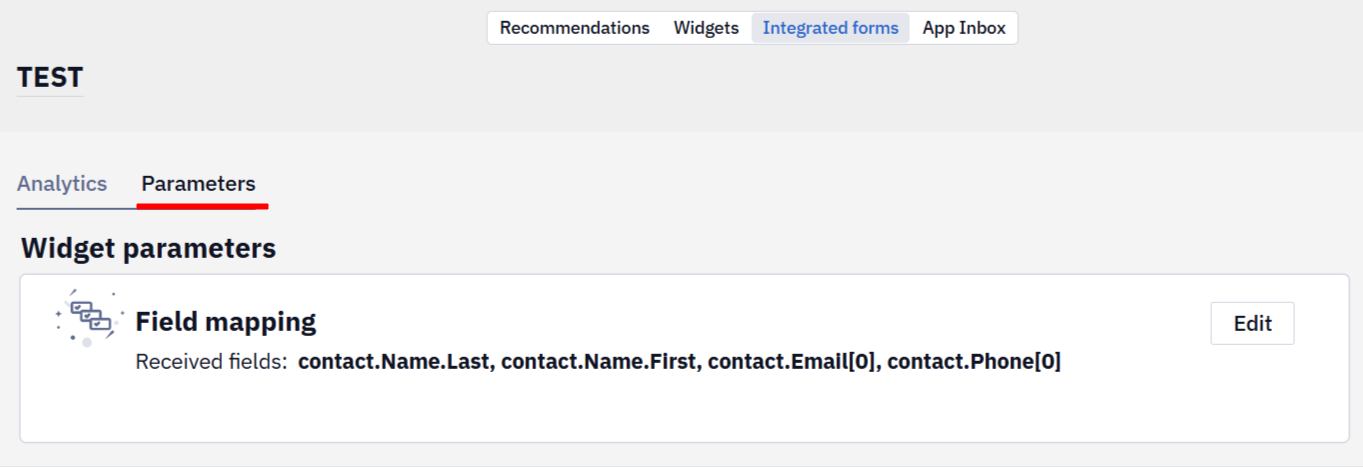
Step 4. Setting Parameters
Check and edit form parameters and actions after subscription on the Parameters tab.
When everything is set and checked, click Save. The created form will appear in the general forms' list.
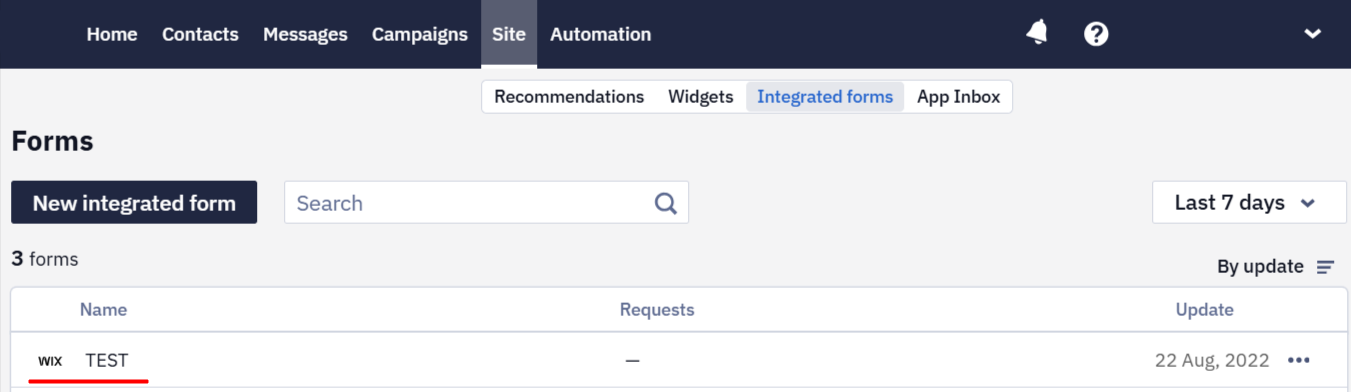
Here you can see the statistics on requests and the last update. To delete the form, click the three dots icon on the right.
NoteRequests display how many times the form has been filled and not the number of new contacts. One person can fill the form more than one time or fill the form but not subscribe.
Updated about 1 month ago
Did this page help you?