Module Library
A module is a reusable structural element of an email template, such as a header, product card, banner, footer, or similar component.
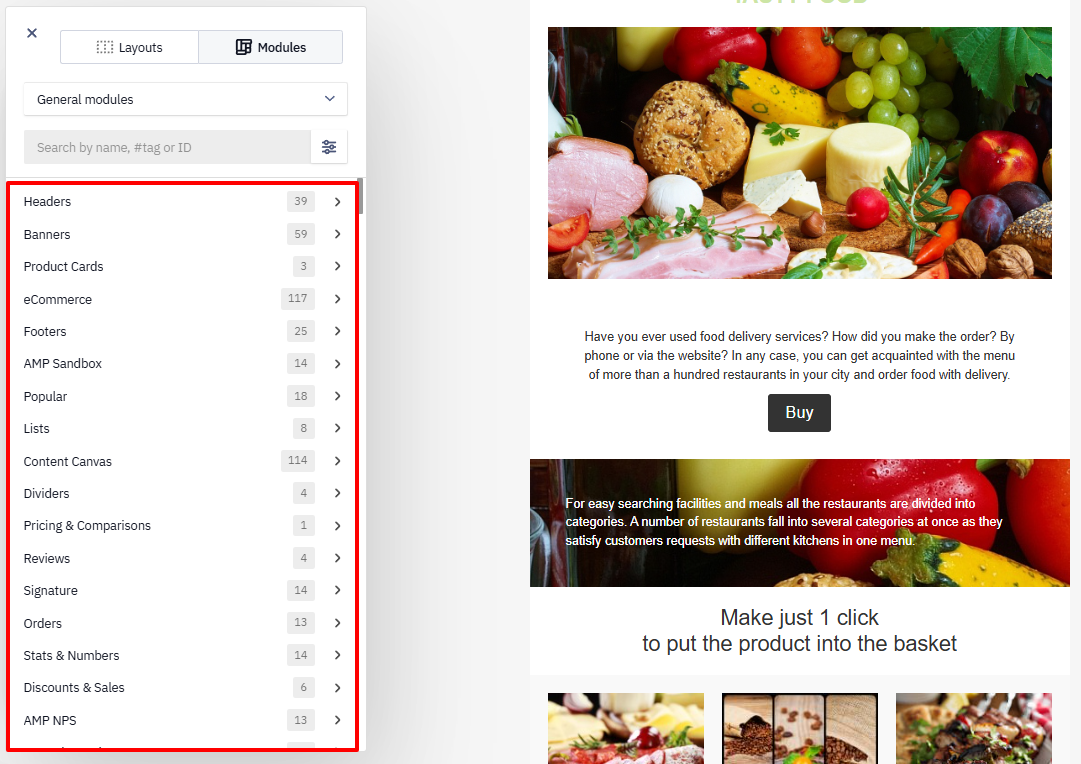
Use modules to quickly build an email without creating elements from scratch.
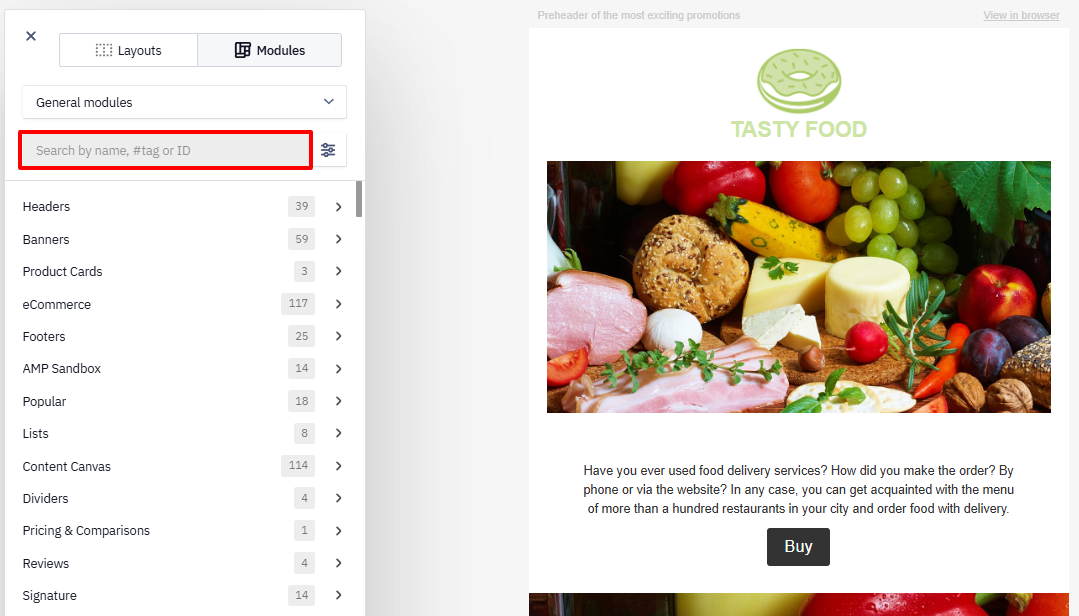
The editor includes a built-in module library available in the Structures & Modules panel.
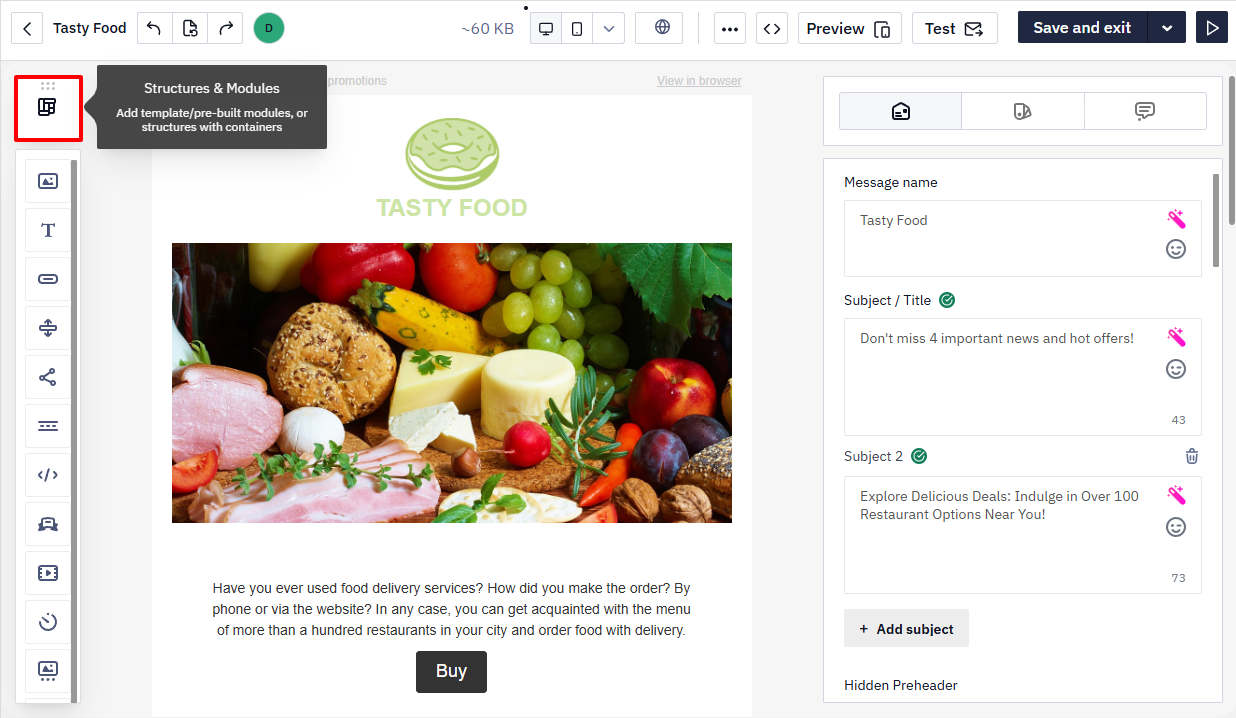
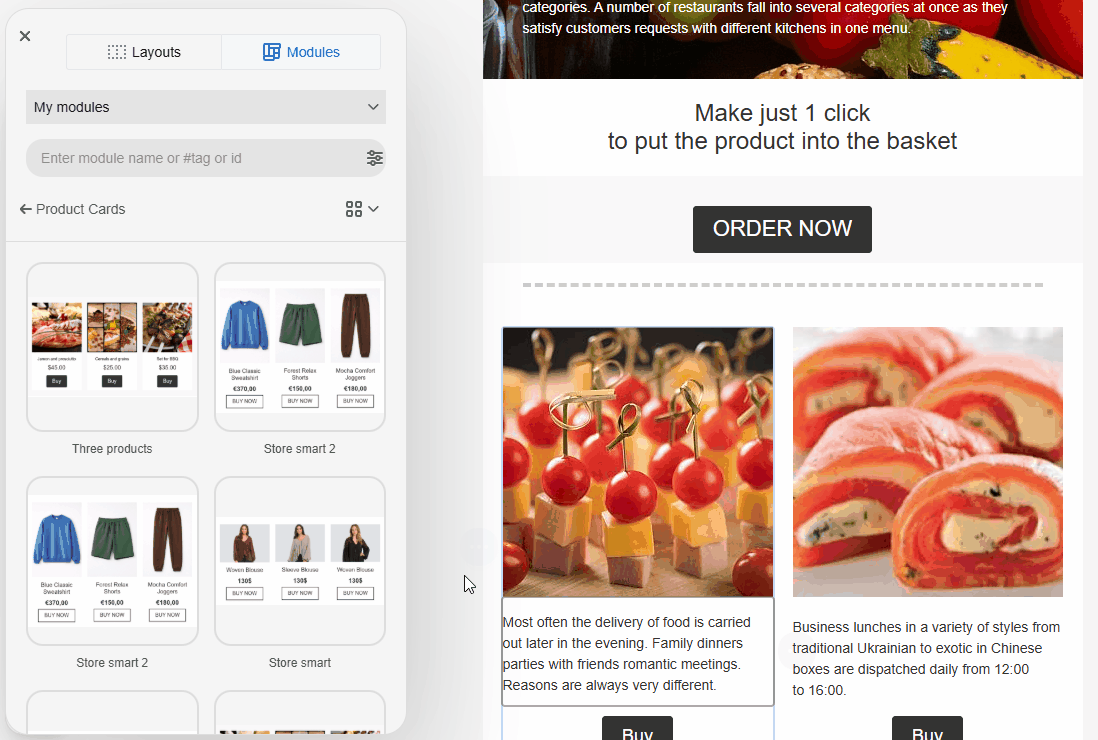
The library contains two tabs:
- My modules — modules saved by the user.
- General modules — standard modules provided by the editor.
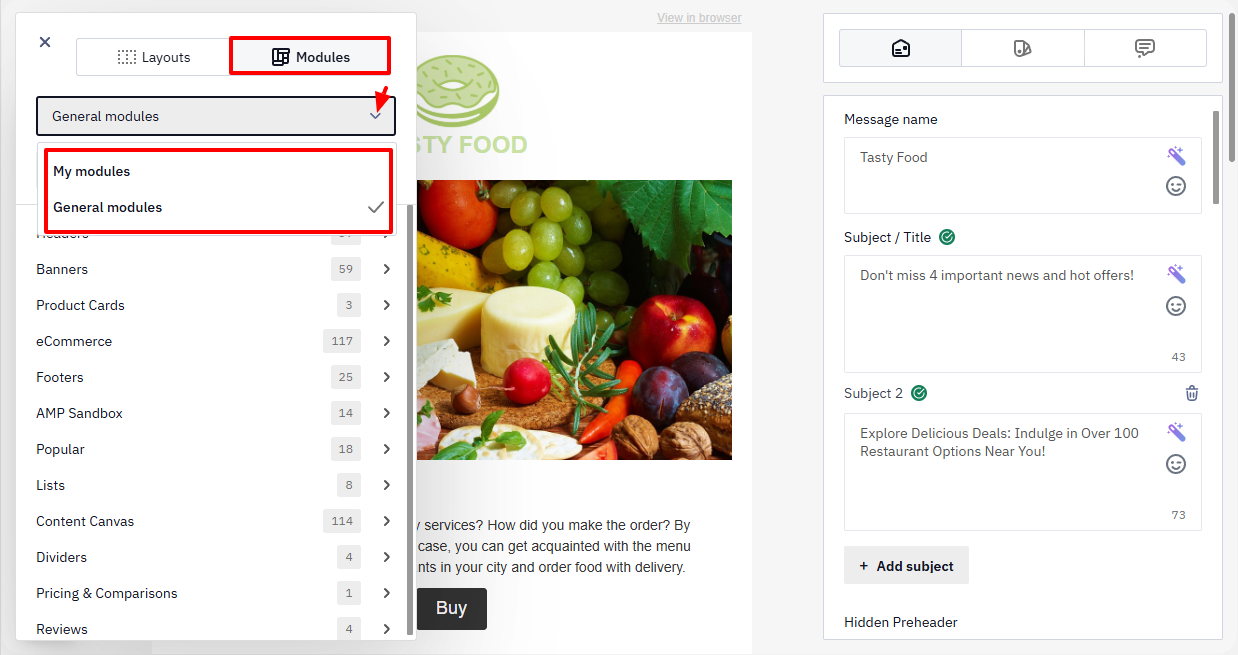
To add a module to the email, drag it to the desired place in the template.
Creating a Module
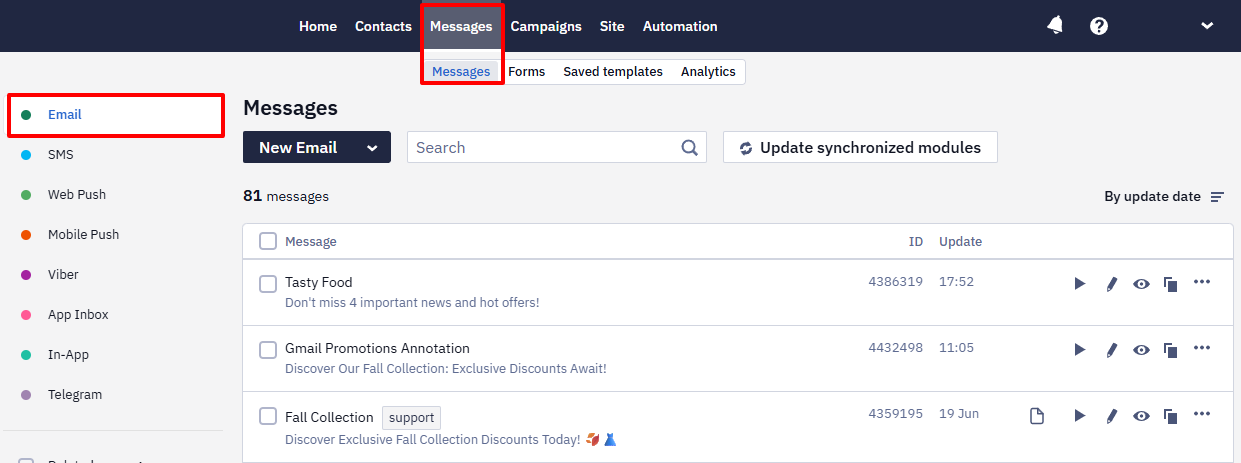
- Open an existing email or create a new one (Messages → Messages → Email).
- Hover over the element and click the three dots:
- for a Structure or Stripe on the right;
- for a Container on the left.
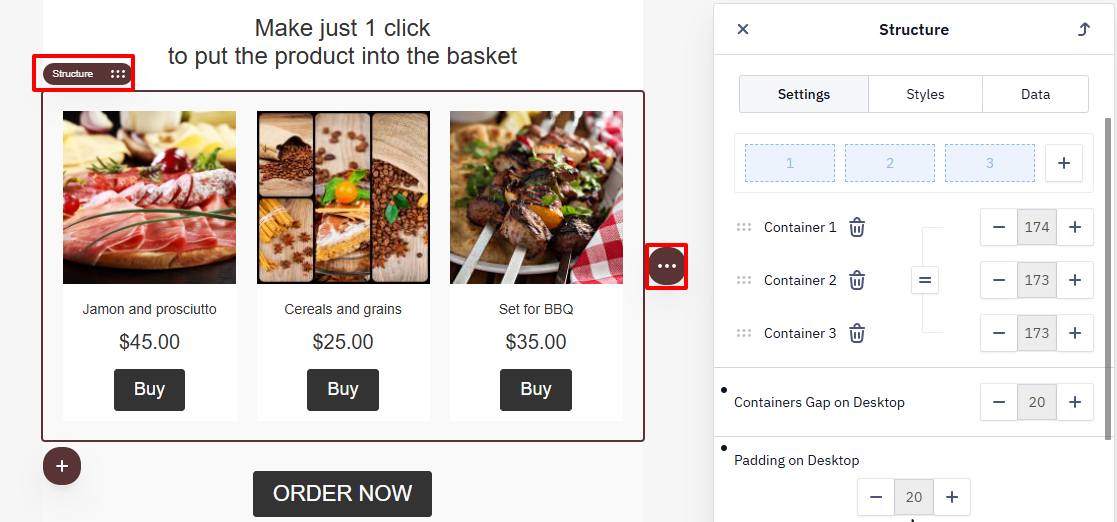
- Click the Save as module icon to open the module settings panel.
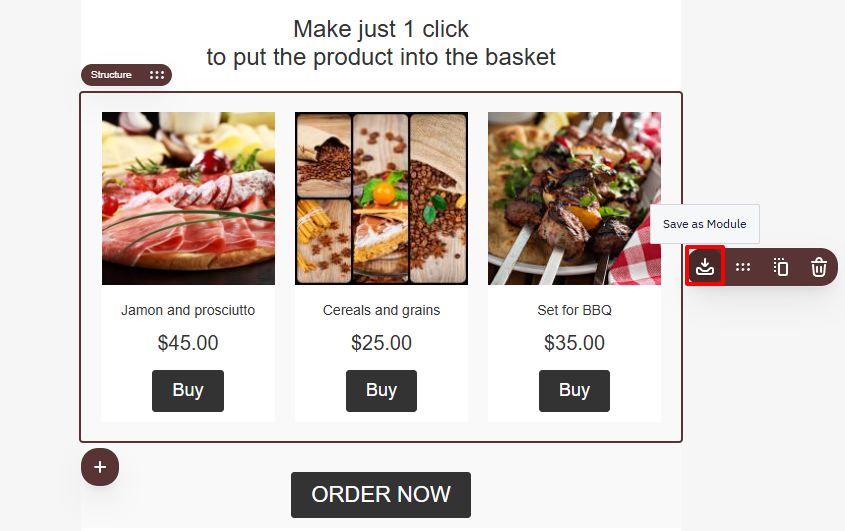
NoteYou can create a module from a Stripe, Structure, or Container.
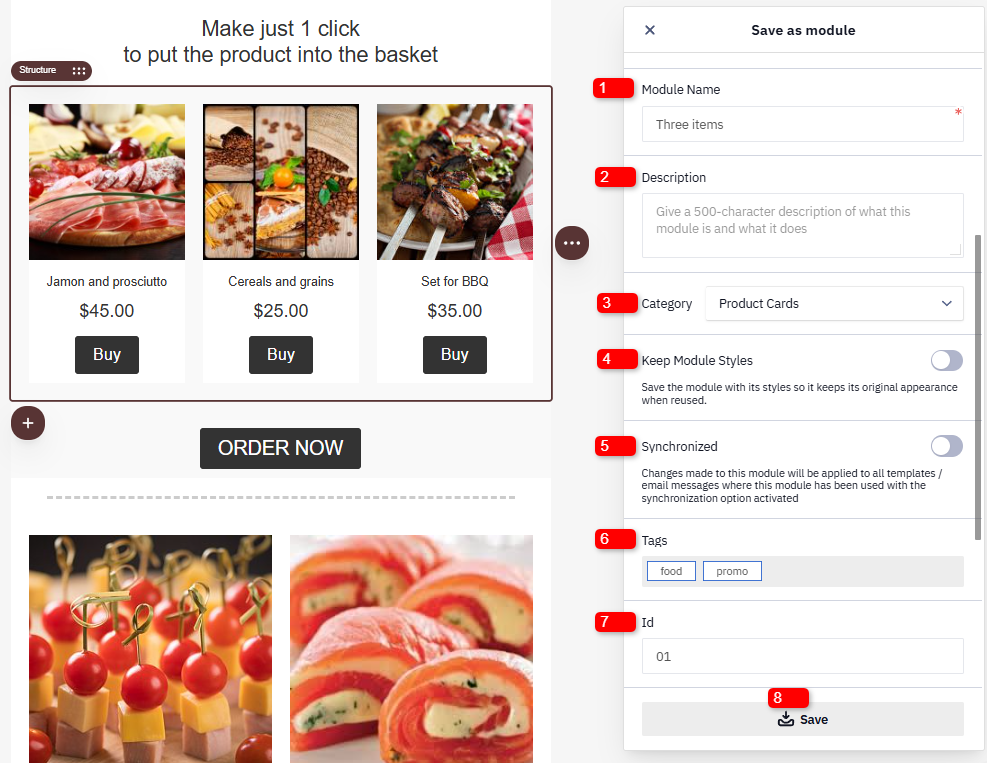
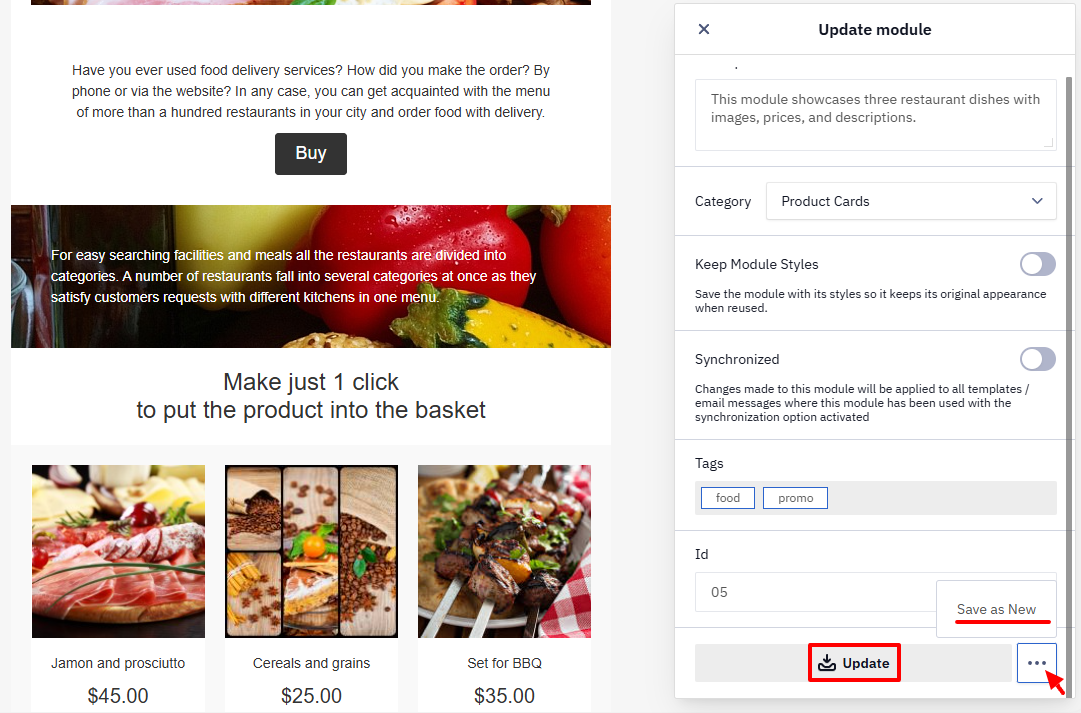
Module Settings
Do the following:
- Enter a module name to find it quickly in the library.
- Add a description that explains the module’s purpose (optional).
- Select a category so the Global styles and Layout tab settings apply based on the element type (optional).
- Turn on the Synchronized toggle if you want the module to update automatically in other emails (see Synchronized modules for details).
- Add tags for easier search (optional).
- Add the ID for use in emails with dynamic variables.
- Click Save.
After that, the module will appear in the My modules tab.
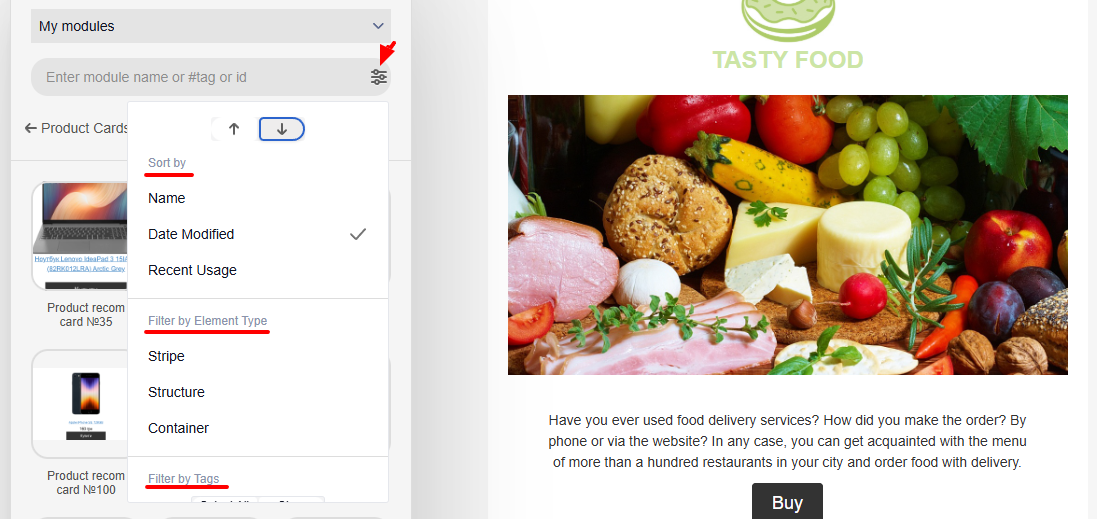
Searching, Sorting, and Filtering Modules
Use search, sorting, and filters to find modules faster.
Search
Enter the module name, tag, or ID in the search field.
Sorting and Filtering
- Click the settings icon to the right of the search field.
- Select options:
Sort by
- Name
- Date Modified
- Recent Usage
Filter by Element Type
- Stripe
- Structure
- Container
Filter by Tags
- select one or more tags.
Use the arrow buttons to change the sorting order:
↑— ascending order;↓— descending order.
ImportantClear the filters and the search field when needed. Otherwise, the system continues to display modules according to the last applied filter results.
Display Mode
Click the display icon and select a mode:
- List
- Grid
- Small grid
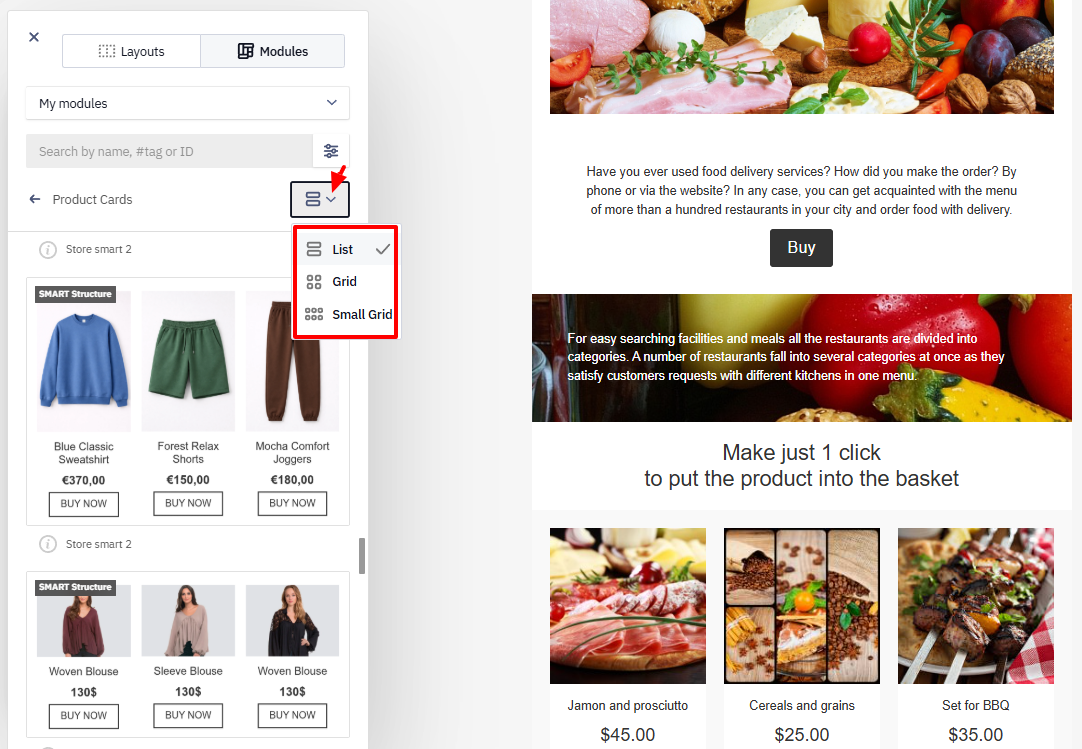
Hover over the information icon to view:
- the module name;
- the element type (stripe, structure, or container);
- the creation date and the last modified date.

Editing a Module
NoteGeneral modules cannot be edited. Save them as your own first.
- Hover over the required module in the list.
- Click the three dots and select Edit.

- Make the necessary changes.
- Update the module or save it as a new one.
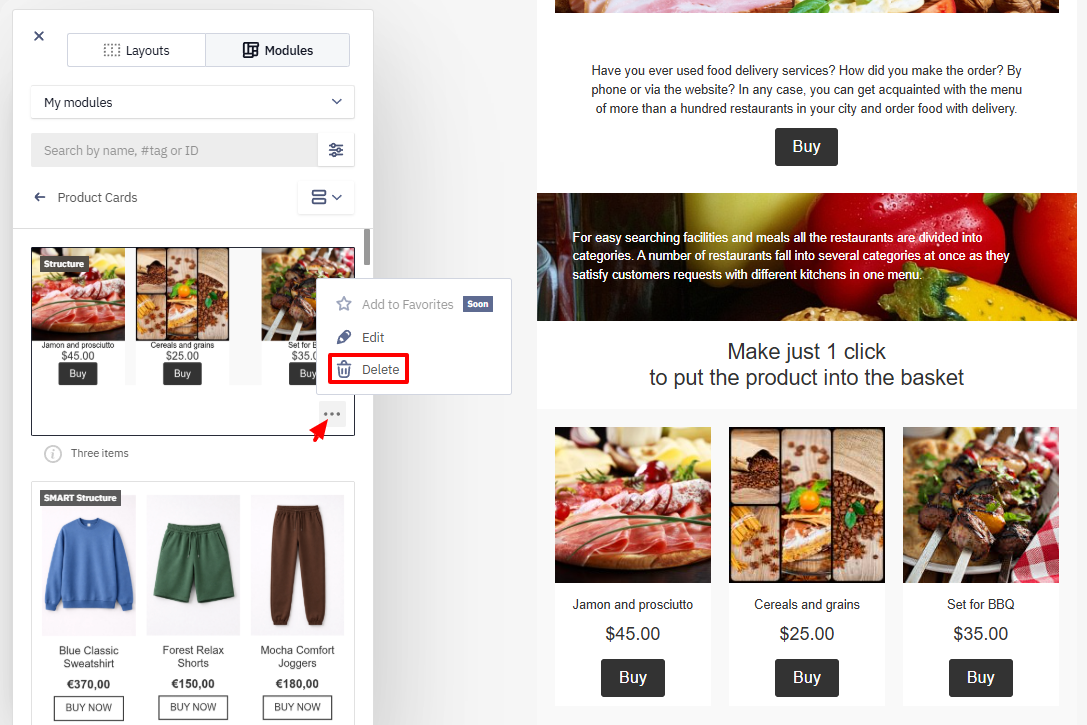
Deleting a Module
- Hover over the required module in the list.
- Click the three dots.
- Select Delete and confirm the action.
Using General Modules
General modules include ready-made elements such as headers, banners, product cards, footers, and other sections. Use them to assemble your email structure faster and reduce creation time.
NoteGeneral modules do not have tags, so you cannot filter them by tags.
Updated 20 days ago