Price and Discount Blocks
Use the following blocks in the eSputnik editor as additional components of the Products block:
- Price — synchronizes the price with the website, allowing you to distinguish between the current price and the old one.
- Discount — clearly shows the benefit to the user in percentage.
Using these blocks together makes the offer more attractive, as subscribers can immediately see the benefit and the amount of savings.
ImportantThe Price and Discount blocks are available when you have at least one order in your account.
Blocks Configuration
Drag the blocks to the pre-created product card and click on those you want to edit — a settings panel will open.

Price Block
The block lets you configure the following settings:
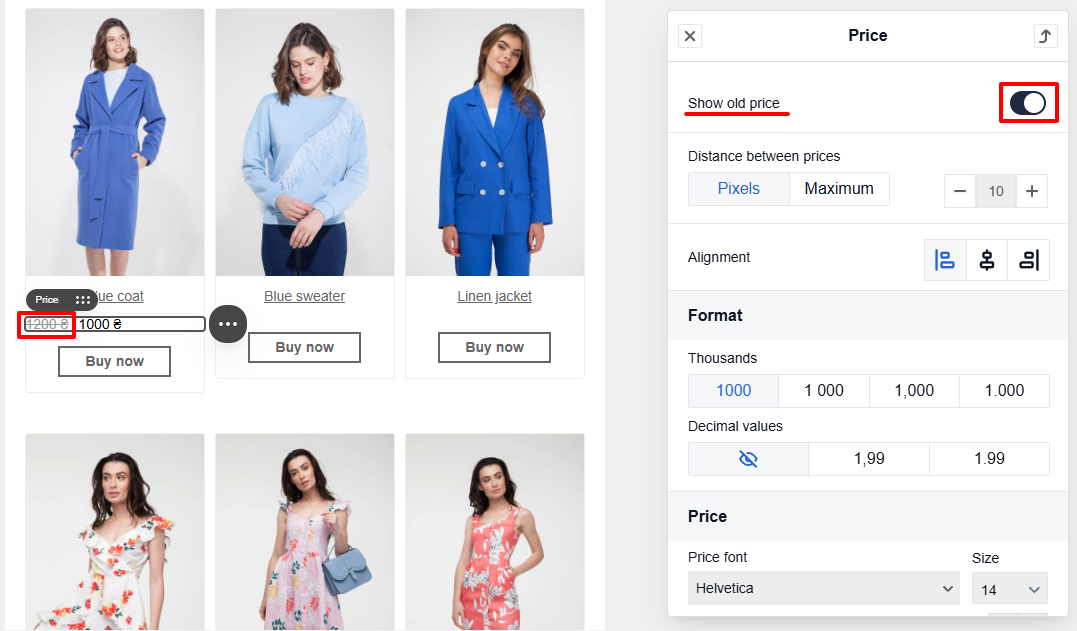
Show old price
This is the default option. Deactivate the toggle to display only the current price.
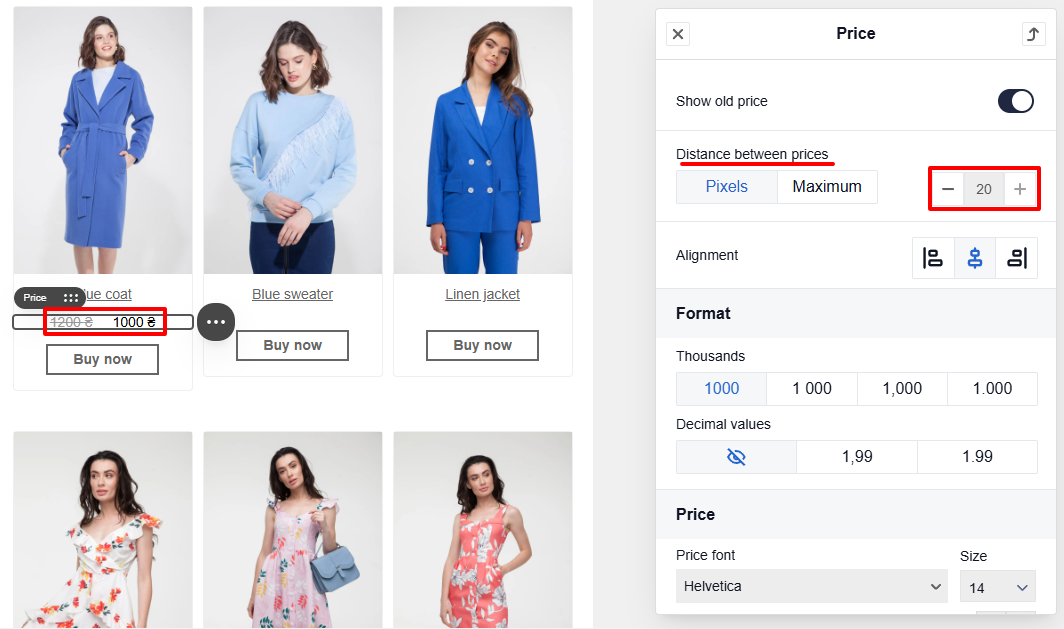
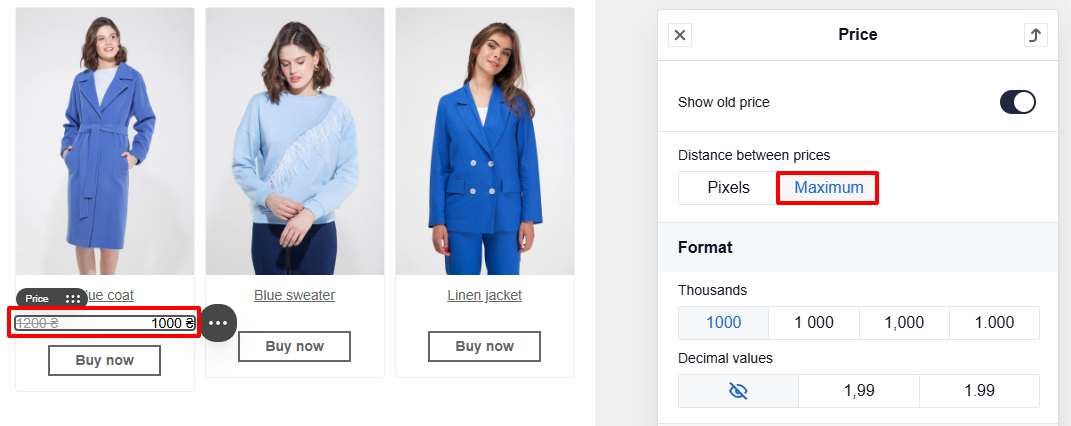
Distance between prices
Set the distance between the price and old price in pixels. The maximum value is 20 px.
When selecting the Maximum option, the prices within the block will be spaced as far apart as possible.
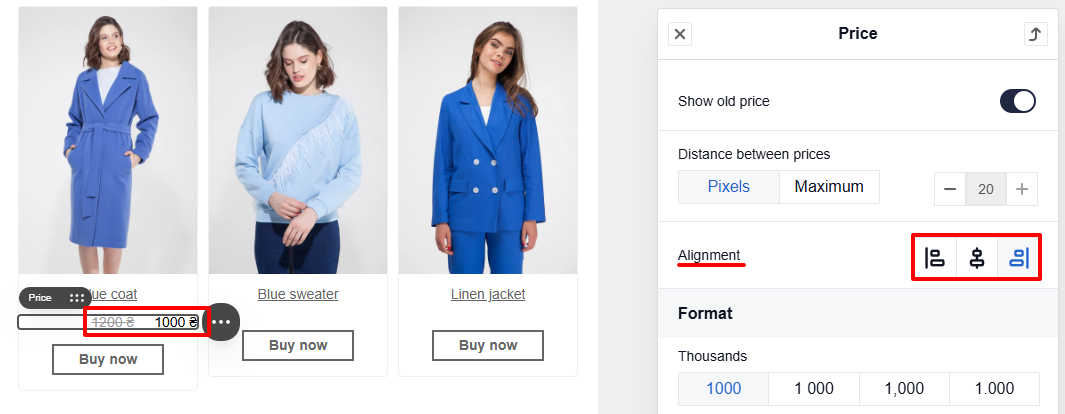
Alignment
Set the alignment of the prices: left, center or right.
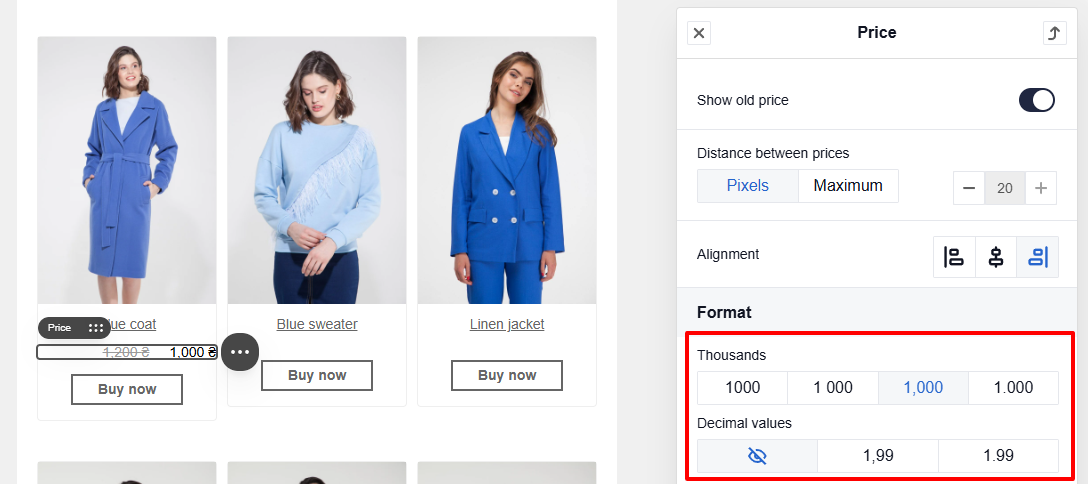
Format
Set the price display format: choose the thousands separator (1000, 1 000, 1,000, 1.000) and specify whether to show the decimal part (cents) or hide it when it is not used.
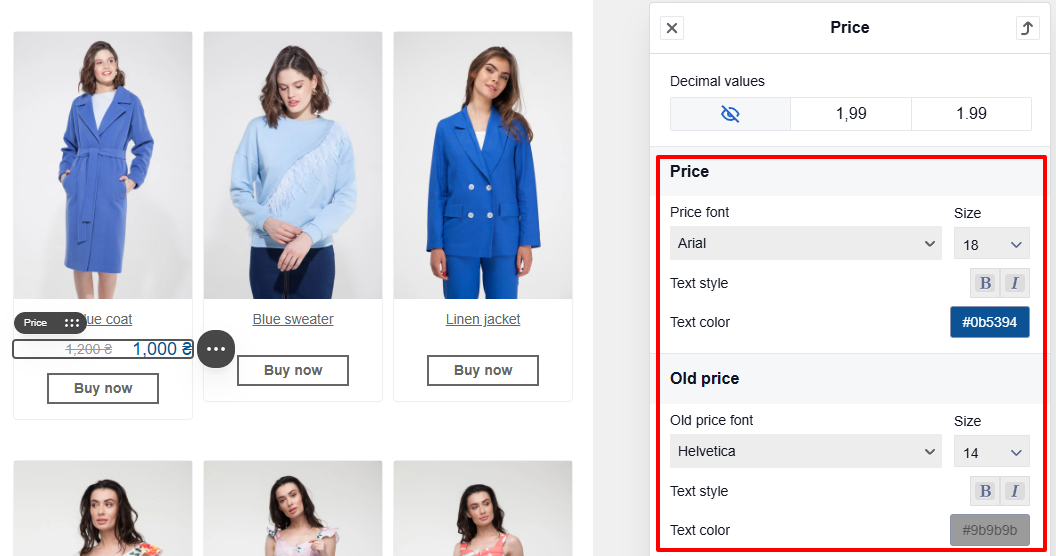
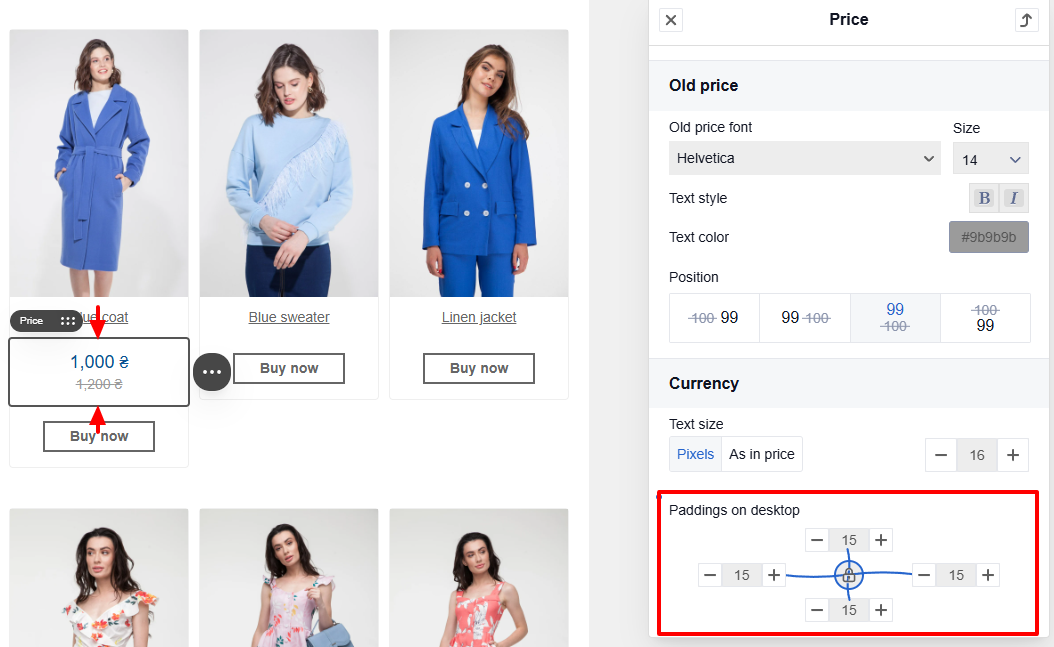
Price
You can set the following options in the Price and Old price sections:
- Color, size and style font.
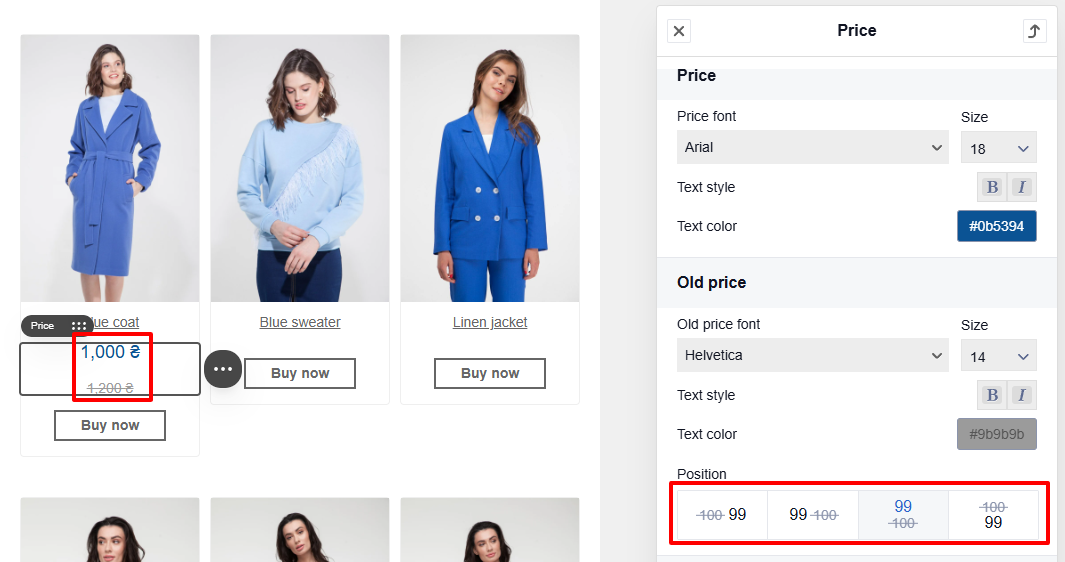
- Positioning the old price in relation to the new price: left, right, below or above.
Currency
Specify the font size separately in pixels, or match it to the price size.
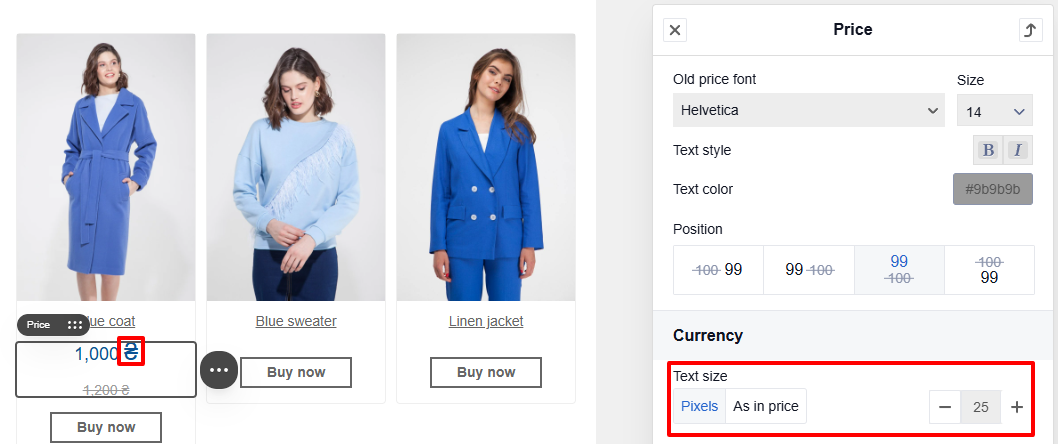
NoteIf the prices' text sizes are different, changes to the currency font will only apply to the Price.
Paddings
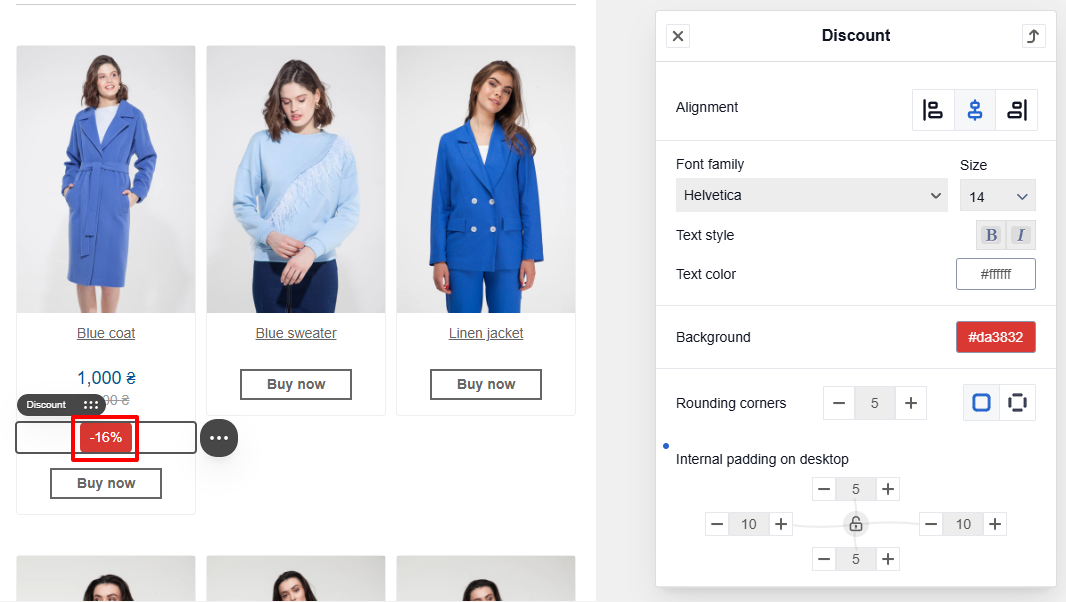
Discount Block
Changing the settings is similar to the Price block.
You can configure the following block settings:
- Alignment
- Font size and style
- Text color
- Background color
- Rounding corners
- Internal and external paddings around the block for mobile and desktop versions
Saving the Product Card
After making changes, save the product card with the blocks as a separate module. Learn more >
Updated 4 months ago