Creating Mobile Push Message
In this guide, you will learn how to create mobile push notifications.
ImportantTo send mobile push messages via eSputnik, you need to set up a connection between your mobile app and our system.
Once you set up the integration, you can prepare and send your mobile campaign.
Creating New Mobile Push
Go to Messages → Messages → select the Mobile Push section in the left sidebar. Click the New Mobile Push button.

Main Settings
Fill in such fields:
-
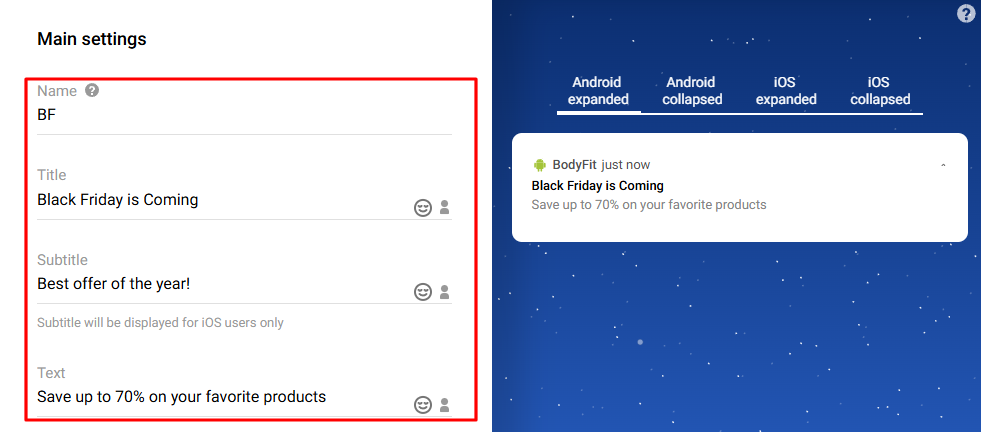
Name. The system name that the recipient will not see.
-
Title. Required field, the recipient will see its value in the message.
-
Subtitle. Optional field, which value only iOS users will see.
-
Text. The main content of a push message is up to 1000 characters long.
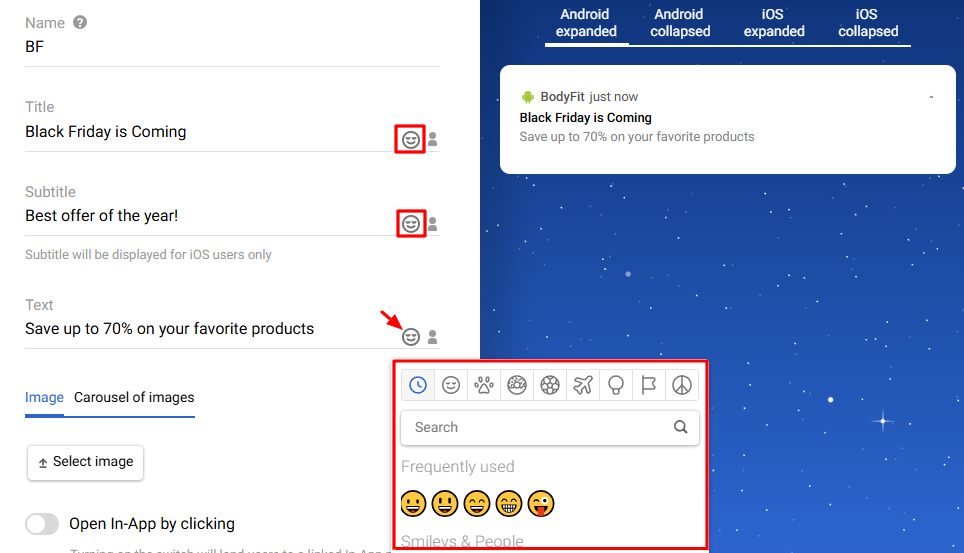
Use emojis in the title, subtitle, and text fields.
 Note
NoteOne emoji takes up two characters. Keep this in mind when creating messages
-
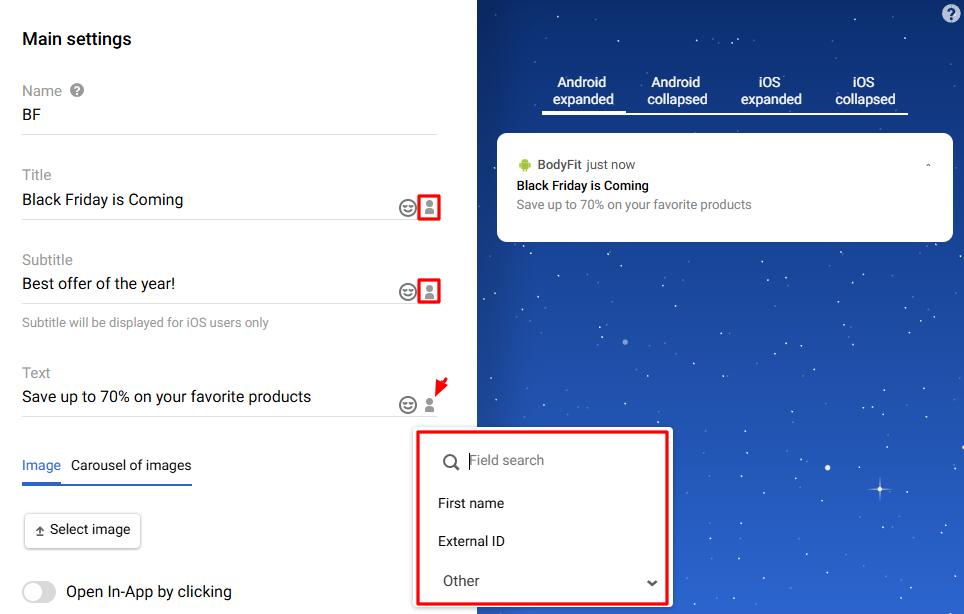
Personalization. Use the dynamic variables to add a name, city, bonuses or any personal data available in the user profile. Click on the Personalization icon in the Title, Subtitle or Text field to select data.
- Image. Select one of the options:
- Image— one picture.
- Carousel of images — up to 10 scrolling images. The carousel is available on Android and iOS devices. Before using the image carousel for iOS, you must set the content extension.
You can upload images in JPG, JPEG, PNG, or GIF formats with a size of up to 2 MB and a width and height of up to 1200px.
NoteThe
GIFformat is available only on iOS devices and will appear as a static image on Android devices.
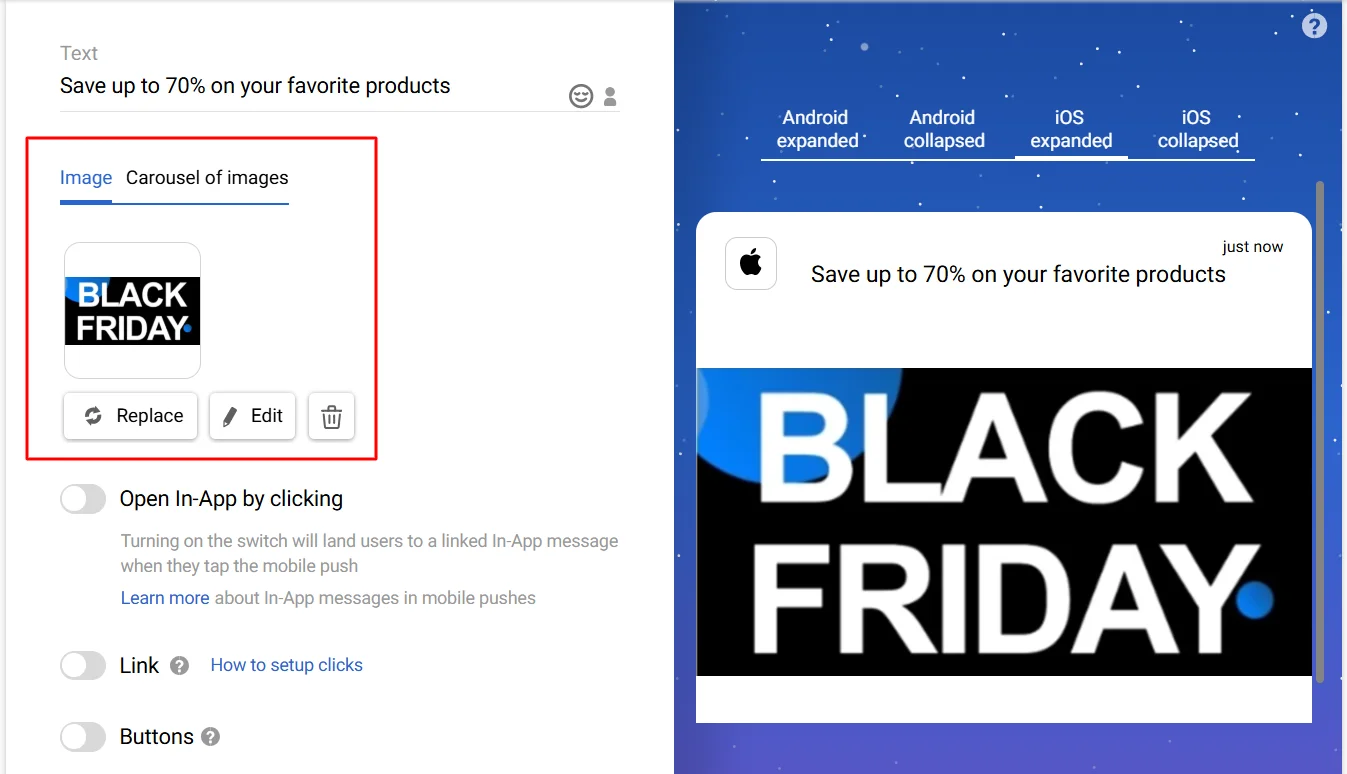
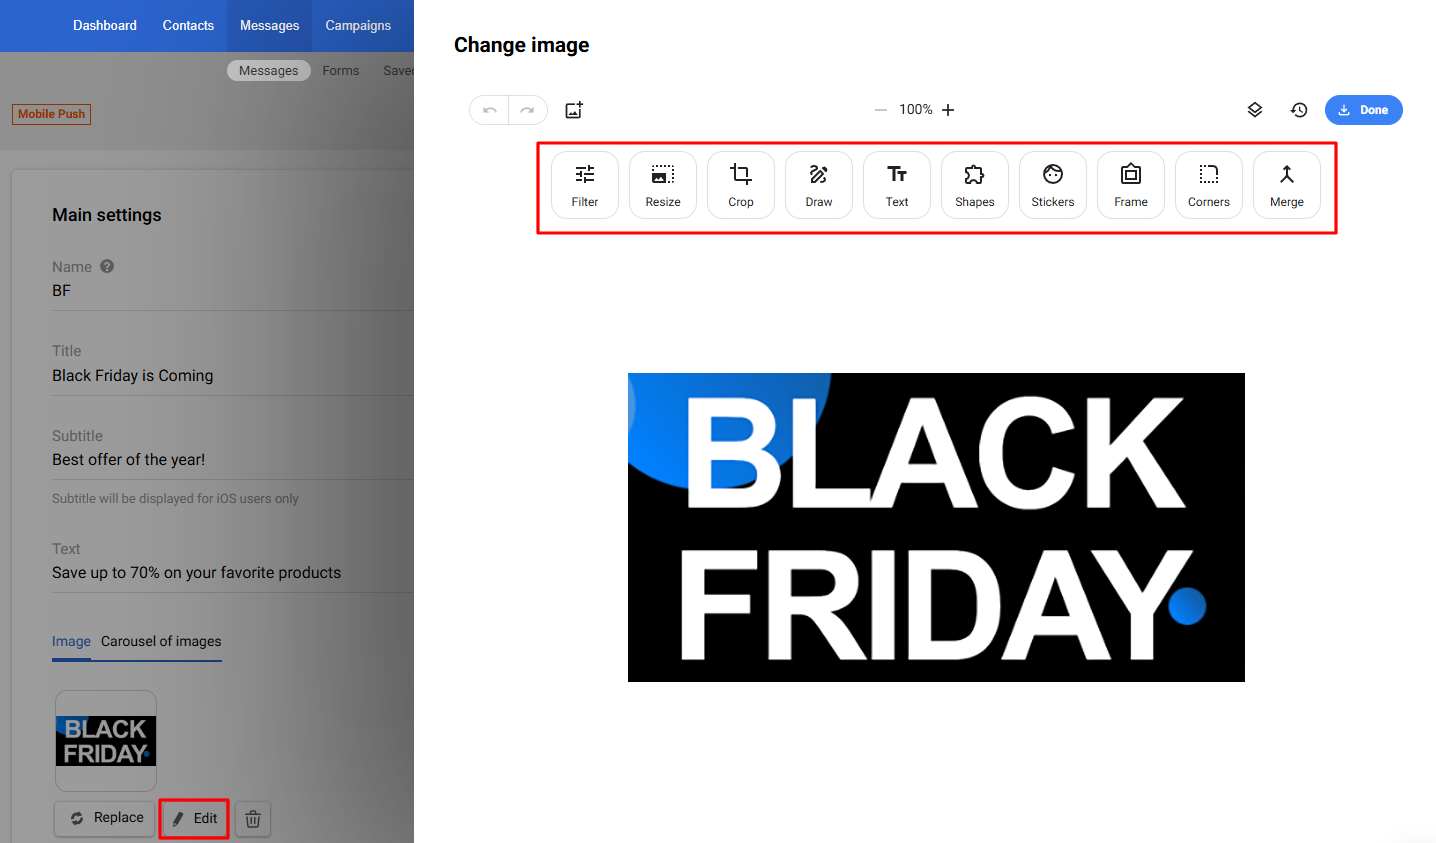
NoteYou can edit the image directly in the editor when uploading (if it does not meet the requirements) or after uploading (the Edit button). After editing, the image is saved in PNG format.
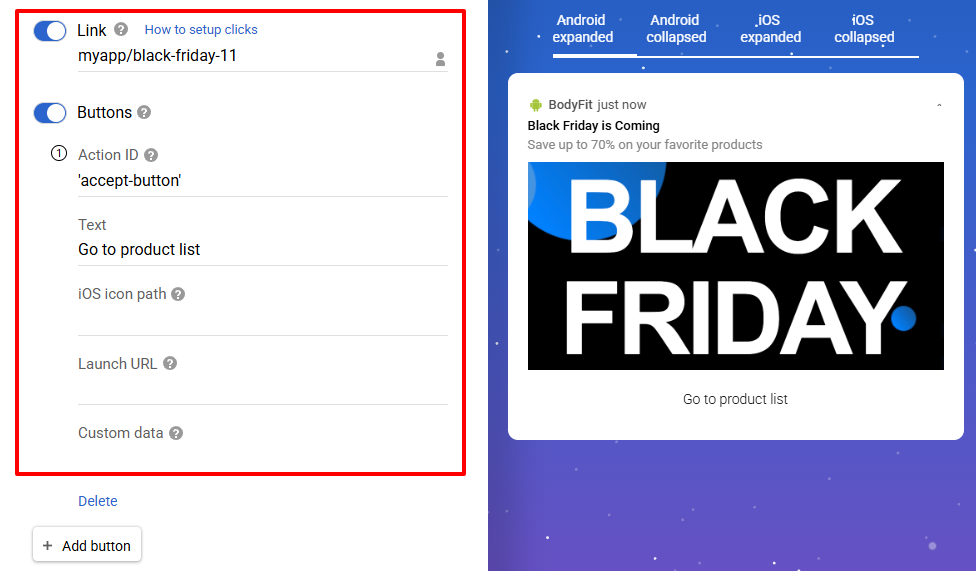
- Link. The URL can be opened by a device browser or as a deep link to a specific location within your mobile app. If no link is specified, a tap on the push notification will open the app. Also, you can set an individual link for each user using the personalization option.
- Buttons. Use buttons to trigger any event. For example, some answer options or the transition to the specified URL. When a recipient touches the screen for an extended period of time (long pressing), it displays the actions assigned to your push notification.
Note
- We do not recommend using links with the HTTPS protocol in mobile pushes because, after the first click, the user will see a pop-up window asking where to open the link — in a browser or in a mobile app.
- For the user to immediately get to the desired screen of the app by clicking, use links of the format “myphotoapp:Vacation?index=1”. Read more >
- For iOS, you can add up to four buttons; for Android — up to three.
To add the action buttons to your mobile push notification, click + Add Button and enter the following parameters:
| Parameter | Description |
|---|---|
| Action ID | A unique identifier of the button action. |
| Text | The text that the button displays. |
| iOS icon path | The icon associated with an action. Available in iOS 15 and later. Enter the name of an image in your app’s bundle, preferably in an asset catalog. |
| Launch URL | A URL or a deeplink that opens when the notification is selected. |
| Custom data | Additional parameters associated with the button in JSON format. |
NoteYou must enter the values in Action ID and Text for a button to work correctly. Use different Action IDs when you add several buttons.
To learn more about notification action icons, see Apple documentation.
For click event handling, you can use your preferred tools.
Also, you can use our SDK for this purpose. Learn more about installing and using our SDK for mobile apps.
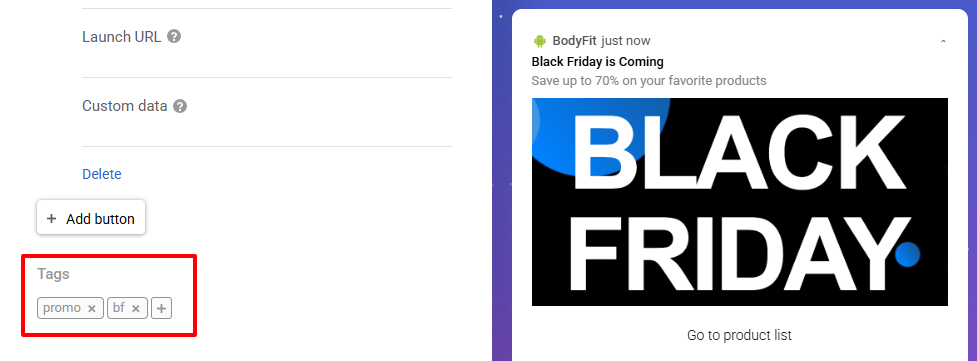
- Tags. Select tags from the list or enter a new one and click Enter. Use tags to filter search results and set campaign frequency strategy.
Additional Settings
Fill in such fields:
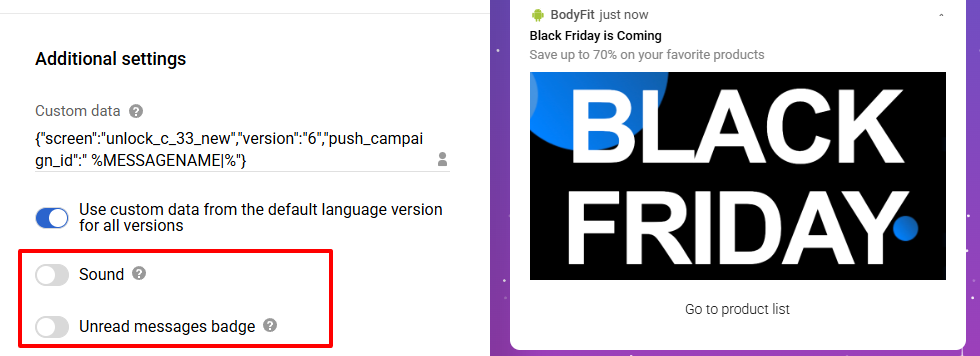
- Custom data. You can create push notification messages using custom data in JSON format. If custom data is used in a multilingual message, it can be applied to all language versions. To do this, activate the Use custom data from the default language version for all versions switcher. If the switcher is disabled, different custom data can be used in each language version.
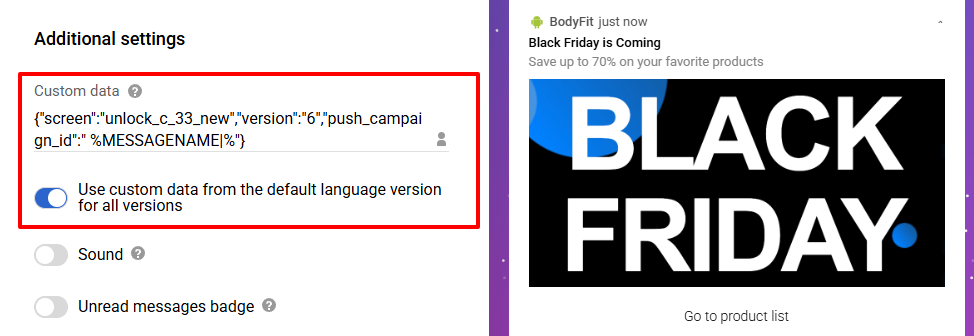
Also, you can use dynamic variables to add data into the Custom data parameter: message name, first name, city, and so on. Click on the personalization icon and select the required.
NoteThis option will only work if your app supports custom data, regardless of the user’s device. Please make sure that your app’s developers have provided this option.
-
Sound. A sound to play when the device receives the notification.
-
Unread messages badge. By default, each notification increments a number displayed in the long-press menu. To display arbitrary values, activate the switcher and specify the desired number. For example, you can enter a value greater than the real one to attract attention or, conversely, lesser so as not to disturb the user with many unread messages.
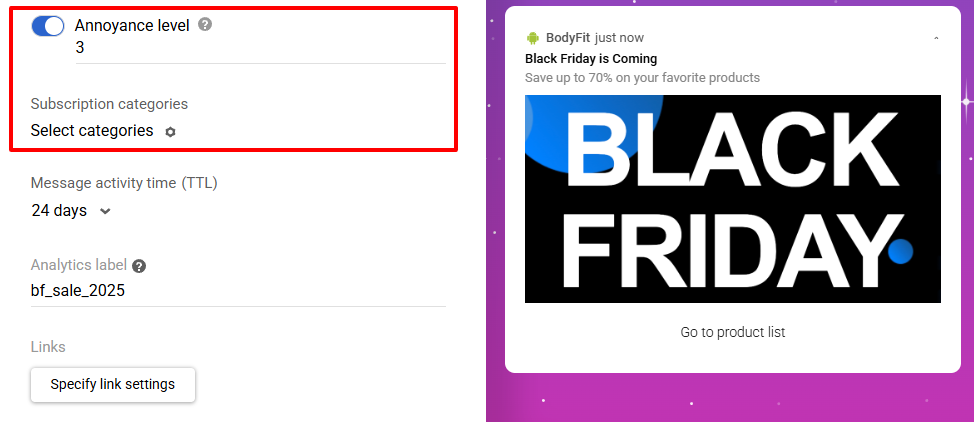
- Annoyance level. Prioritize your notifications to protect subscribers from intrusive messages.
- Subscription categories. These settings help deliver content to the right users based on their preferences.
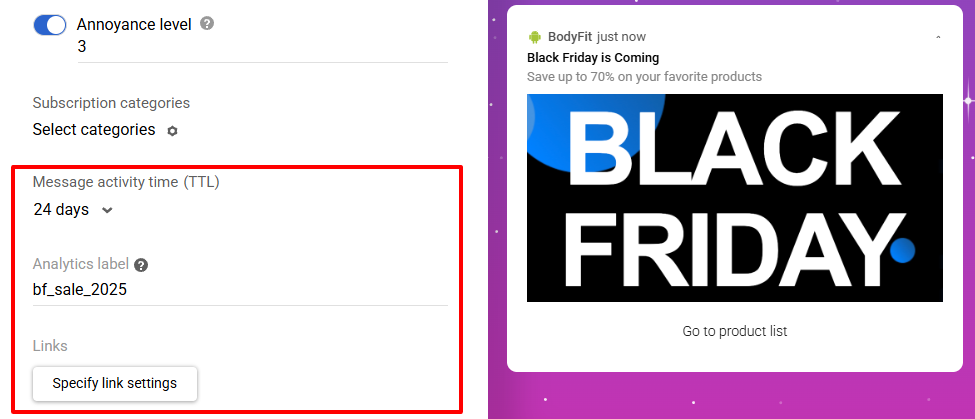
- Message activity time (TTL). TTL is the time the message is displayed in the app. By default, it’s 1 day, but you can select other options.
- Analytics label. Used in Firebase and Google Analytics for analytics, tracking, and evaluating message performance.
- Maximum length: 50 characters.
- You can use Latin letters (uppercase/lowercase), numbers, and the symbols
_,~,%. - Personalization and Velocity are supported.
NoteIf you send identical messages in different campaigns, add a unique analytics label to each one — this will allow you to compare the performance of the messages.
- Links. Configure link settings for UTM tags. Learn more >
NoteYour organization’s logo is added to the mobile push notification from your app automatically.
Multilingual Version (optional)
In our platform, you can create a multilingual version of any message. Click the Globe icon in the top panel, specify the default language, and add language versions. Fill each version with the content in the corresponding language. You can switch between versions within one template in one click.

Learn more about multilanguage >
Test message
You can test a message in two ways:
- In the message editor — click the TEST button on the top panel.

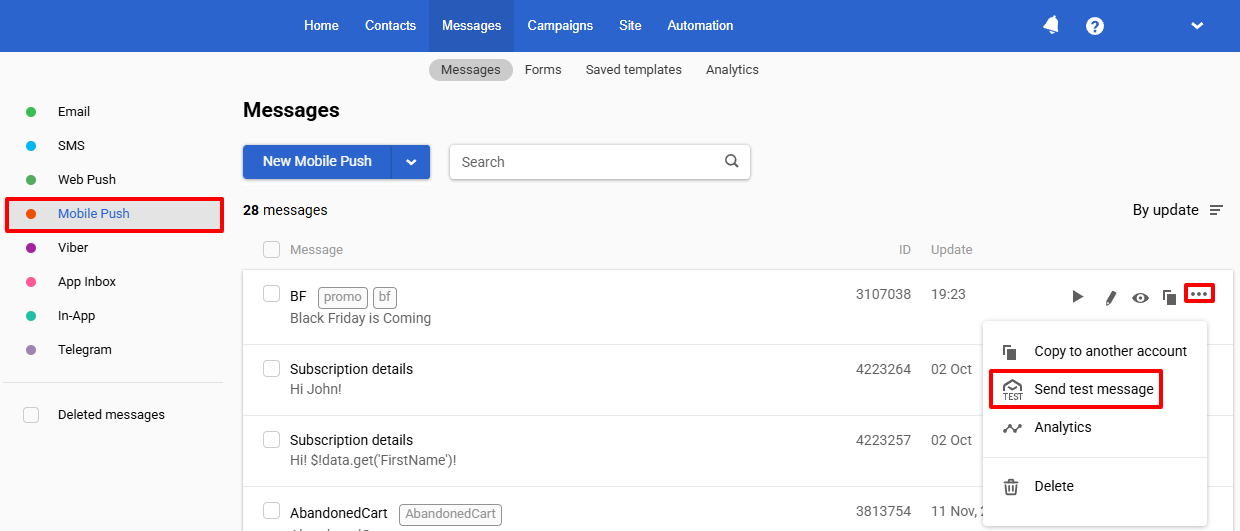
- From the message list — open the menu with three dots to the right of the message name and select Send test message.
Then follow these steps:
- In a popup window, enter a phone number enter email, contactID, or phone number linked to the mobile push token.
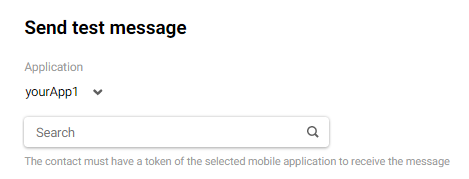
- Under Application, select the app in which you want to send your push notification. If you have only one app, it will be selected automatically.
- Under Search, enter email, contactID, or phone number to send your push notification to.
If the contact is an app user, you will see such a status:

It means the provided contact data has a matching mobile token. You can send a test notification to this contact. Otherwise, you will receive the next notification: The contact does not have an application token.
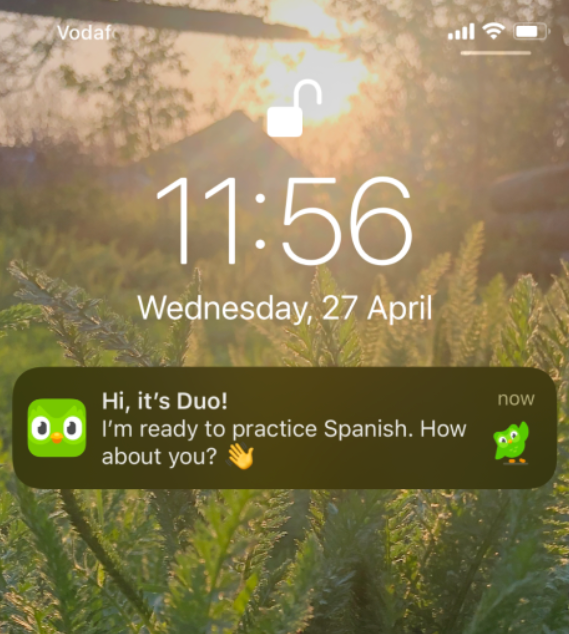
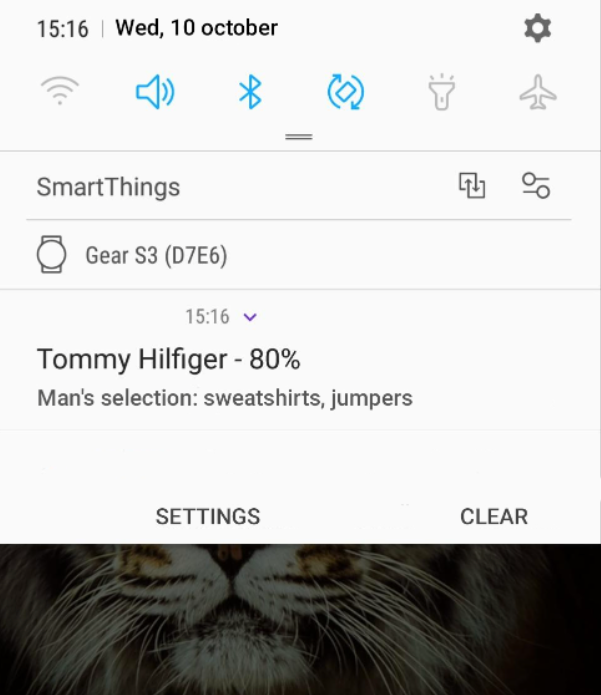
After sending your test mobile notification, you’ll see how your push notification will look on the device it’s sent to. There are three options for how your push notification can be displayed:
On iOS: Push notifications display as a banner in the notification tray.
On Android:
- A cropped push notification is displayed in the push notification drawer.
- The push notification is expanded in the push notification drawer.
Updated 4 months ago