Merge Tags Cheat Sheet
This cheat sheet provides an overview of how to use merge tags effectively in your communications.
Merge tags are a powerful tool for personalizing your communications in eSputnik. They allow you to use dynamic content for personalized interactions with the contacts, making each touchpoint more relevant and engaging.
Merge Tags in Messages
In messages, you can use 2 types of merge tags:
- Standard: Default merge tags.
- Custom: Additional fields you can create in the system.
These tags substitute the contact information from the contact card you add manually or using API.
Read this article to learn how to personalize your messages using merge tags.
Standard Merge Tags
| Name | Merge tag | How it works |
|---|---|---|
| First name | %FIRSTNAME | % |
| Last name | %LASTNAME | % |
| Full name | %FIRSTNAME | % %LASTNAME |
| % | ||
| SMS | %SMS | % |
| External customer ID | %EXTERNAL_CUSTOMER_ID | % |
| Town | %TOWN | % |
| Address | %ADDRESS | % |
| Region | %COUNTY | % |
| Postcode | %POSTCODE | % |
| Group name | %GROUP.NAME | % |
| Message name | %MESSAGENAME | % |
The symbol % denotes the start and end of merge tags in messages. This indicates that the text between these symbols should be replaced with dynamic content.
You can use the vertical bar (|) before the closing % symbol and add alternative text between them that will be shown to the contact if the contact field corresponding to the merge tag is empty.
Example:
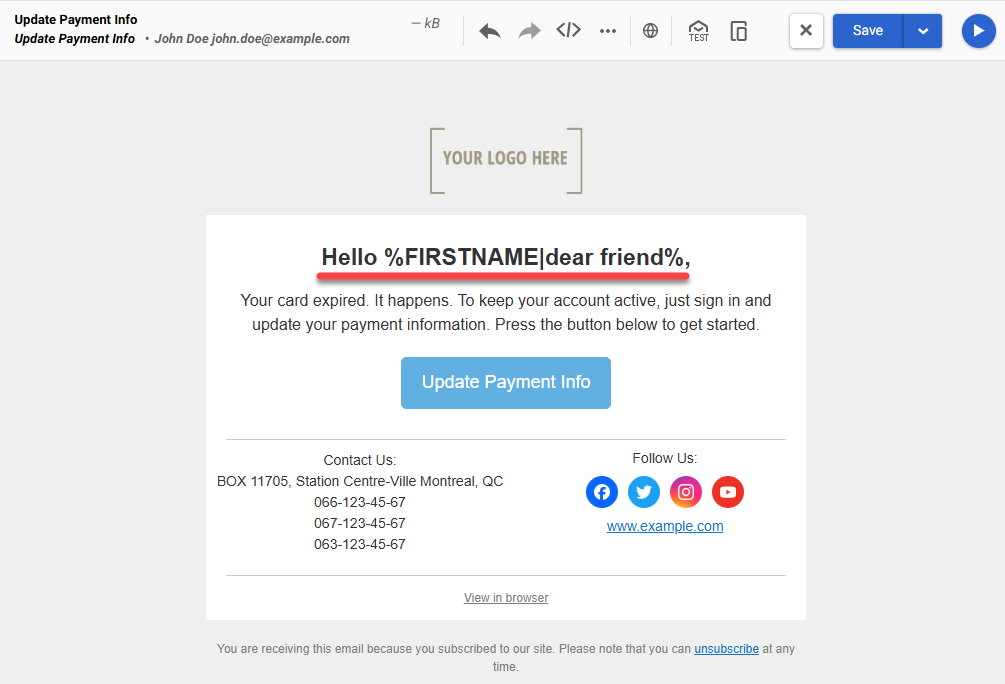
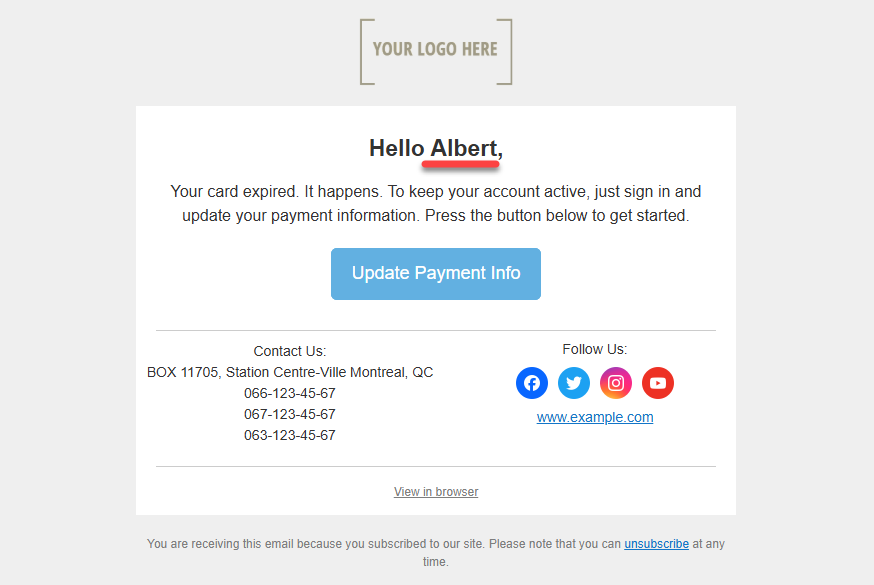
If the first name exists in the contact card, it will be shown in the message.
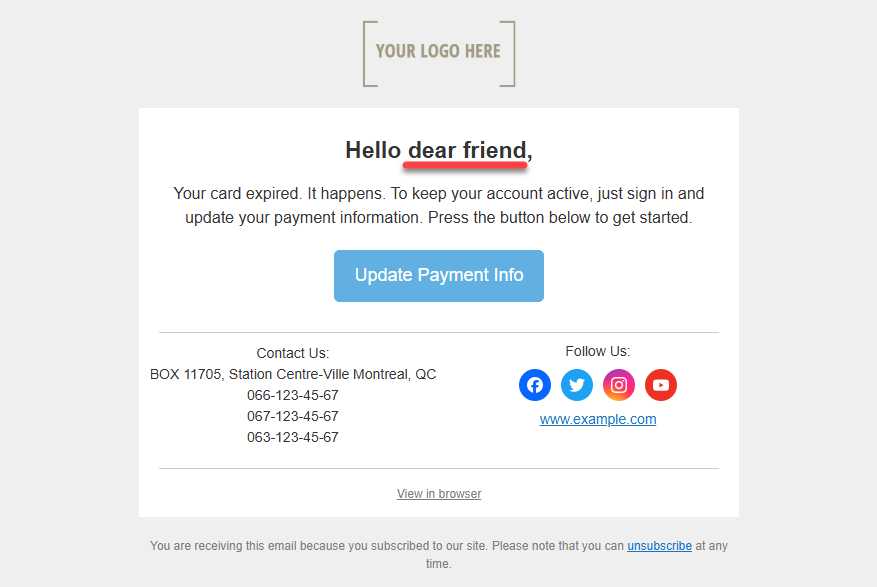
If there is no first name, the alternative text will be shown.
Custom Tags
You can add your custom tags following these instructions.
Using Merge Tags with Velocity Commands
You can pull dynamic content using the $!data.get('') command. Use only the tag name without the % and |% symbols.
Example:
$!data.get('FIRSTNAME')Read this article to learn more.
Adding Combined Merge Tags
You can combine several merge tags in a message by adding the corresponding statement in the message code.
- Click the Code editor icon, and click anywhere outside the stripes to view the entire code.
- Add the statement in the following format before the first opening
<tr>tag:
<!--#set($var='%MERGETAG1|% %MERGETAG2|%')-->where substitute MERGETAG1 and MERGETAG2 with your merge tag names.
You can add other characters and spaces between the tags.
Example:
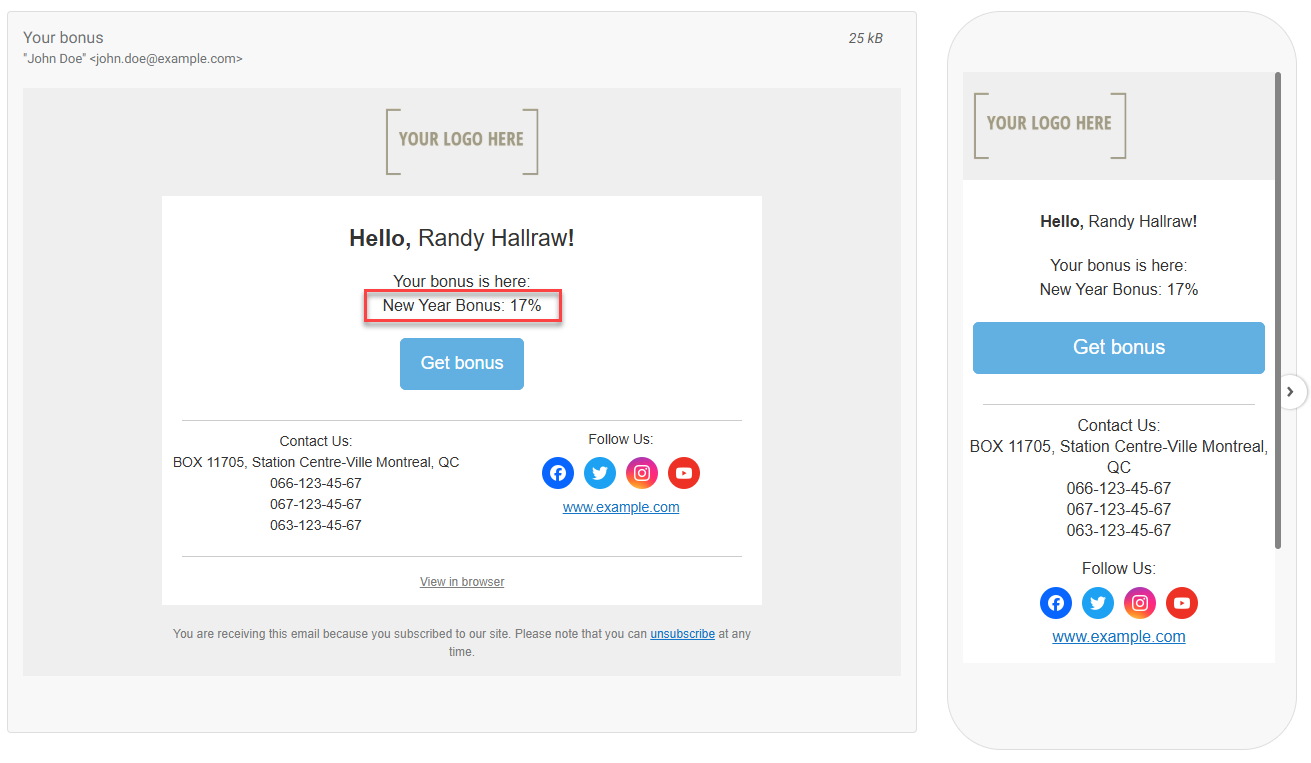
<!--#set($var='%EVENT.NY_SALE|%: %EVENT.NY_BONUS|%%')-->- Type
$varin the message where you want to show your combined tags.
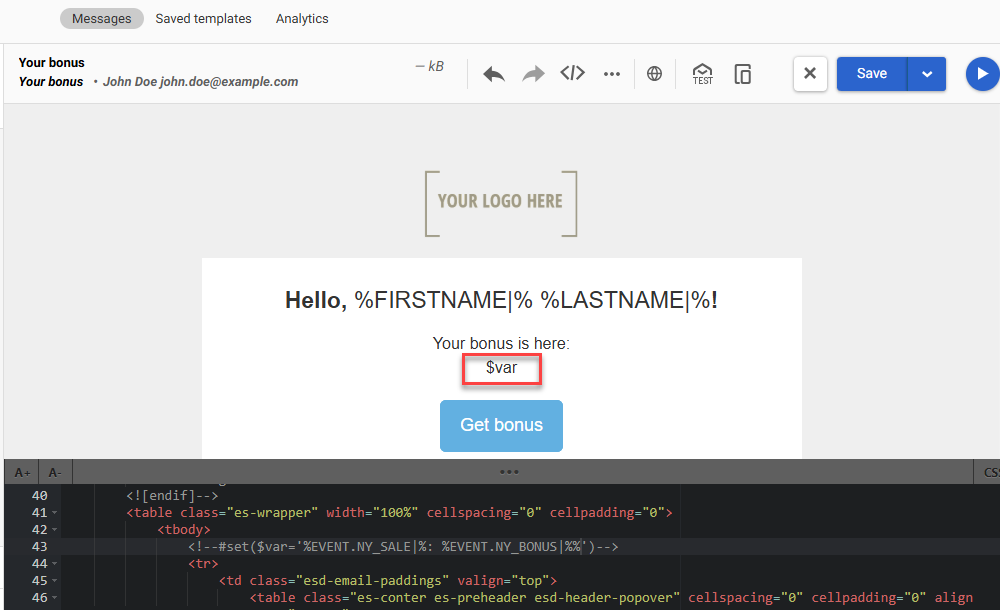
When you send your message, the variable is substituted with the corresponding values of the merge tags, as in the following picture.
Using Merge Tags in Links
Merge tags can be used in links to personalize the content for each recipient.
Example:
https://example.com?name=%FIRSTNAME%&email=%EMAIL%
In this example, %FIRSTNAME% and %EMAIL% will be replaced with the corresponding values for each recipient.
When the email is sent out, the link will look something like this for the recipient:
https://example.com/?name=Randy&[email protected]
Updated 5 months ago