
Responsive Email Editor Overview
The responsive email editor lets you create emails without HTML knowledge by dragging and dropping blocks to build your layout, so you can focus on segmentation, analytics, and personalization.
Creating a Message
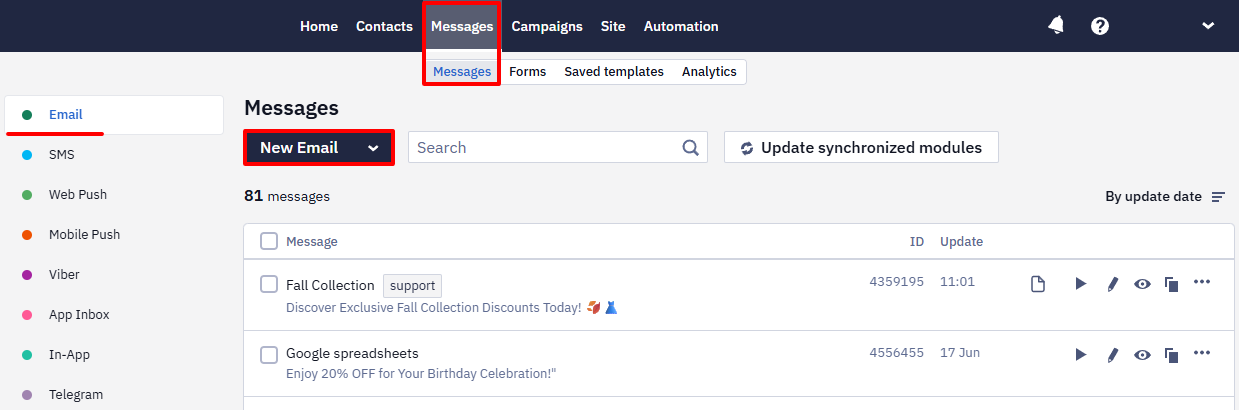
- Go to Messages → Messages → Email.
- Click New Email.
- Open the Gallery tab.
- In the left panel, select the template that best fits your campaign from the available categories.
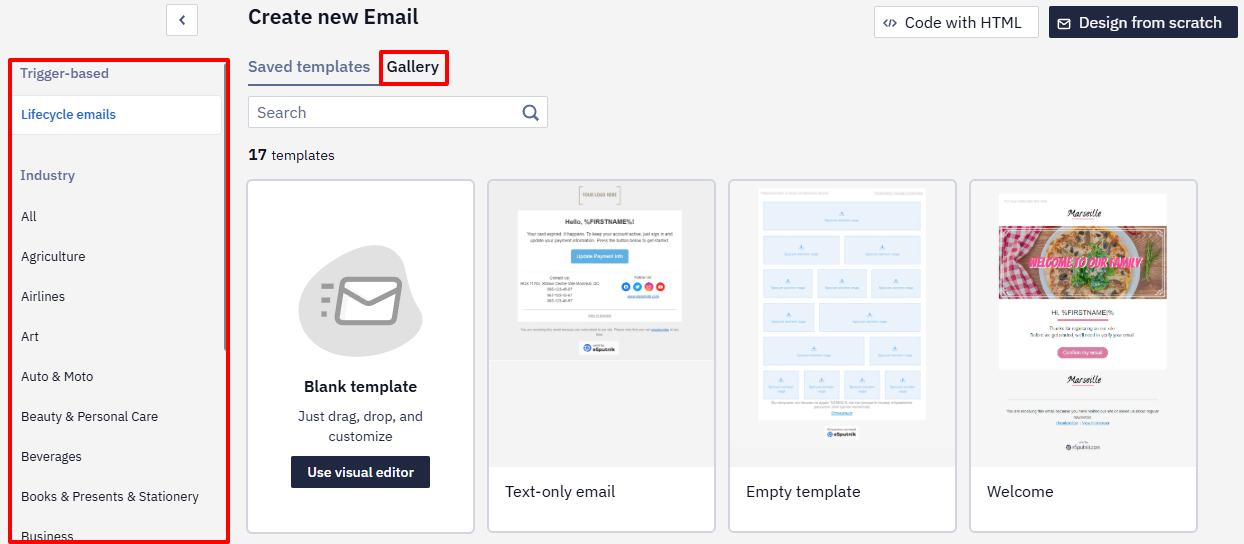
You can now edit the selected template directly in the editor.
Editor Interface
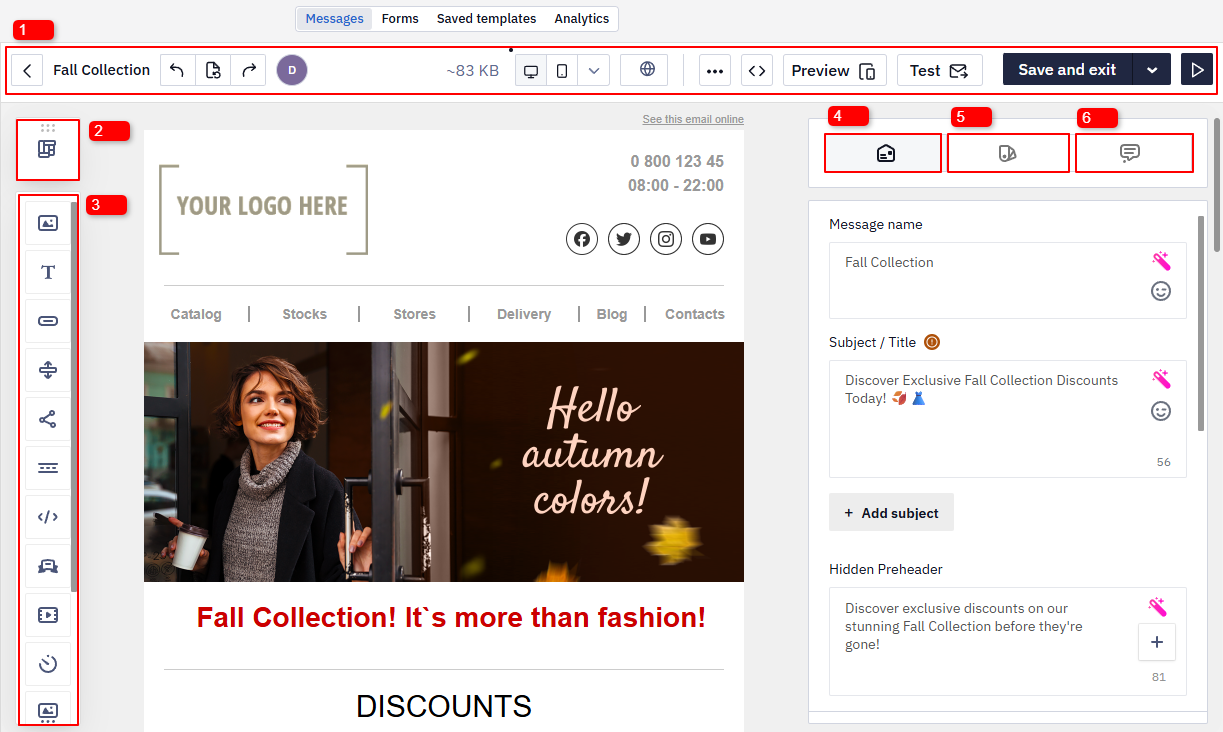
The editor consists of the following panels:
- Email Management — manage the email lifecycle: save, undo actions, preview, test, etc.
- Structure and Modules — build the layout using predefined structures and modules.
- Content Blocks — add content such as text, images, buttons, etc.
- Message Settings — set core parameters, including subject, hidden preheader, and sender name.
- General Styles — configure global styles for stripes, headers, buttons, and other elements.
- Comments — collaborate with team members directly in the template.
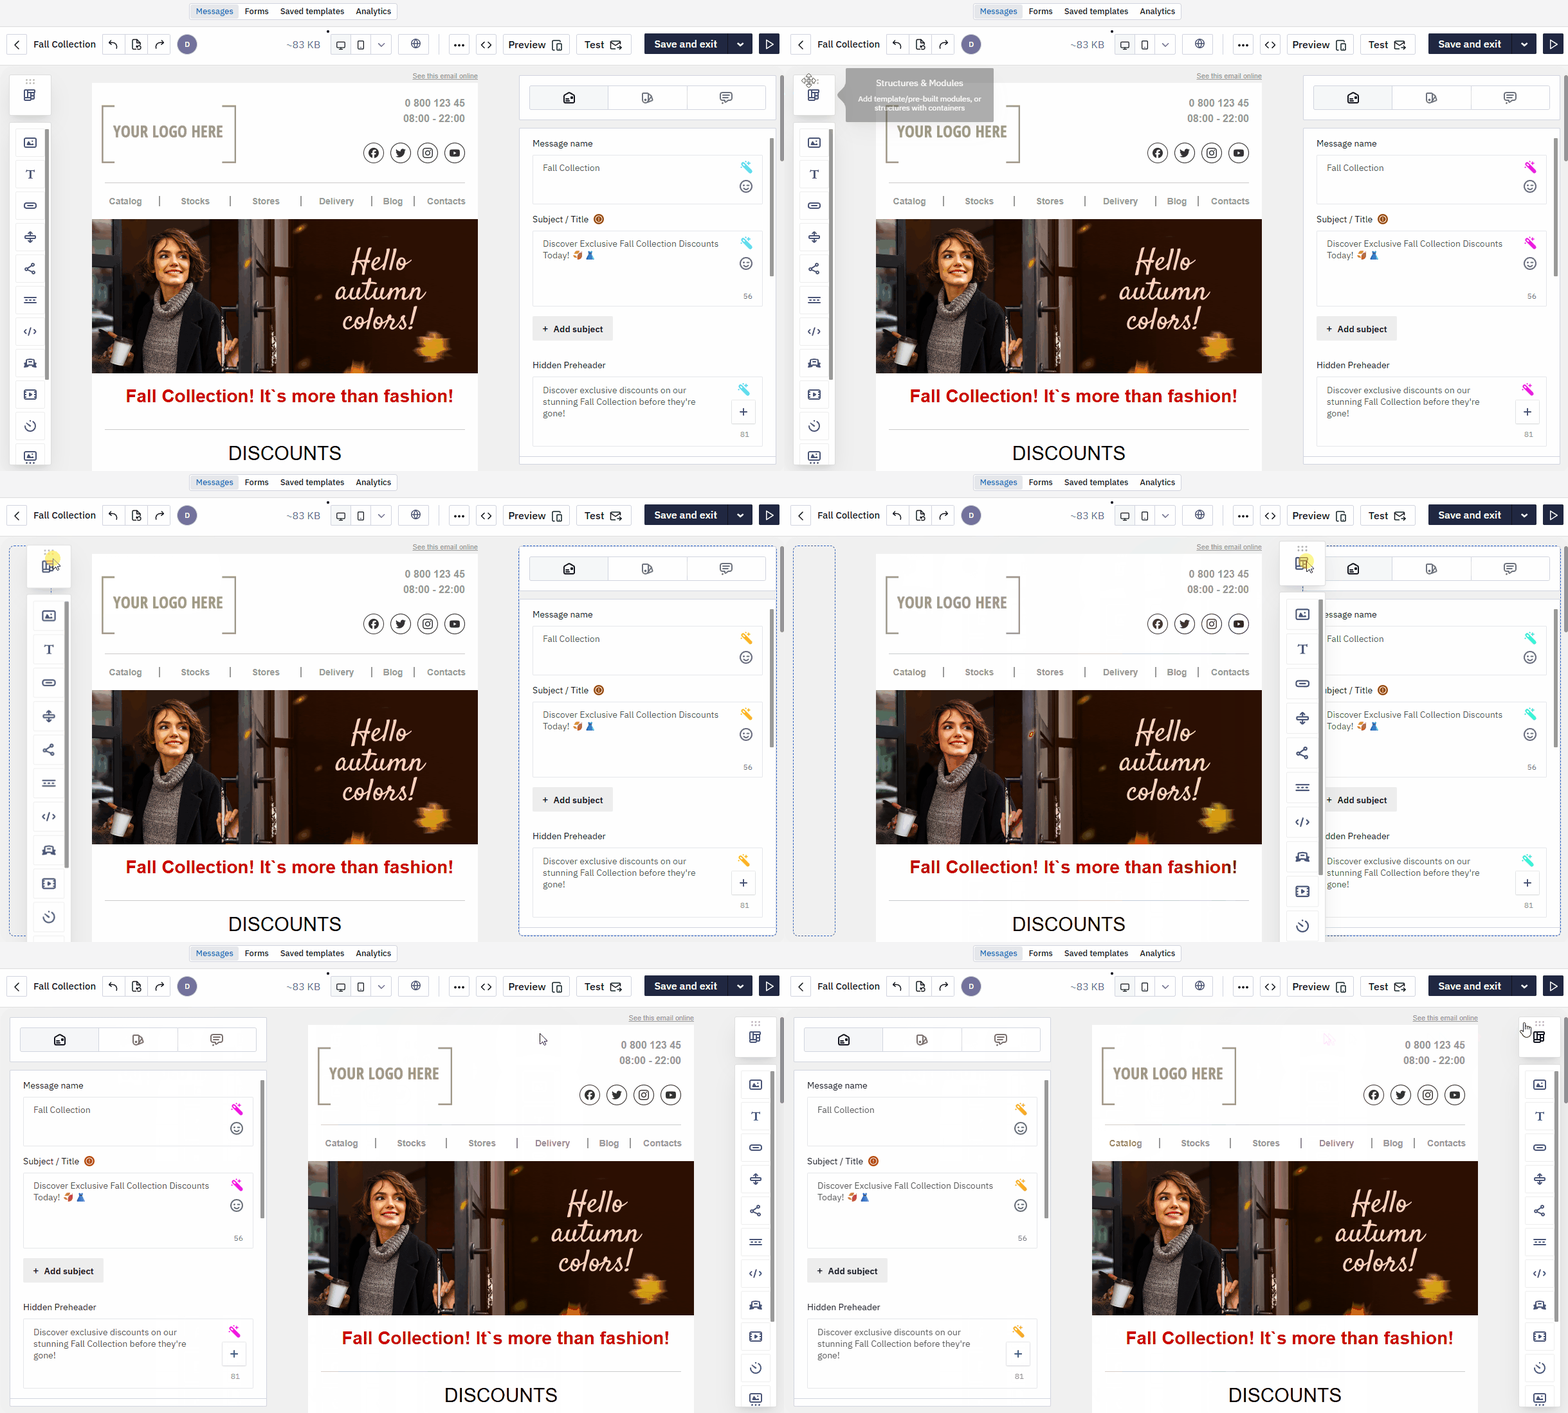
You can drag panels to rearrange the editor layout.
Email Management Panel
The panel contains the following buttons:

- Return to the message list — exit the editor.
- Undo / Redo — revert or restore recent changes.
- Version history — view all saved versions of the email.
- User identifier — shows who is currently editing the email. If several people are editing at the same time, it displays everyone active.
More about Collaborative Email Creation >

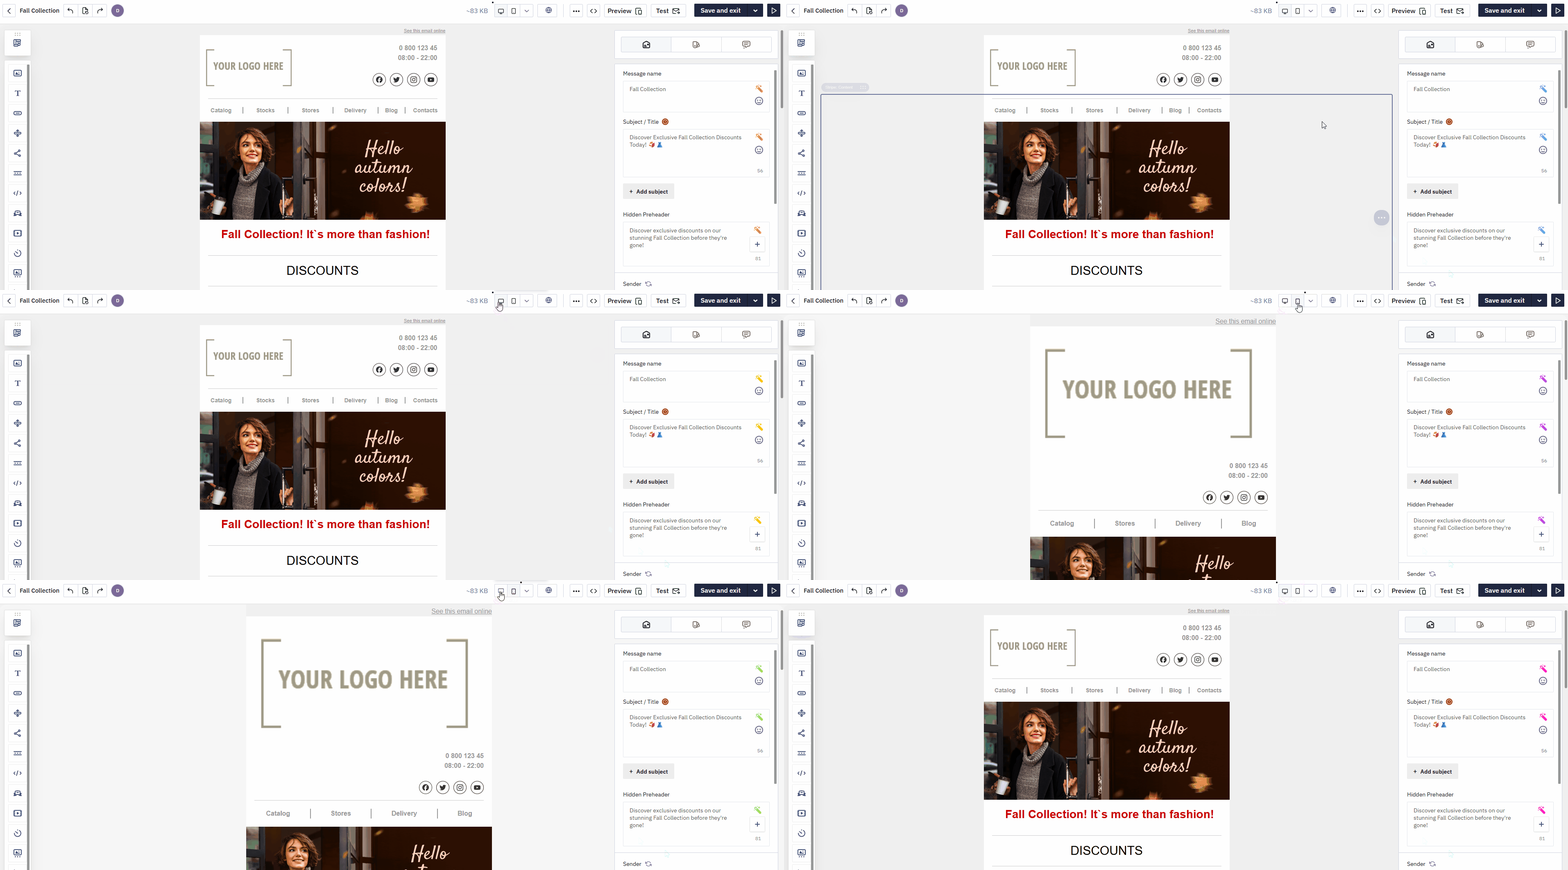
- Desktop / Mobile mode — switch between modes to verify layout and make device-specific adjustments.
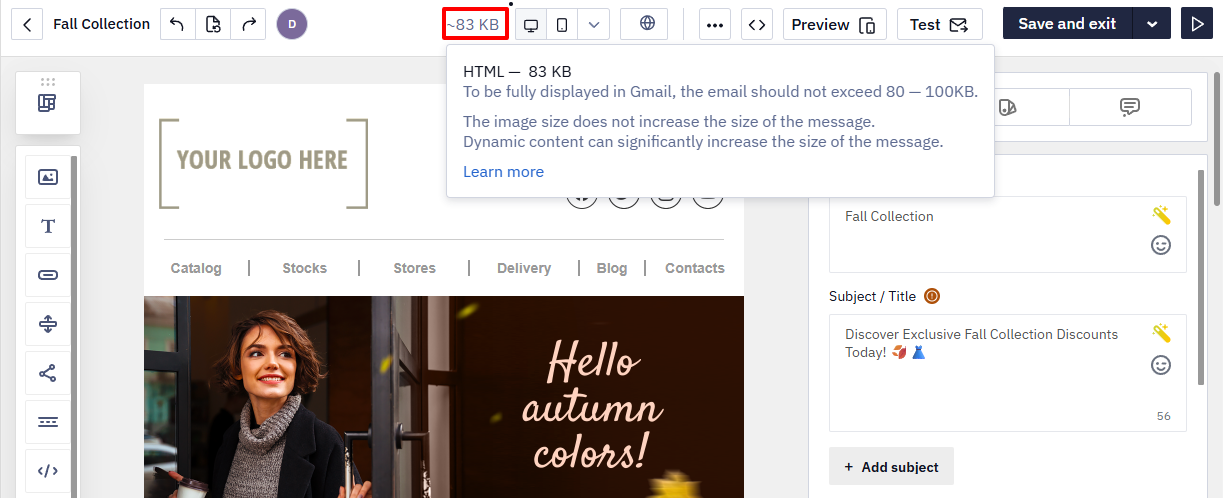
- Email size indicator — shows the current email size (in KB) next to the version controls.
Keep the email size within 80–100 KB. Some email clients, including Gmail, may clip content if the HTML exceeds this limit.
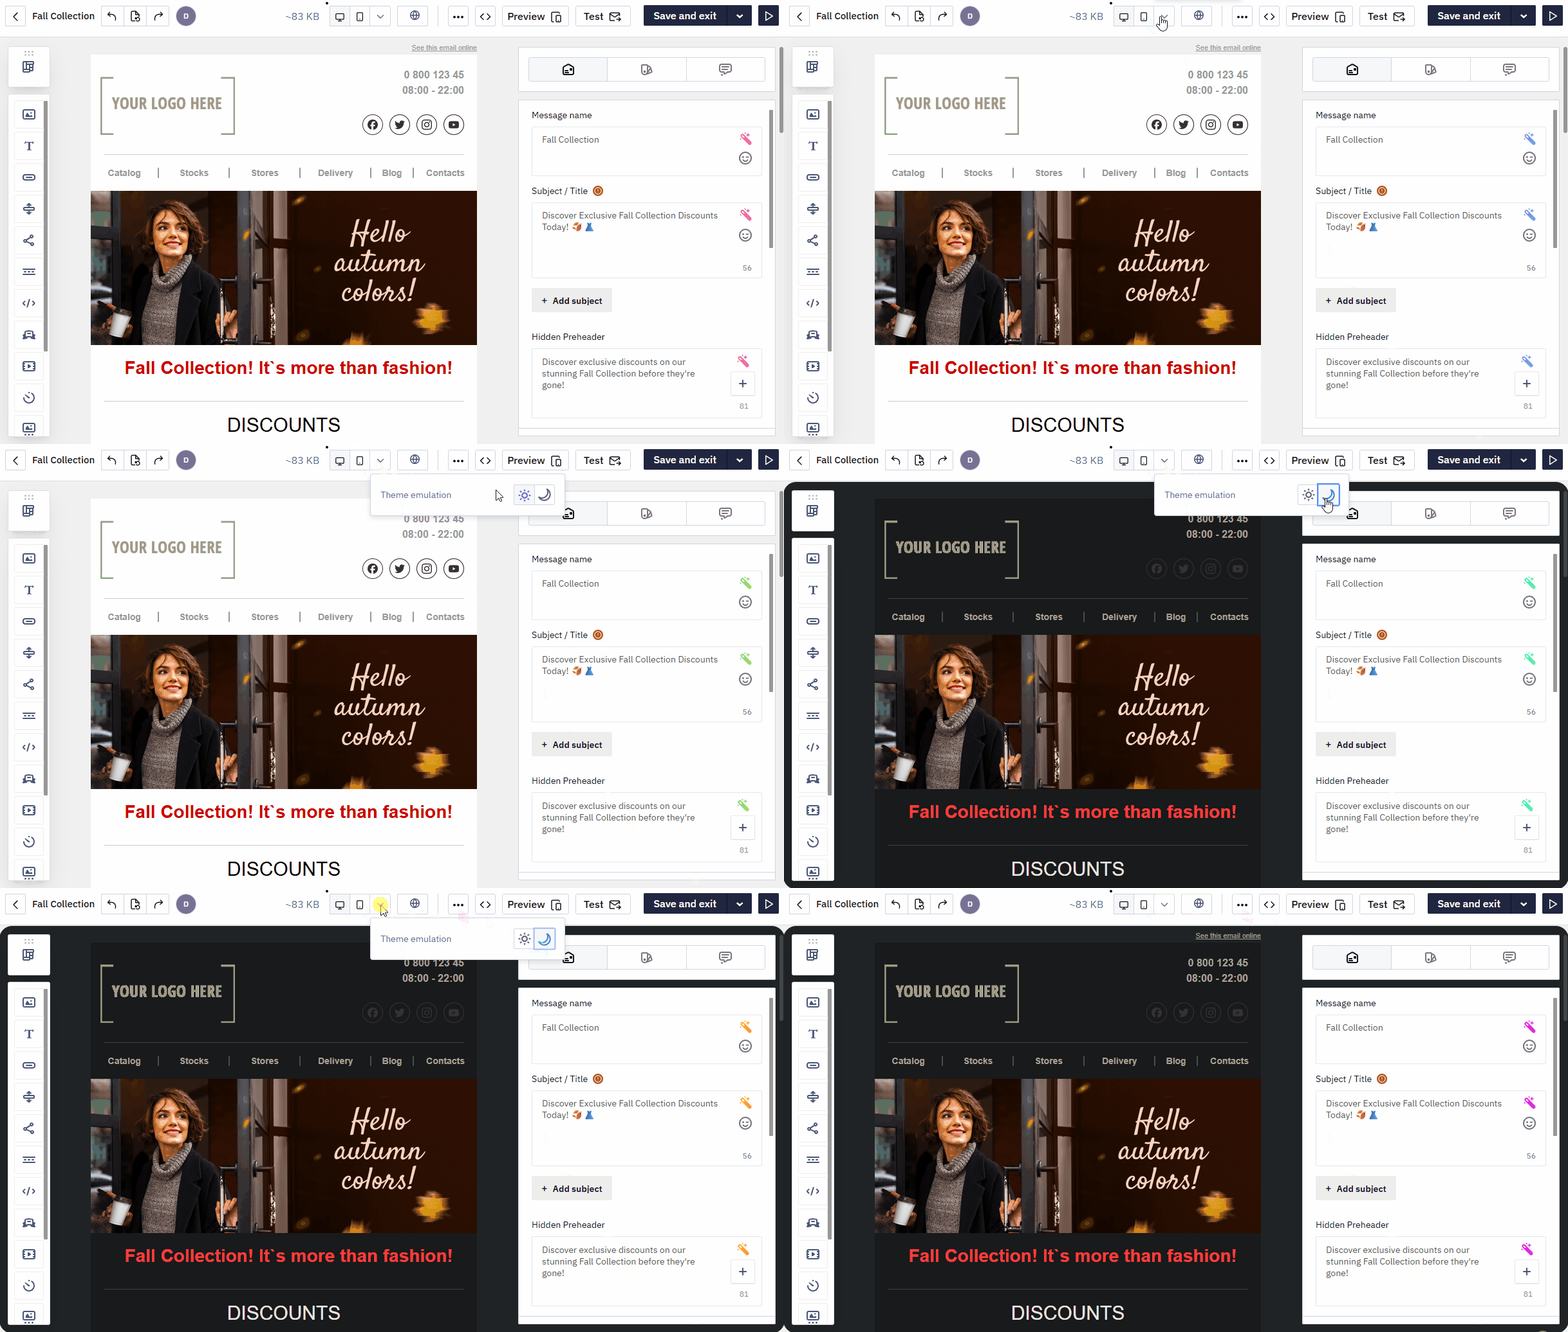
- Theme Emulation — preview how your message looks in Light or Dark mode directly in the editor, and check whether the design and text render correctly in email clients that support dark mode.
- Multilingual version (optional) — use the Globe icon to create language versions of the email.
Learn more about creating multilingual messages >
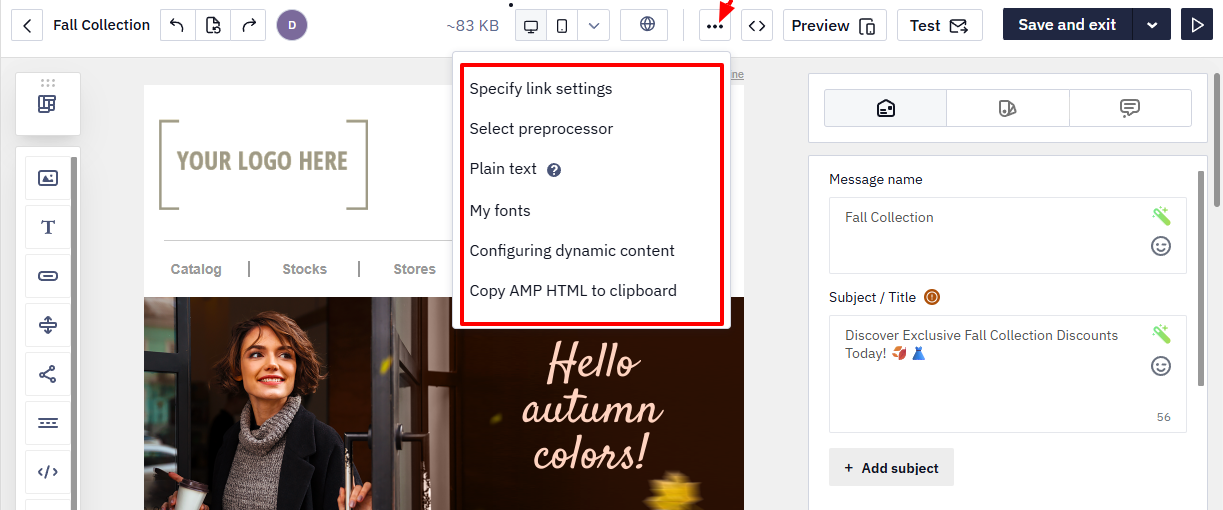
- Additional settings — open the three-dot menu to access advanced options:
- Link settings — enable click tracking and configure UTM tags.
- Preprocessor selection — select the method for building dynamic content from prepared data.
- Plain-text version — fallback version for clients that do not support HTML. The system generates this version automatically, and you can regenerate it from HTML at any time.
- Custom fonts — add or connect custom fonts.
- Dynamic content configuration — configure personalized content based on segmentation or behavior.
- Copy AMP HTML to clipboard — copy the AMP version for testing or debugging.
- Code editor — switch to HTML mode to edit the code directly.
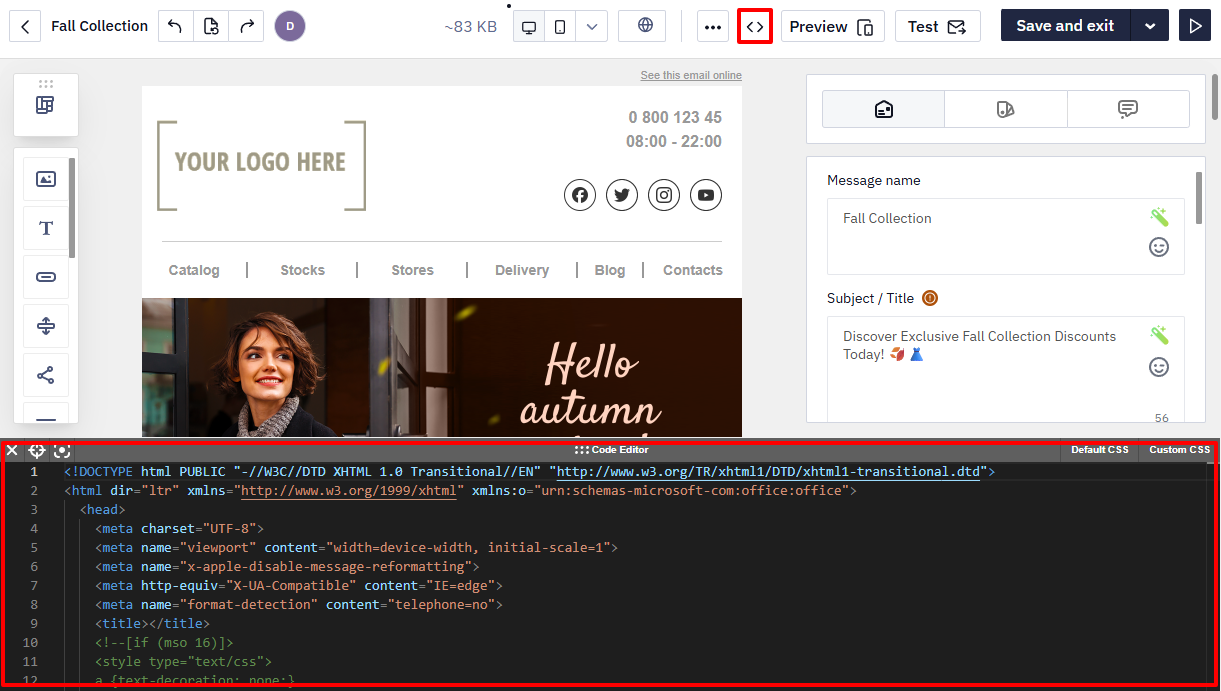
- Email preview — view the email as recipients will see it, without the editor's interface elements.

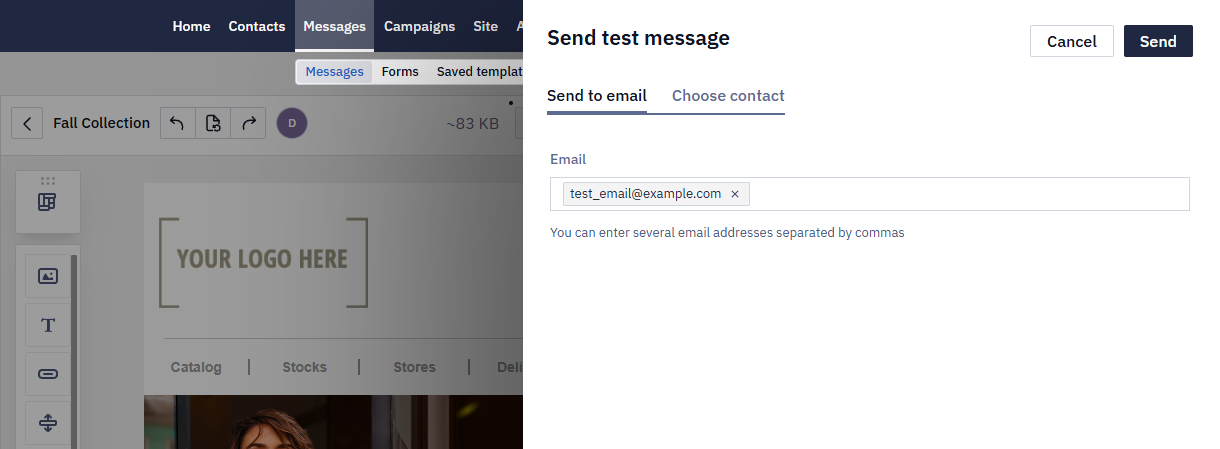
- Test — send the email to one or more addresses to verify rendering in a real inbox.
You can enter multiple email addresses separated by commas. To edit an address, click it and select Edit.
Clicking the arrow next to the Test button also lets you run the Accessibility checker — a tool that scans the email for elements that may be hard to perceive for people with visual or cognitive impairments and suggests how to fix them.
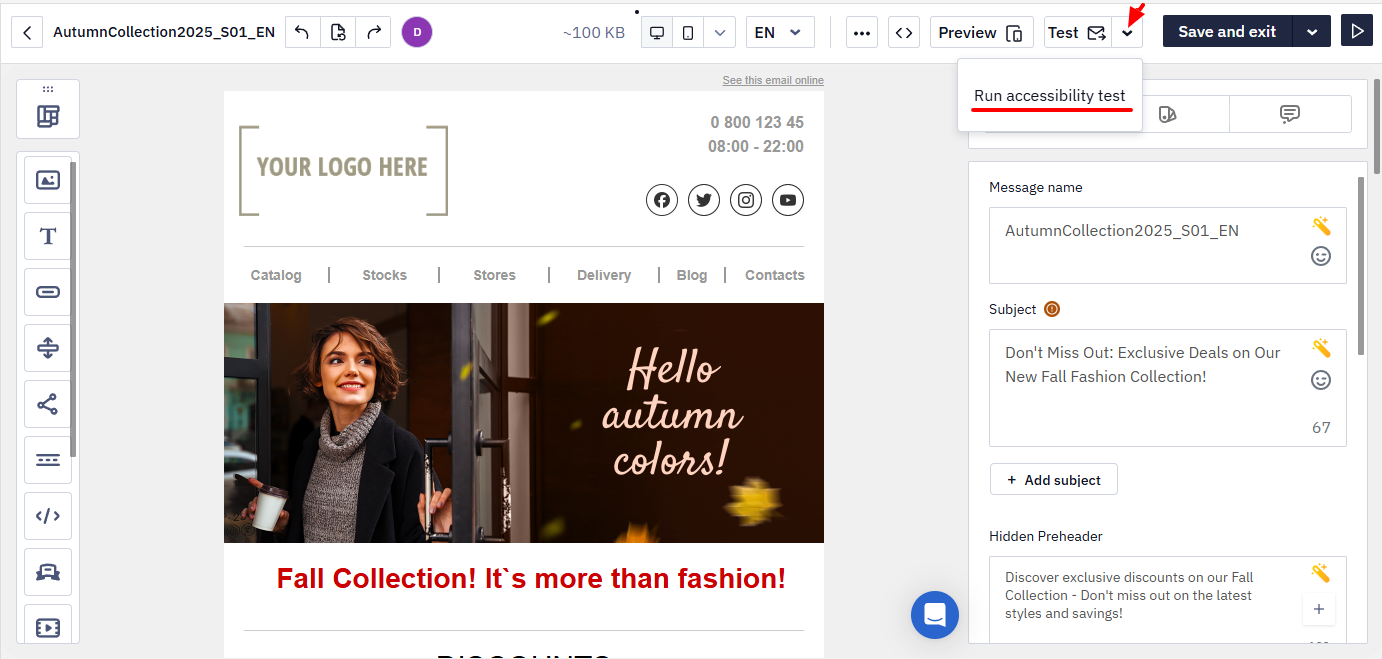
Learn more about the accessibility checker >
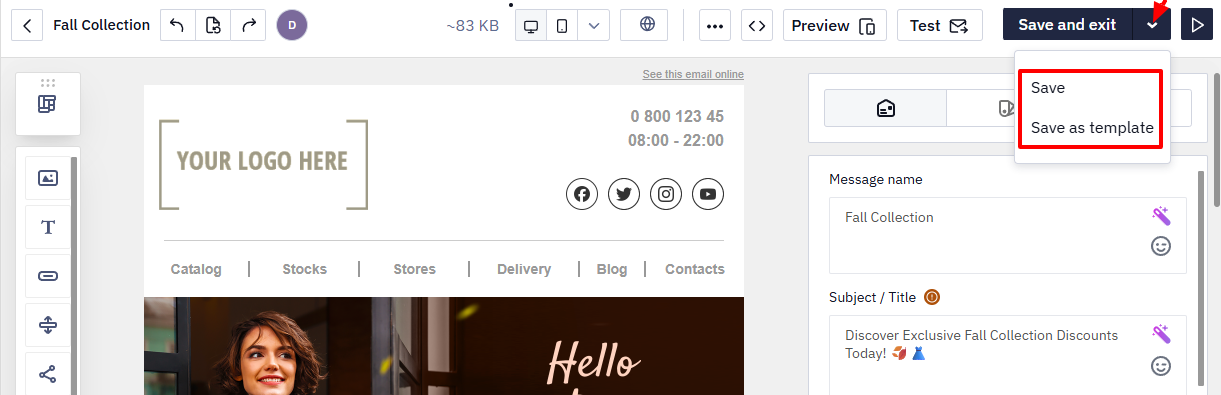
- Save and exit — saves your changes and exits to the email list.
The dropdown menu includes the following options:
- Save — saves your changes without exiting the editor.
- Save as template — saves the email as a template.
- Create campaign — continue to campaign setup and launch.
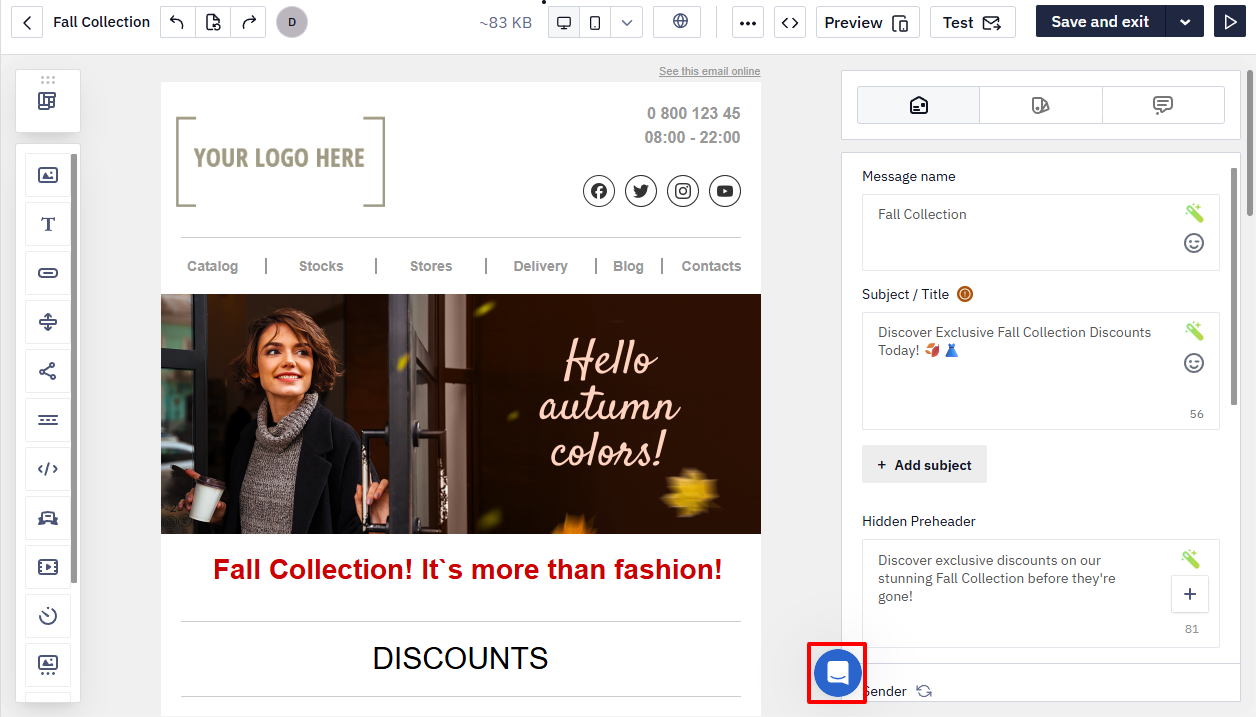
Support Chat
The email editor includes a built-in Intercom chat. If you have any questions while working on your email, you can contact the support team without leaving the editor.
Updated about 1 month ago