Manage Translations
The Manage translations feature lets you work with language versions of email messages outside the editor.
You can work with translations using:
- local
xlsxandcsvfiles; - Google Sheets.
NoteThe Manage translations feature is available only if the message contains at least two language versions.
Export Texts for Translation
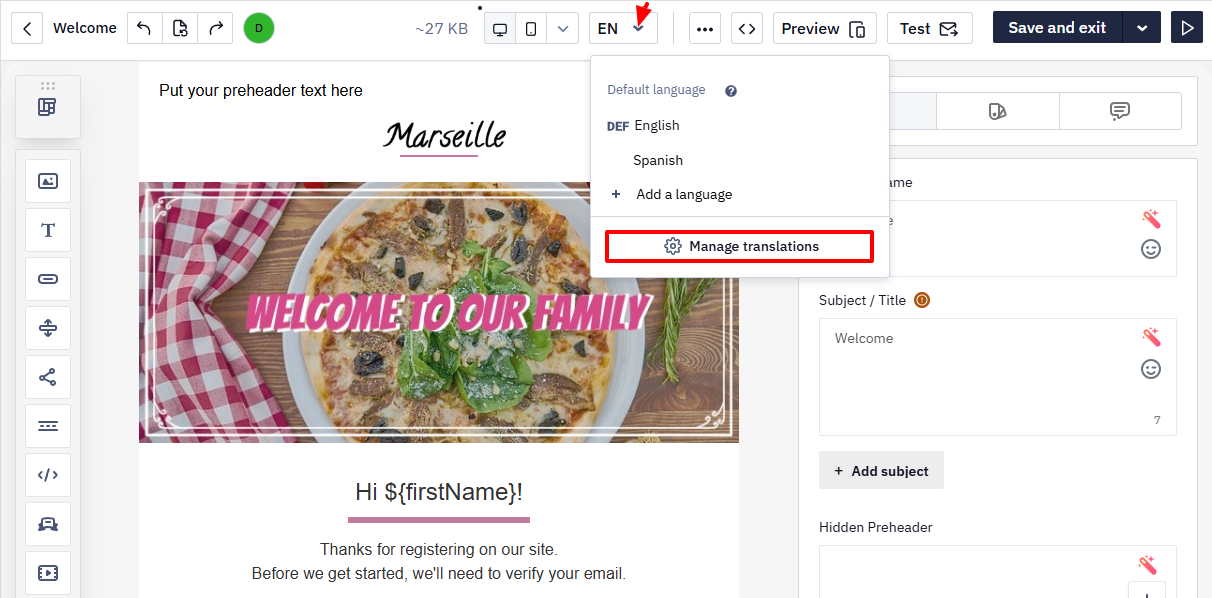
- Open the email message in the editor.
- On the Message management panel, click the language switcher.
- Select Manage translations.
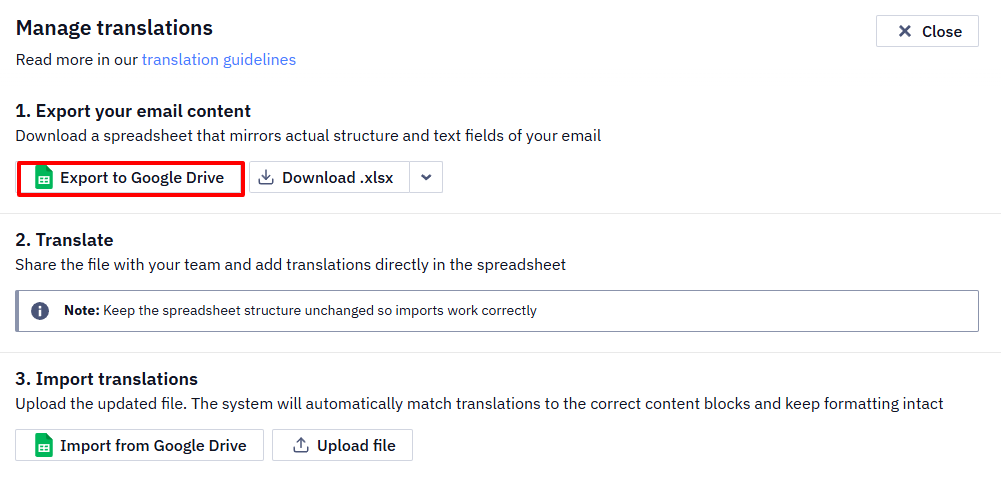
- Choose the export option.
Export to Google Sheets
- Click Export to Google Drive.
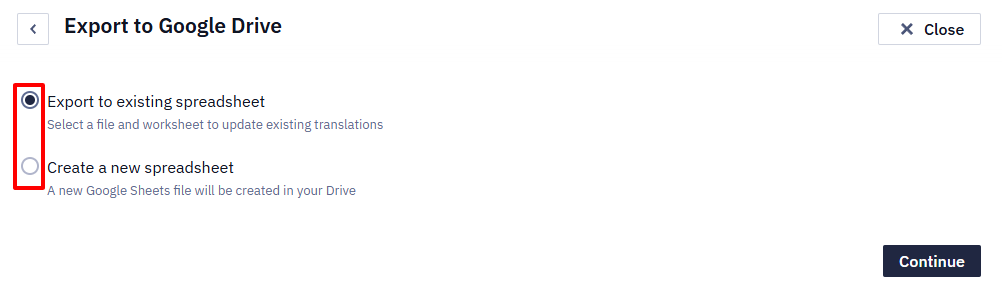
- Choose the export option:
- To an existing spreadsheet — updates translations in an existing Google Spreadsheet.
- To a new spreadsheet — creates a new Google Spreadsheet in Google Drive.
NoteWhen working with Google Drive for the first time, add a Google account and grant the required
Updated 29 days ago
Did this page help you?