Building a Customer Loyalty Survey
It is much cost-efficient to retain an existing client than to acquire a new one. That's why customer satisfaction is among the top priorities for all brands. And a survey is one of the ways to find how your customers feel about your product or service.
Automation of customer research is especially important for enterprise ecommerces with big customer bases. It helps run multi-stage surveys and quickly respond to changes in customer attitude and loyalty.
Through integration with Stripo.email and Zapier, our CDP enables you to automate any customer research strategy, be it feedback on the shopping experience, a review of the bought product or a classic NPS (NetPromoter Score) survey.
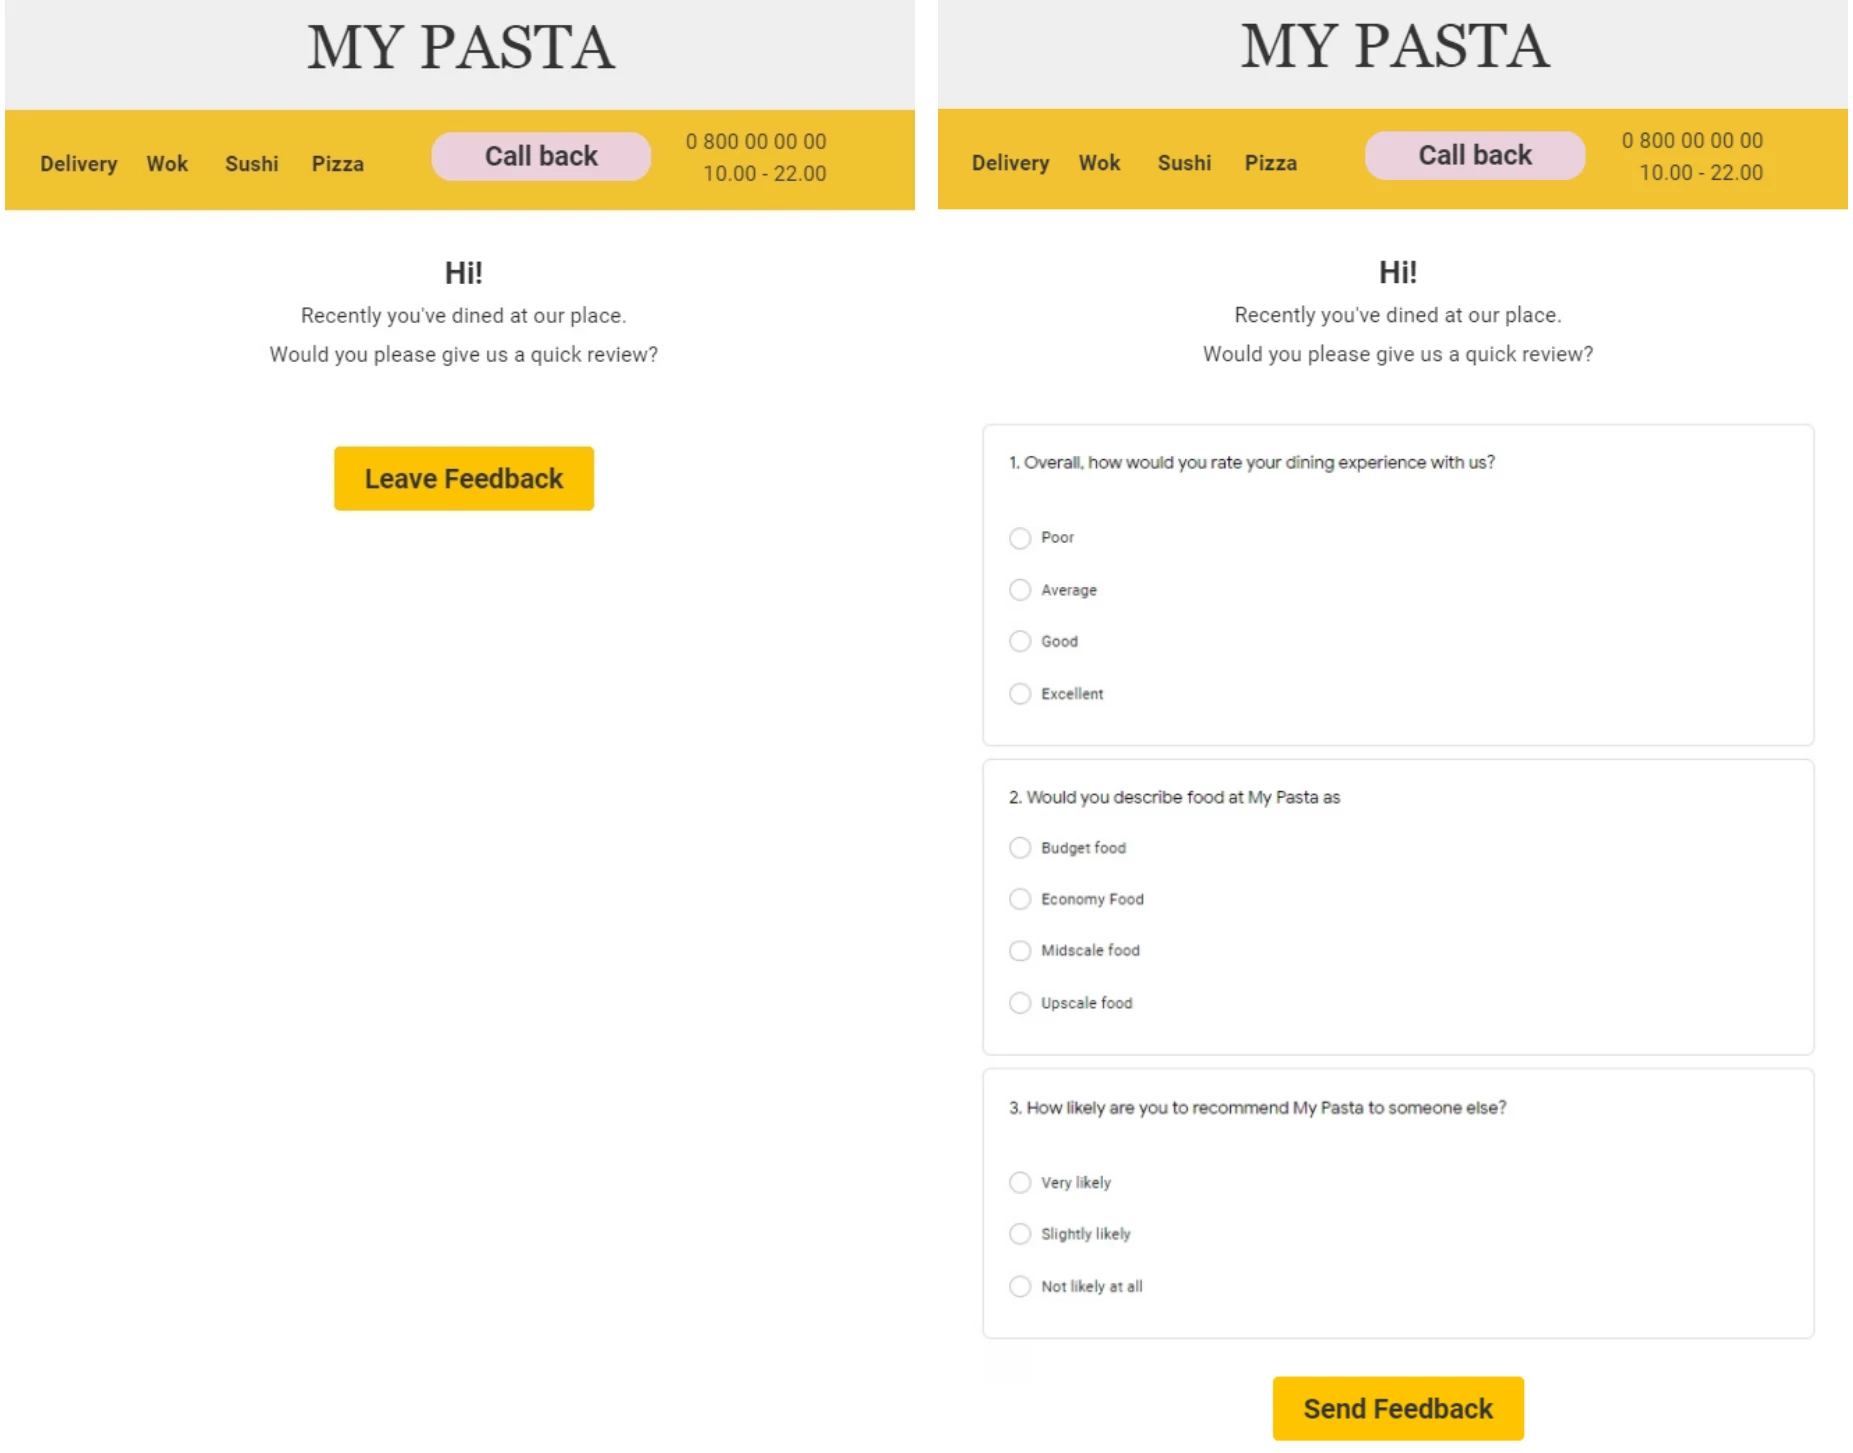
1. Create a survey form.
Create a survey in the applicable communication channel. Add tags, for example, NPS or survey for convenient management within the system.
You can create a survey in two ways:
- Create a form on an external platform (for example, Google Forms) and add a link to it to the email.
- Create a dynamic survey in our editor using a ready block with an AMP form. It will allow the user to take the survey straight in the email.
ImportantTo send AMP content, you need to register with Google as a dynamic sender.
If you need help, please contact to our support team, and our designers will help you create a survey form based on your corporate style.
To do this, you need to provide a list with questions and answer options. To simplify form filling, use skip logic for your survey. Offer users to answer questions based on the answers they've already given. For example, if the user answers “No” to the question “Do you use Product A,” they won’t be shown questions about its price or technical characteristics due to their irrelevance.
2. Send the event to our platform
Set up a transfer of the event that will trigger the workflow with a survey. Such an event can be sent from a CRM after an order confirmation call or after order confirmation on the website.
The event should transfer the parameters that will be used to identify the user and the order, for example:
- Contact email address;
- Phone number;
- Physical shop address;
- Call center manager’s SIP number, etc.

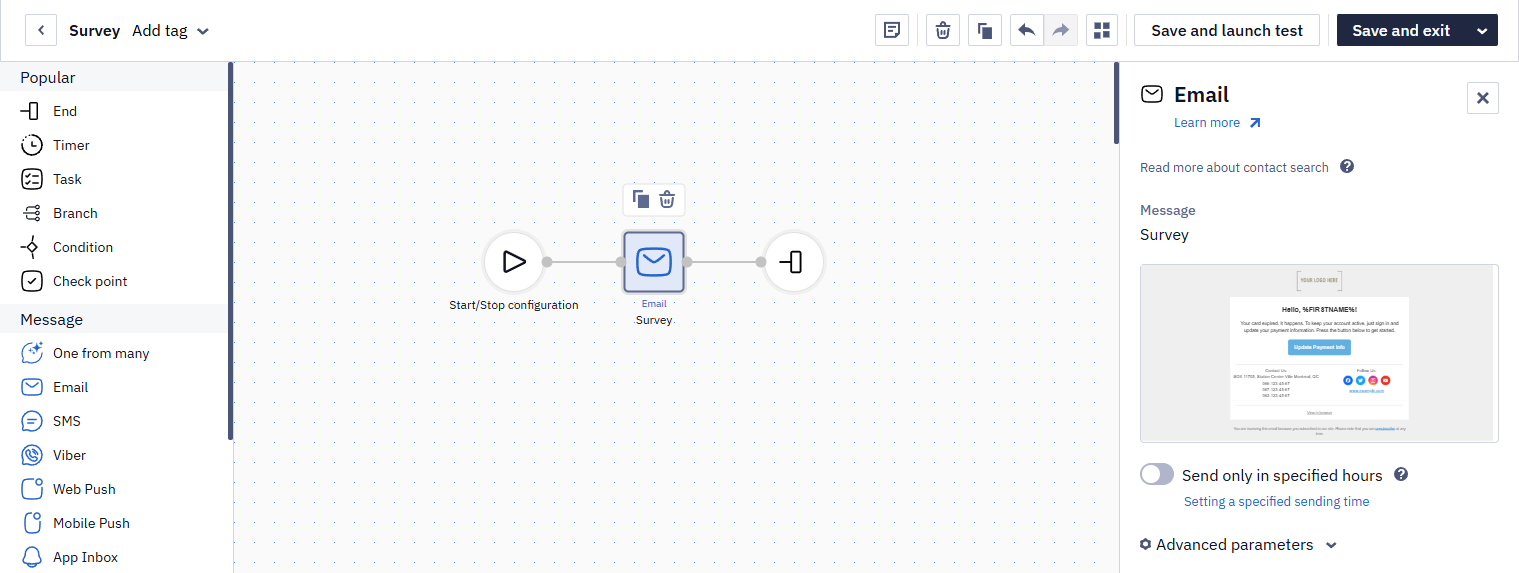
3. Create a workflow.
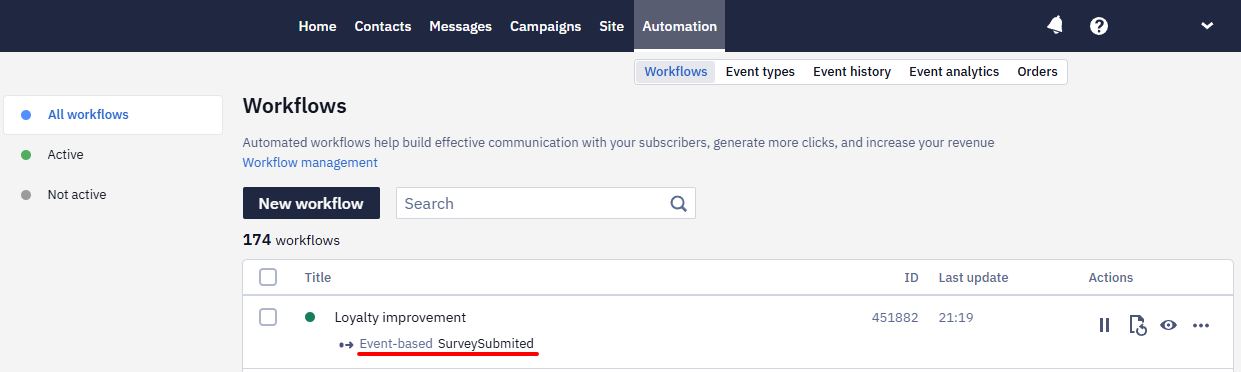
Go to Automation → Workflows and click New workflow. Create a workflow and set the launch conditions.
You can create a basic workflow with a message block only.
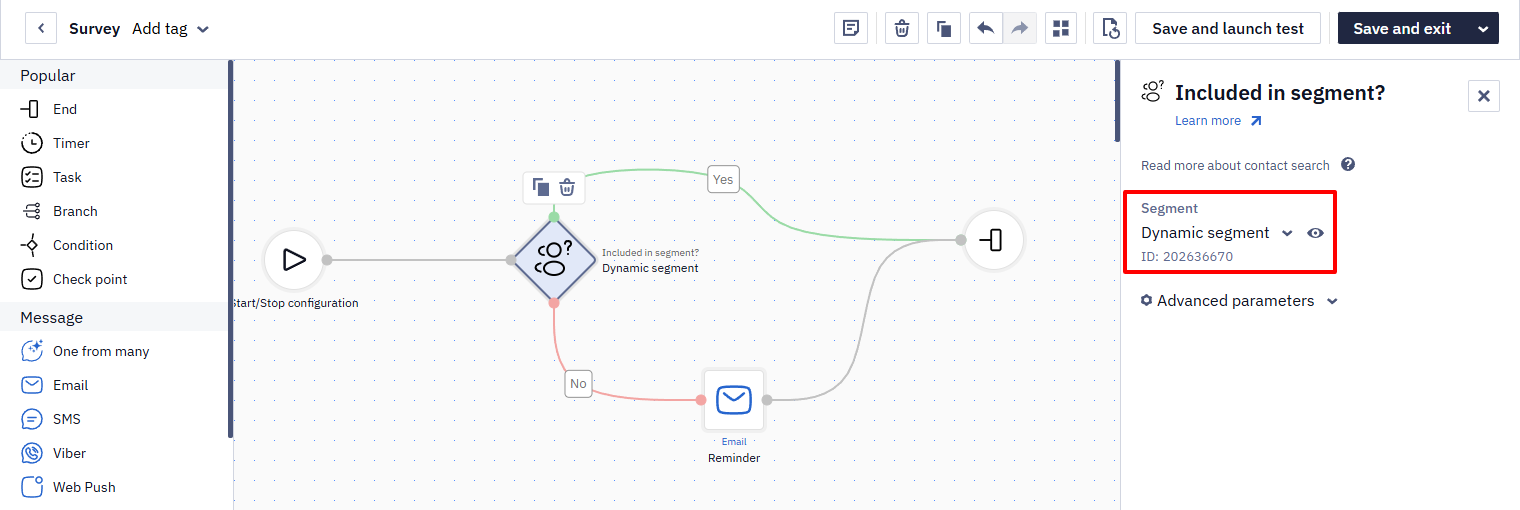
You can create a more complex workflow with additional conditions. For example, if you send a survey and a follow-up reminder, you can create a dynamic segment that will include contacts who respond to the first survey request and fill the form in it.
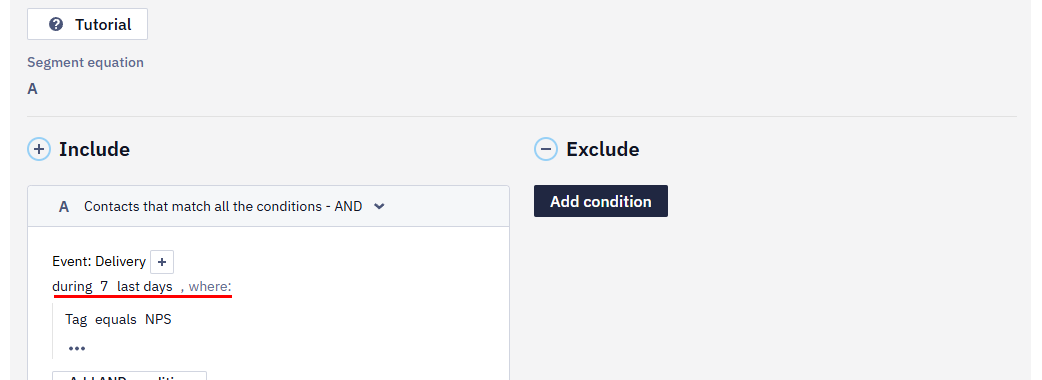
For this segment, you may add the following conditions:
- Events → Delivery → Tag → NPS;
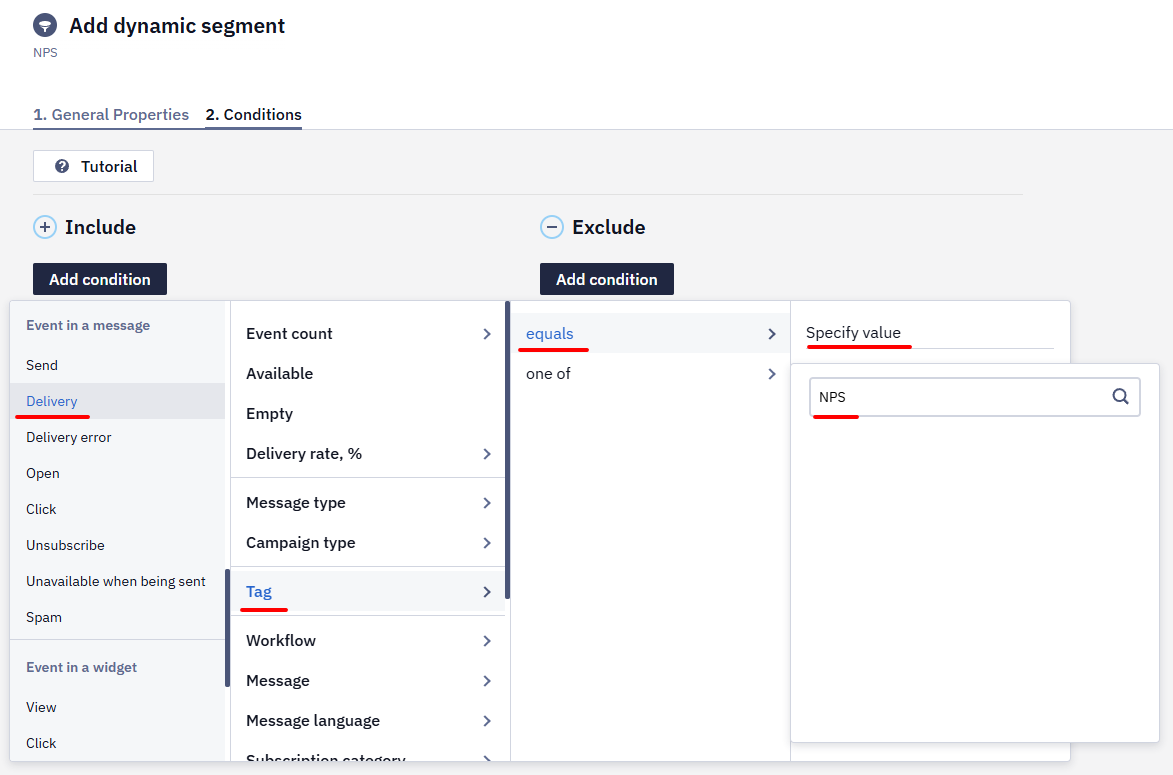
- Delivery during 7 last days.
NoteTo use events as conditions for dynamic segments you need to subscribe to Segmentation by Events. To subscribe, please contact to our support team.
Build a workflow with the Included in segment? condition and select the created segment in the settings on the right.
4. Collect responses.
Survey responses are collected and stored in Stripo.email. You can download them as a .csv file or export to oup CDP or other external sources through Zapier.
4.1 Set up a service in Stripo.
- Sign in to your Stripo account.
- Go to Data → Services and click Create service.
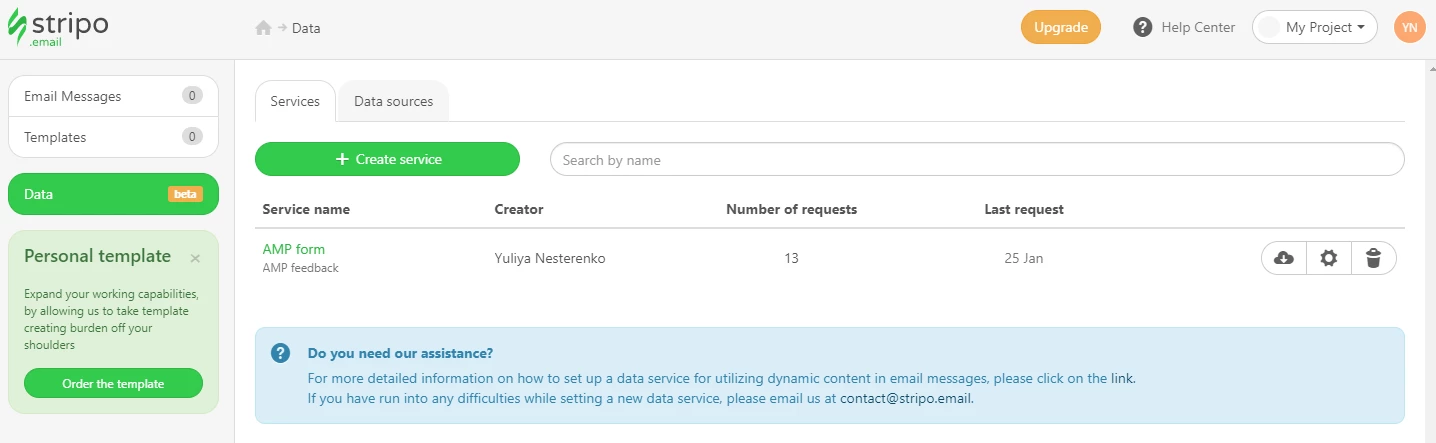
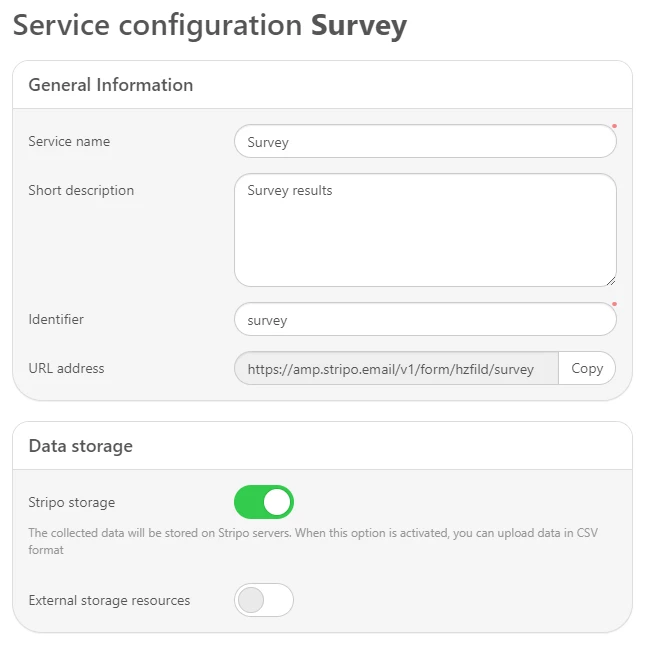
- Fill in General Information. The Identifier and URL are generated automatically.
- Enable Stripo storage.
4.2 Set up integration with external resources through Zapier.
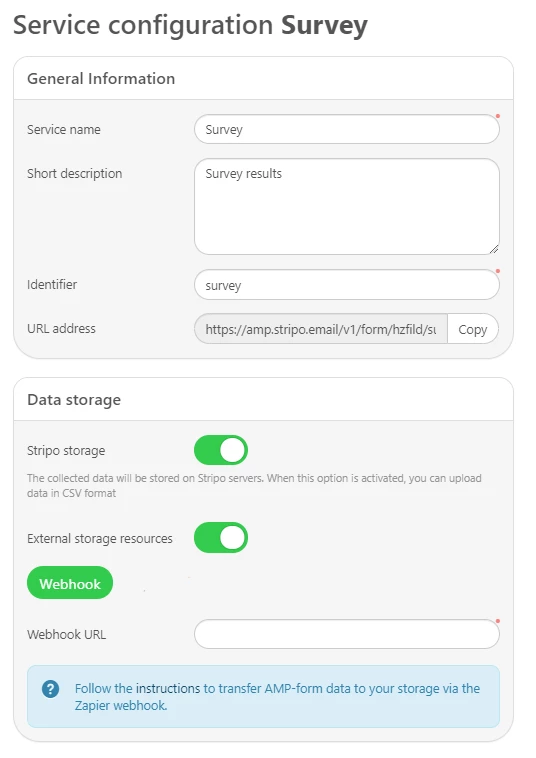
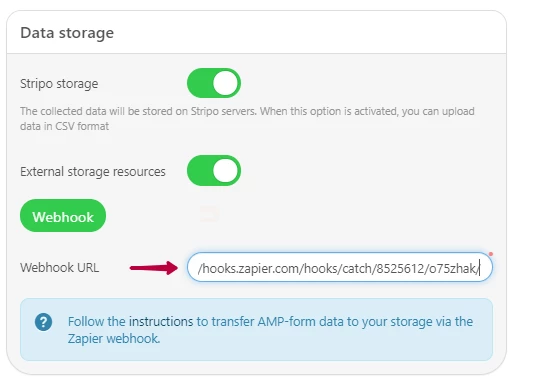
- Enable External storage resources.
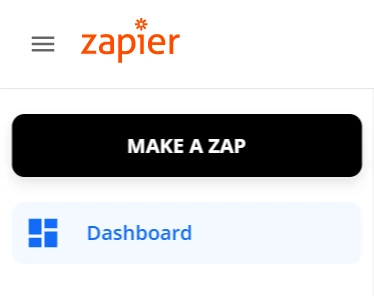
- To add a webhook, go to your Zapier account and click MAKE A ZAP.
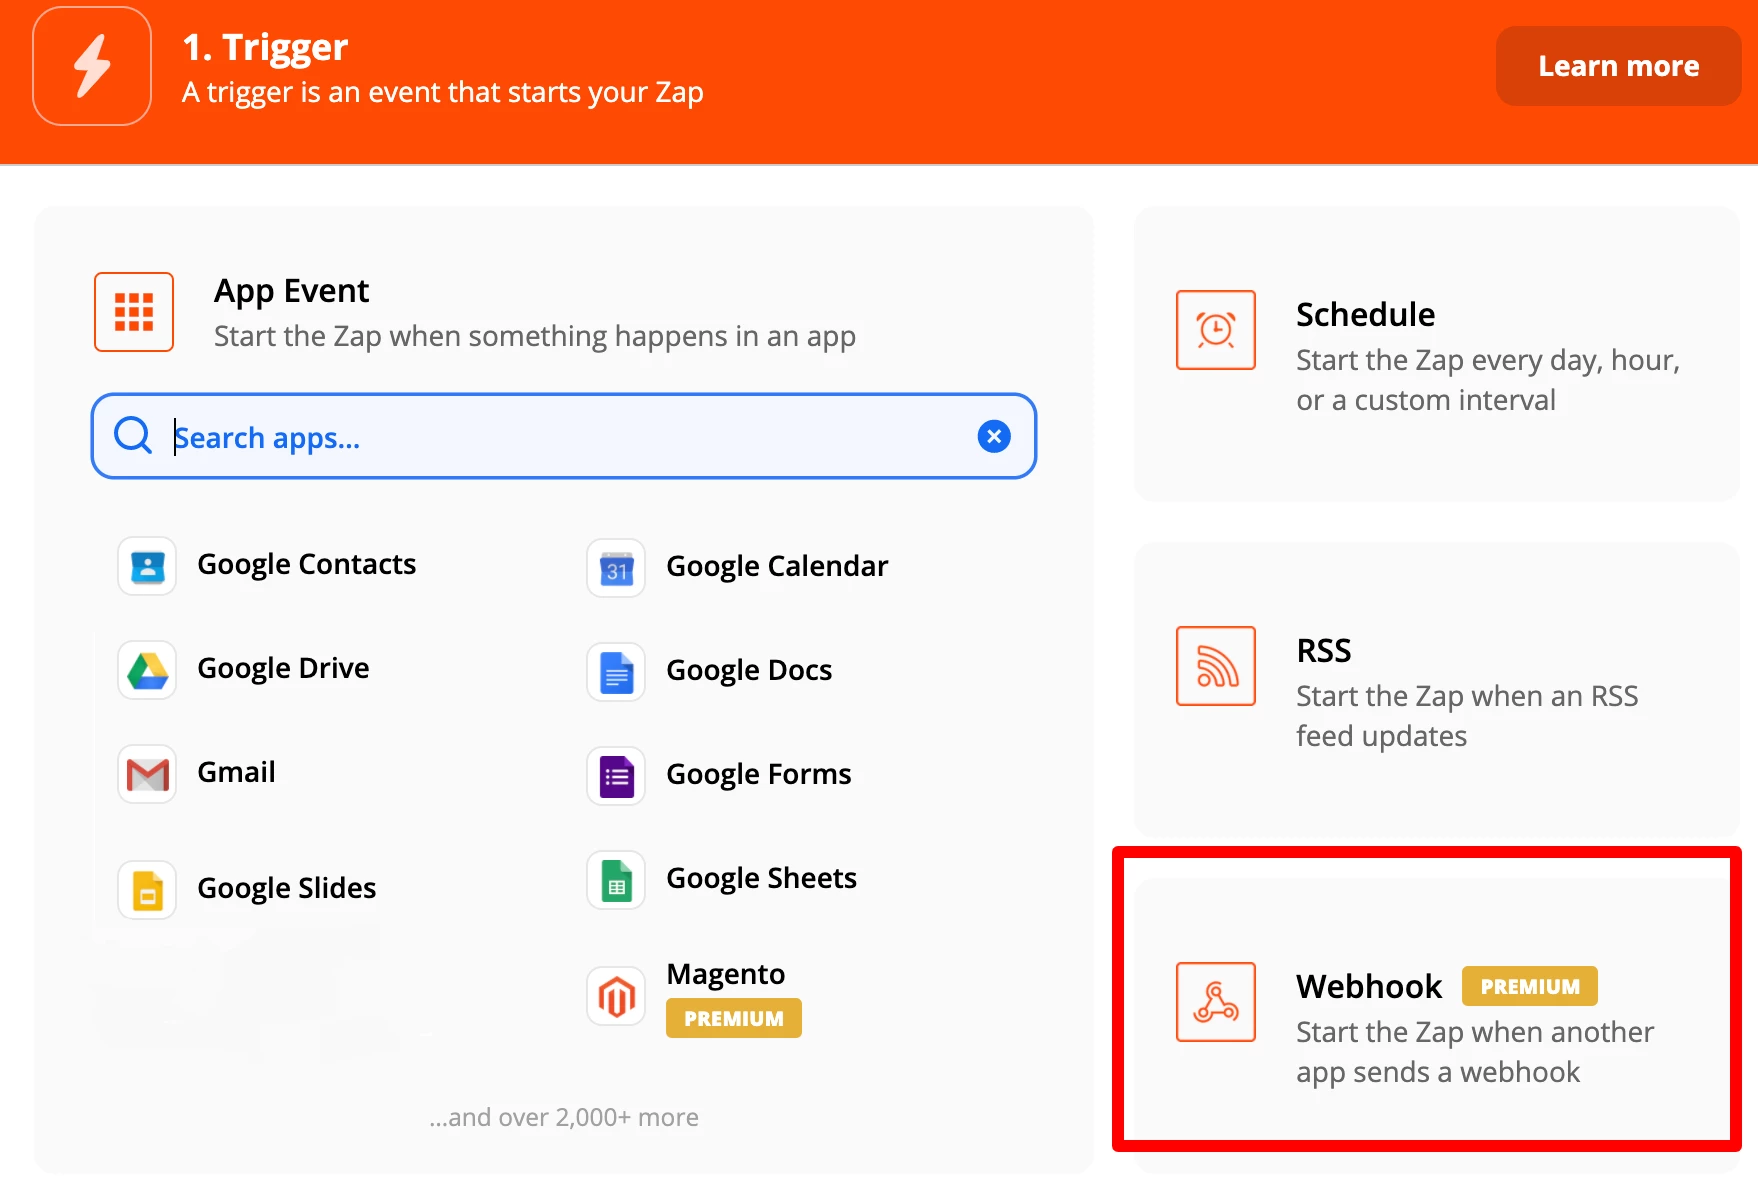
- Click Webhook.
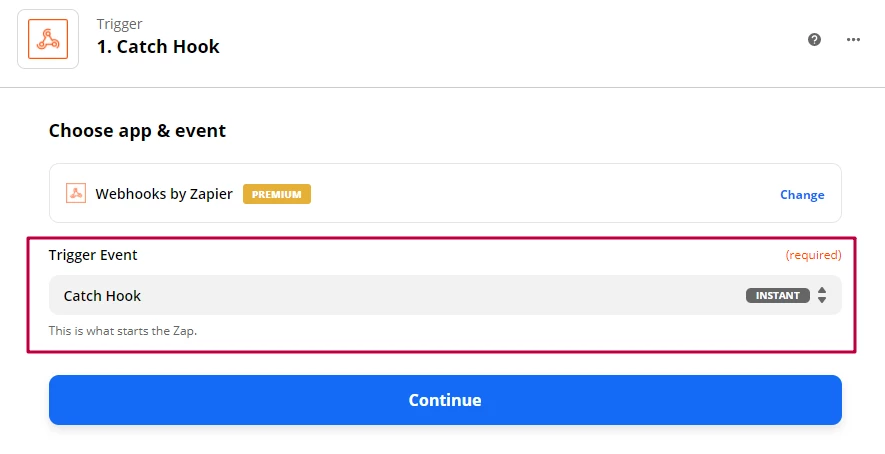
- Click Continue to continue. In the new window, click Custom Webhook URL, which will create zap.
- In Choose app & event → Trigger Event, select Catch Hook and click Continue.
- In Set up trigger → Custom Webhook URL, copy the generated link.
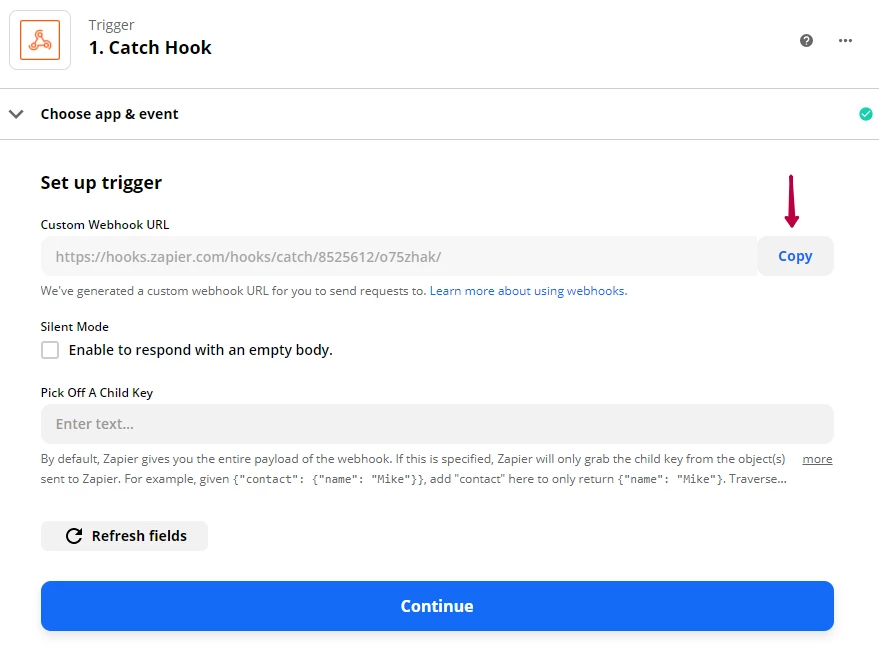
- Insert it in Webhook URL in Stripo.
- In Action → Choose app & event select our platform.
- In Action Event, select Send Event.
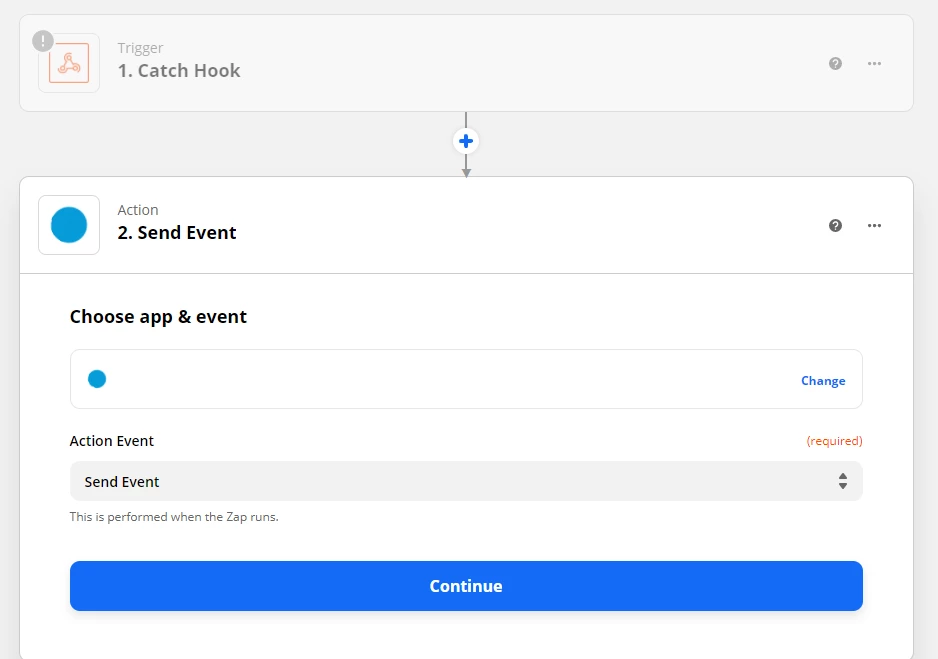
- Click Continue and sign in to your account.
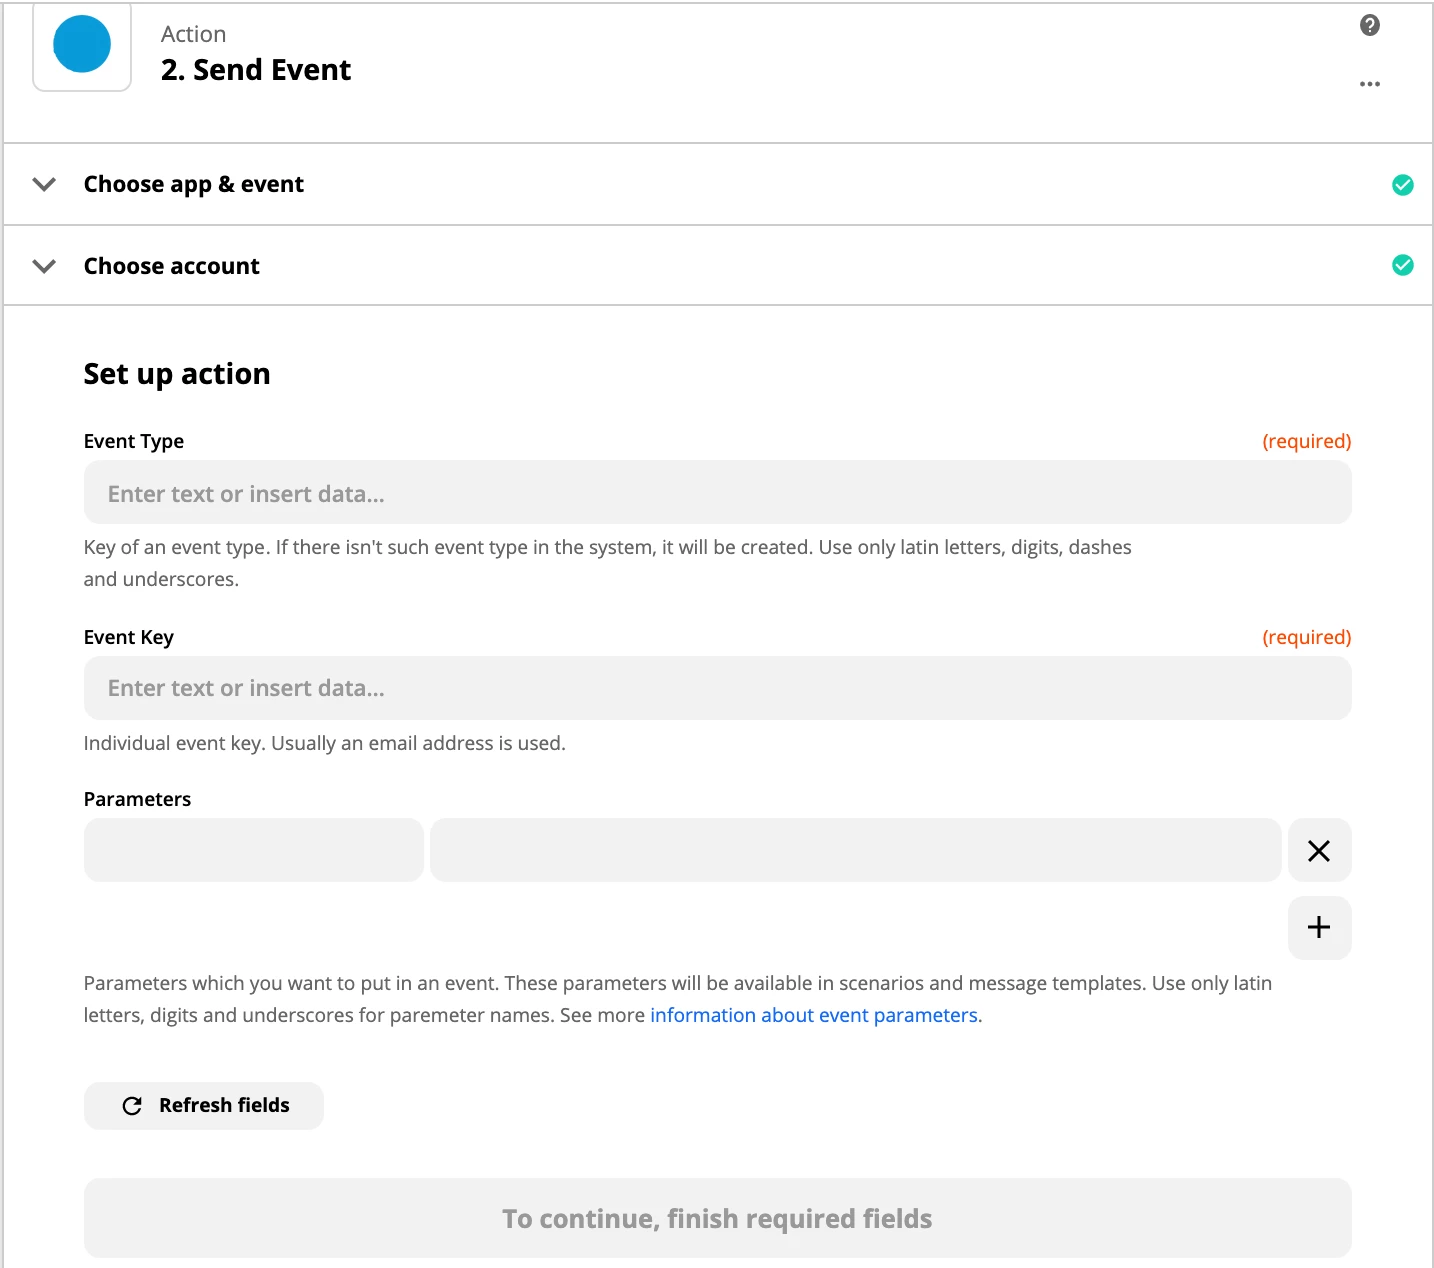
- In Set up action, fill in fields:
- Event Type. Event type in our platform that is assigned to the survey. Enter a name and create the event in tha system or enter the name of the existing one.
- Event Key. Contact ID that can check whether the event has been triggered for the contact (email, phone number, ContactID).
- Parameters. Values that correspond to the questions and answers of your survey.
- Turn the zap on.

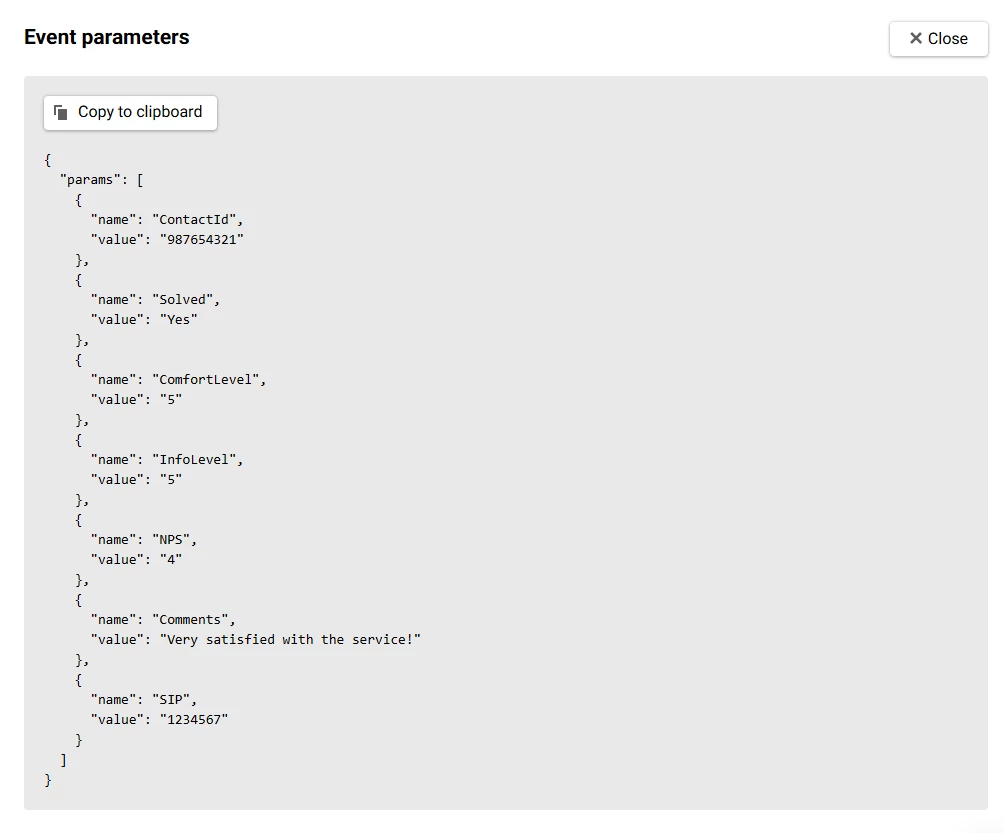
When the survey form is filled, the zap will send to your account an event with the user's responses.
5. Use responses.
5.1 Create a workflow based on user responses.
Create a workflow that will be triggered by the event sent to the system upon survey completion.
You can check the variable that corresponds to the answer that is of particular interest to you. For example, take the question Did we help solve your problem? the answer to which is transferred in the Solved parameter.
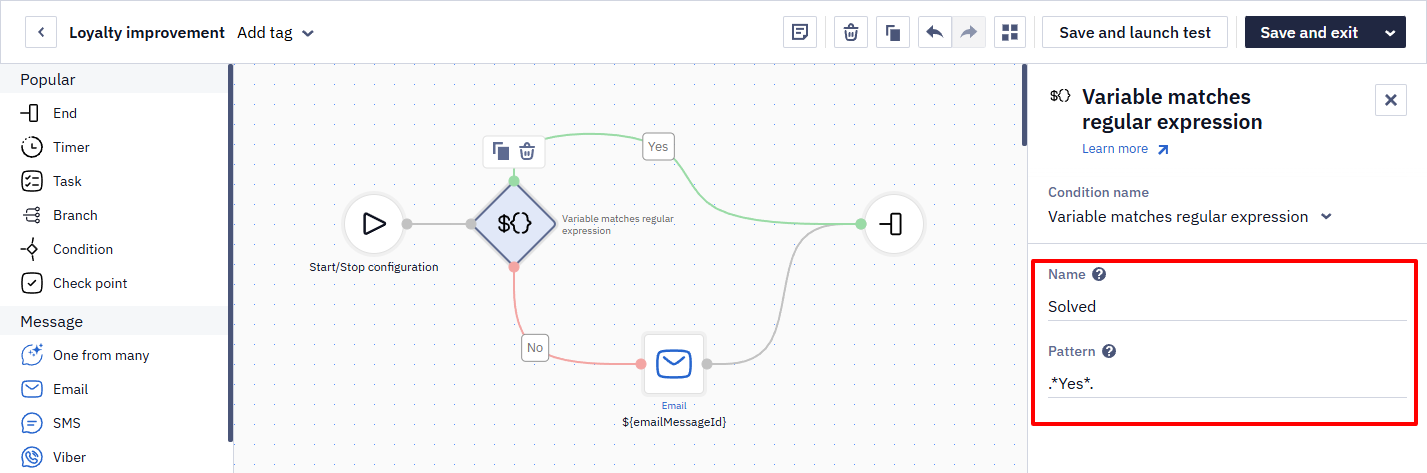
If its value isn’t Yes, an extra workflow path will start for customers whose problem wasn’t solved. For example, you can send them an apology email with a bonus. Or you can email the responsible manager who can use the user's phone number and call center SIP number to find the right dialogue in the CRM and assess it.
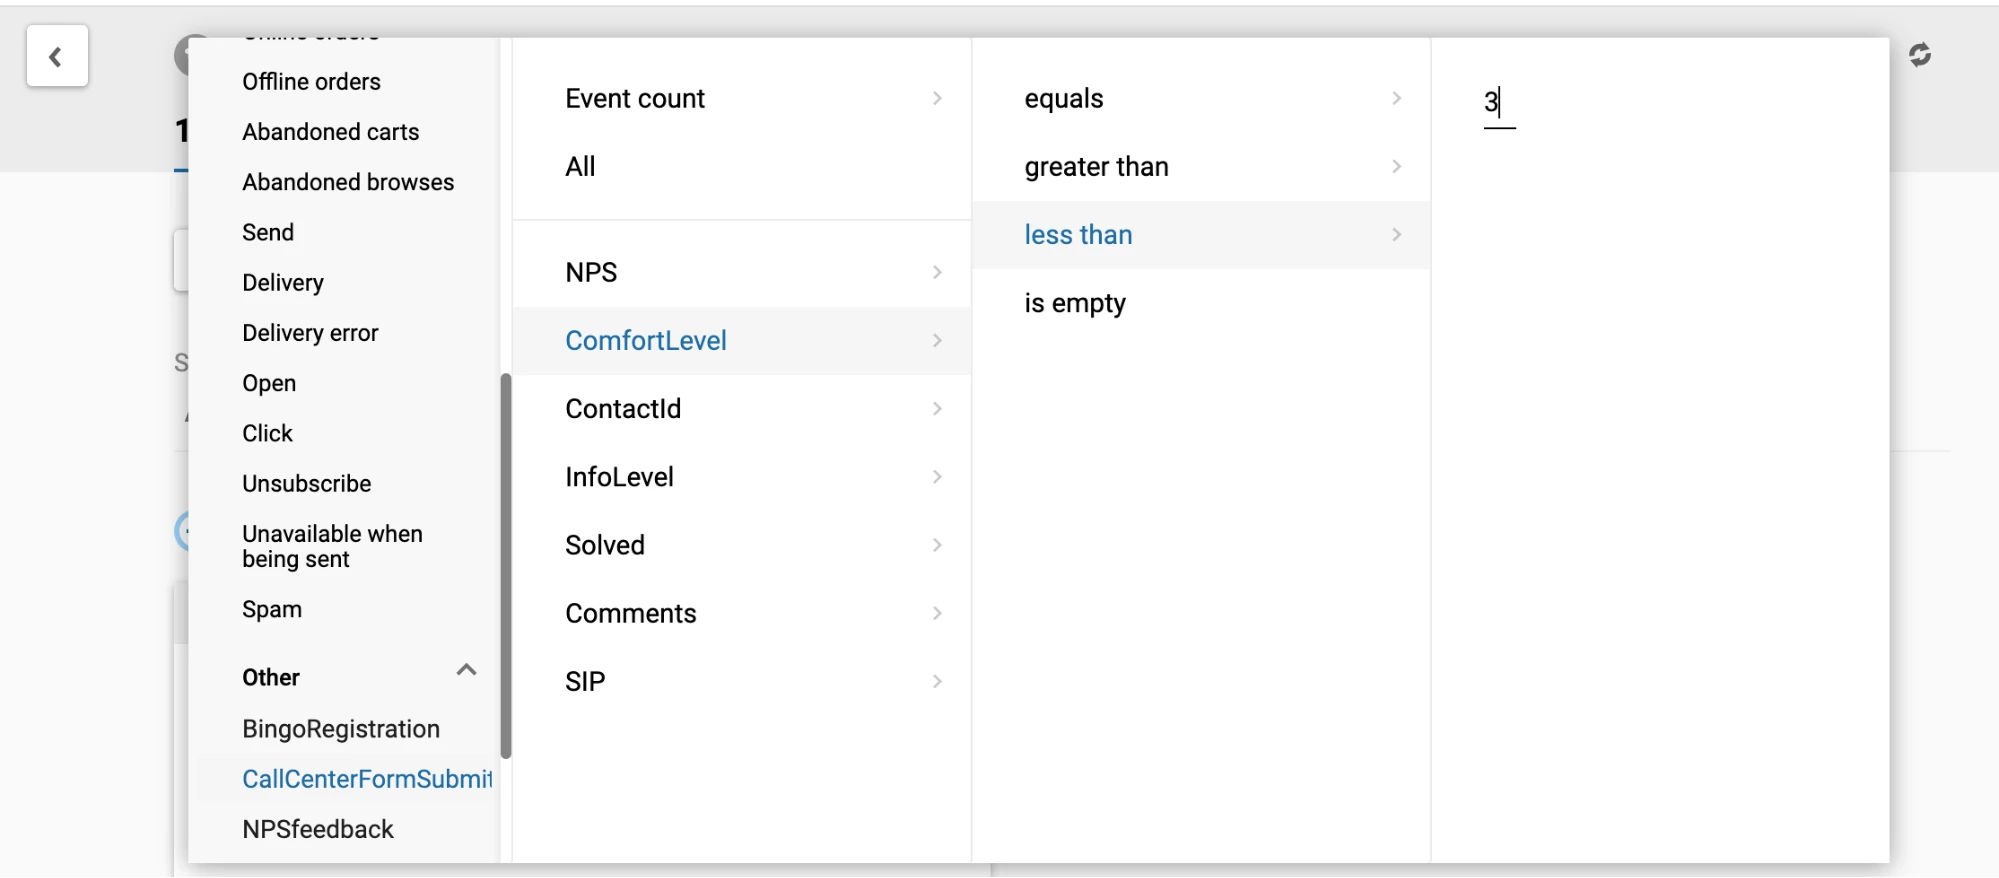
5.2 Segment your contacts.
You can build communication strategies for each contact group by creating dynamic segments using segmentation by events. You can add different conditions based on the responses you receive.
Regular surveys can help you identify growth points and weaknesses of your business. You may want to pay attention to product or service quality or review the bonus system for employees who contribute to customer loyalty. Our CDP helps automate your customer research and eventually improve customer satisfaction and retention.
Updated about 12 hours ago