Customizing an HTML Email Template
When you export your HTML template to eSputnik, simply pasting the code in the code editor is not enough. This way you won’t be able to edit elements (container/structure/stripe) and blocks in a drag-n-drop mode. To take full advantage of the eSputnik editor, the template needs to be optimized using its functionality.
Basic Customization
Apply basic customization if you don’t need to change the layout but only want to edit the content: text, links, images.
For this instruction, we'll copy the HTML template of the email by Wemo from reallygoodemails.com, paste it to our editor and adapt step by step. You can paste your own HTML template or take it from any other email template resource.
- In your eSputnik account, go to Messages → Messages and click Create Email. In Basic, scroll down and select My HTML. Paste the code in the editor.
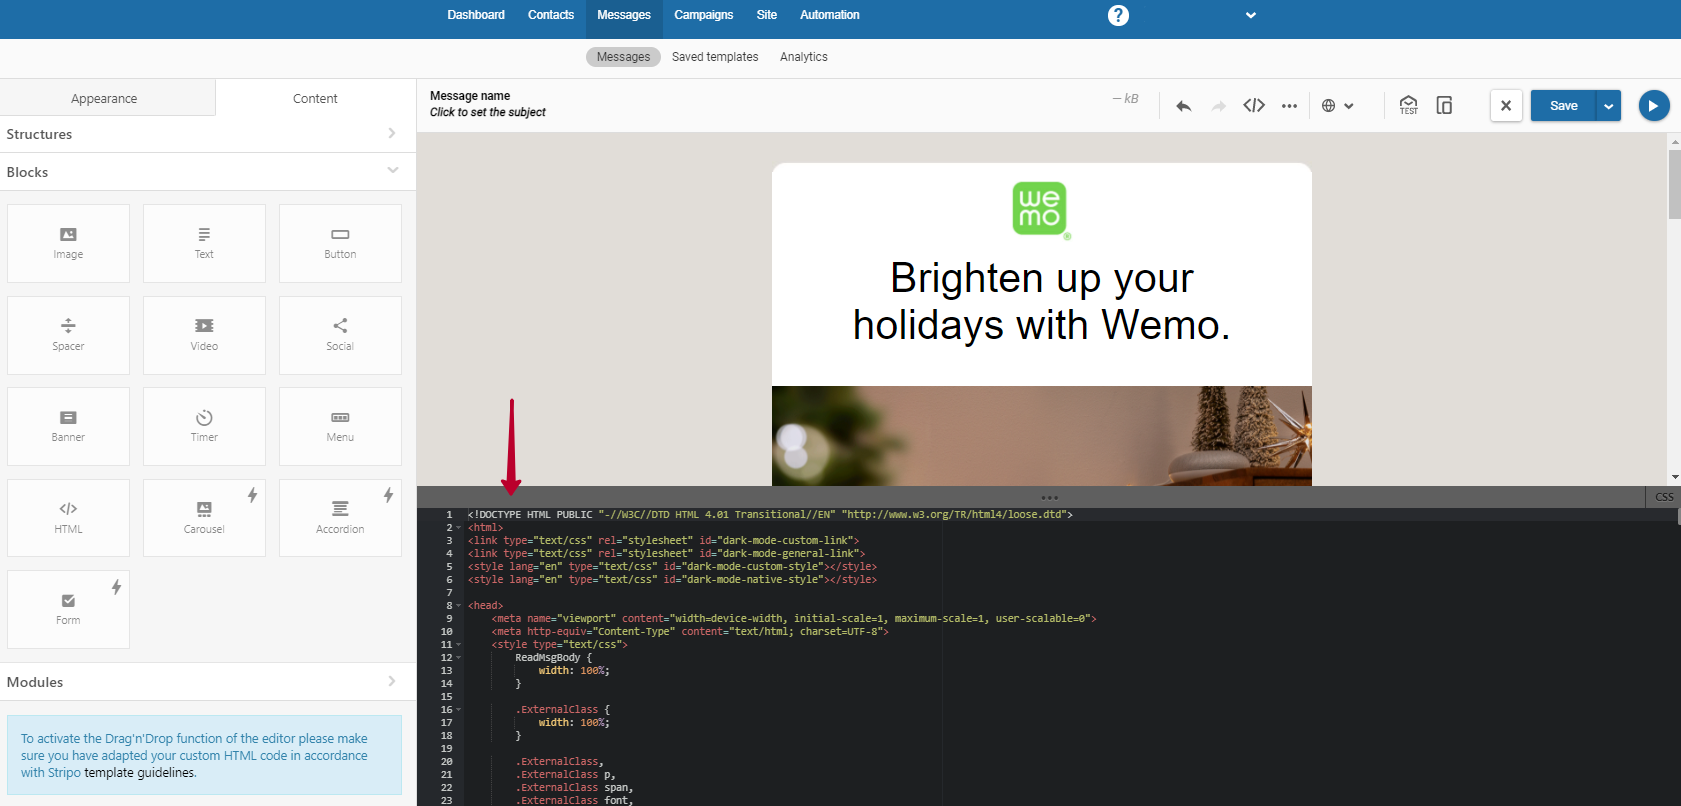
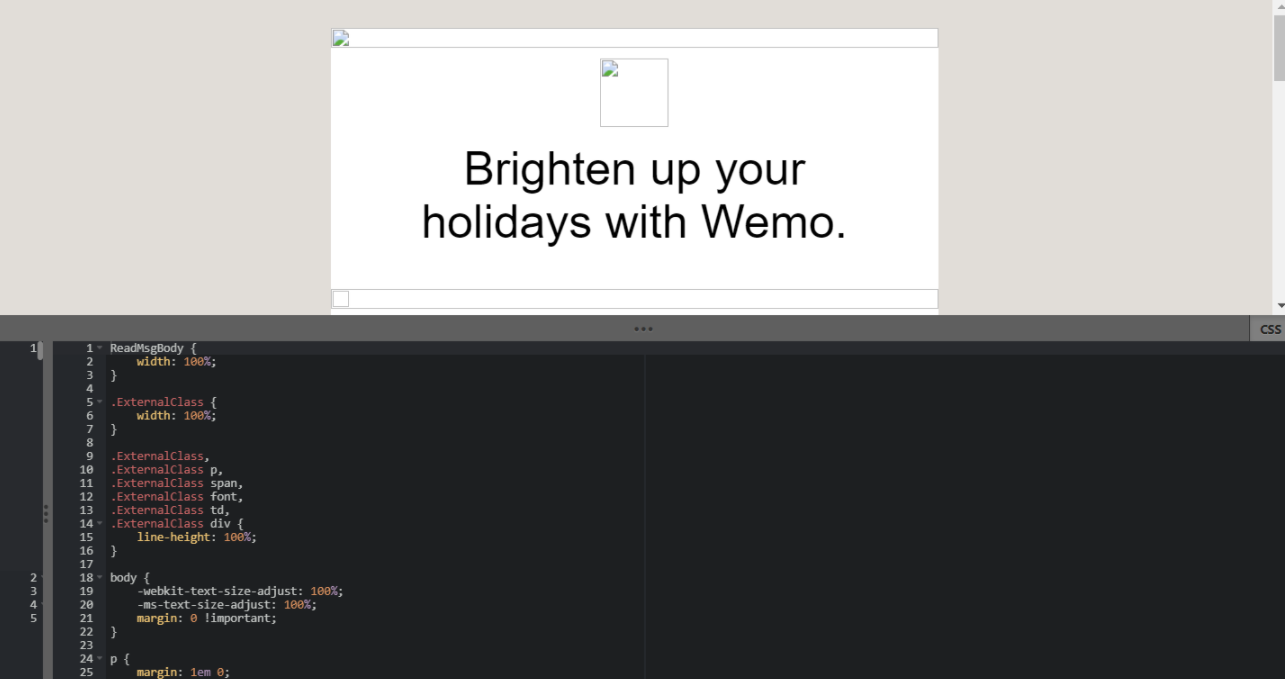
- The editor has a CSS section. Click CSS in the right corner to unroll it.
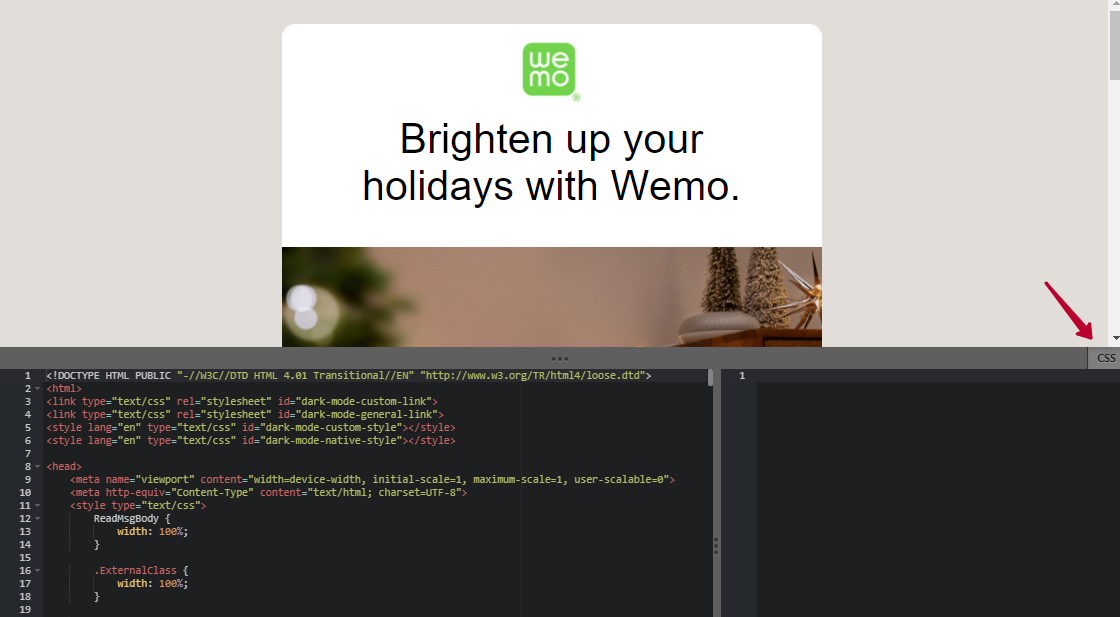
- For convenience, we recommend splitting HTML and CSS snippets between the corresponding sections. CSS styles are often wrapped within the
<head>of the HTML code.
For example:
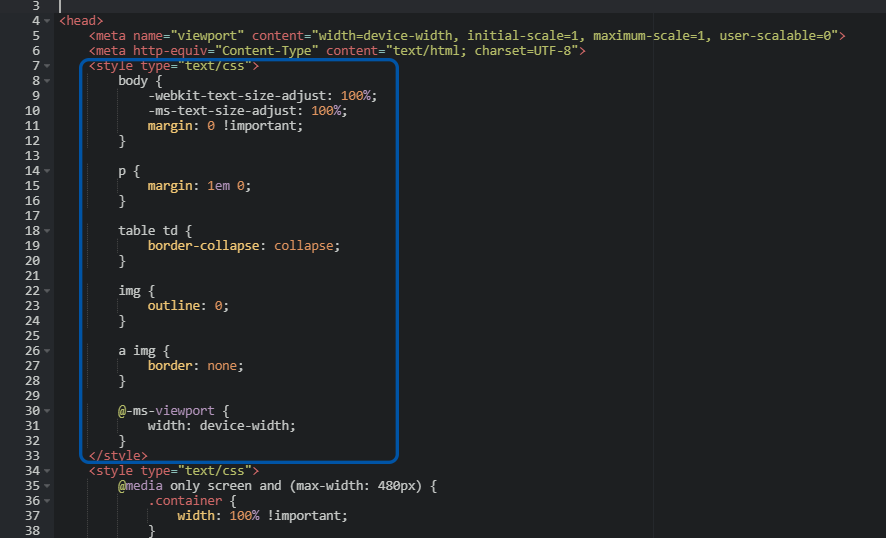
You need to cut everything wrapped between **
<style>
</style>
** tags and paste it to the CSS section.
This is how it will look after splitting:
HTML section
CSS section
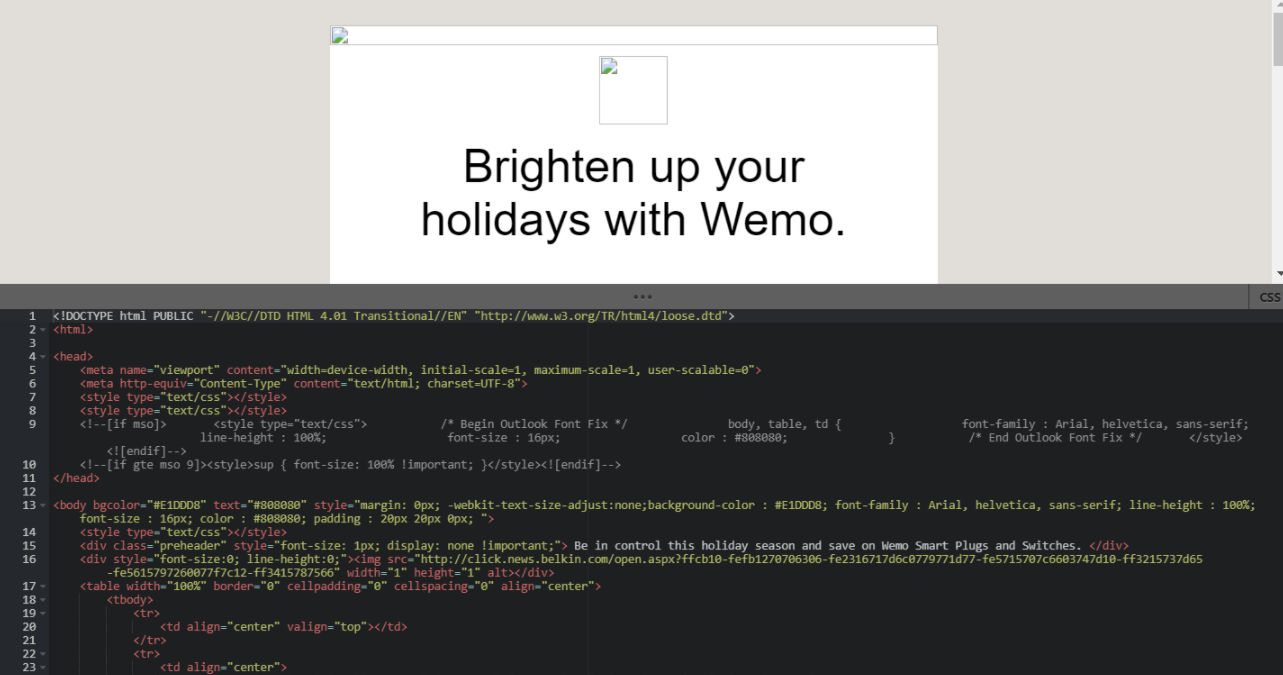
- The images aren’t displayed so you need to add them manually. You can do it in the code editor or block editor.
To add an image in the block editor, close the code editor, click the container with the image and click the Change image icon in the settings on the left.
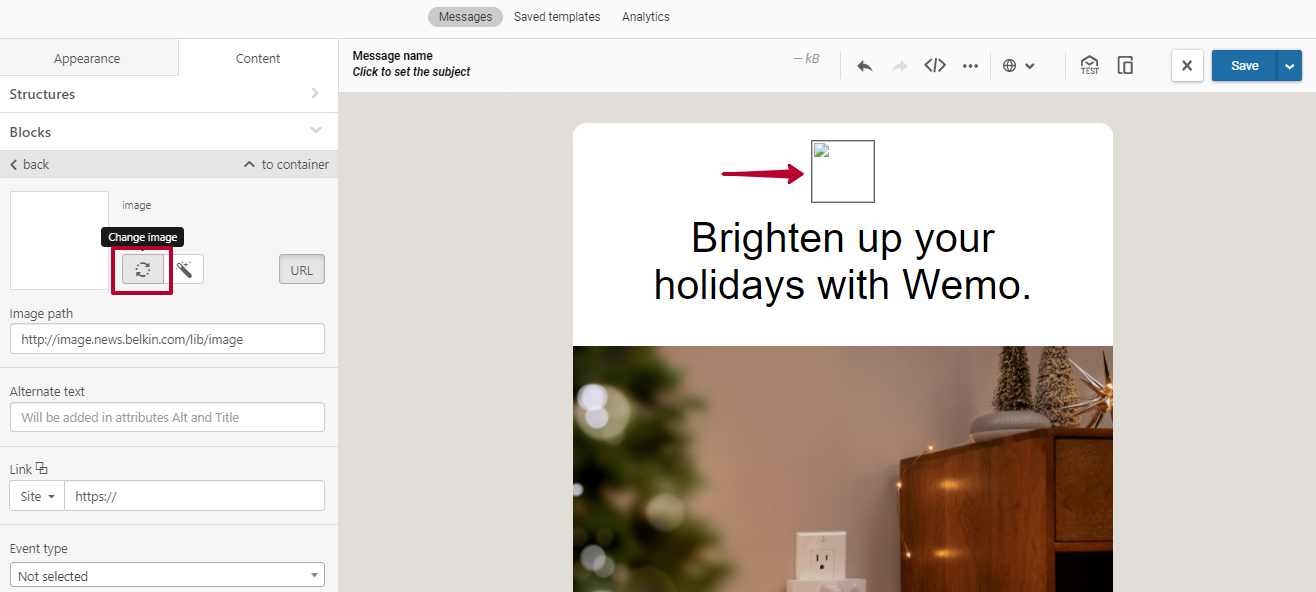
Upload the image in one of the ways:
- Upload the image from the computer;
- Paste it as the external link.
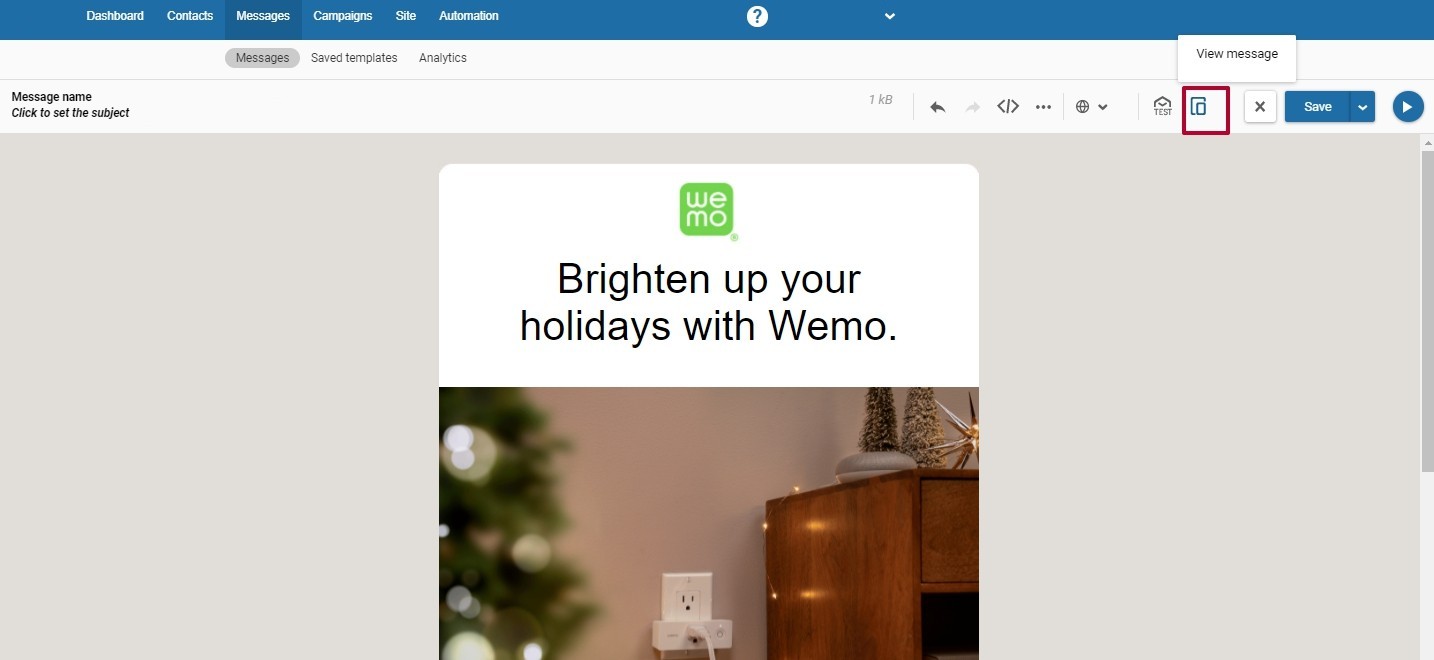
Repeat the same process for the rest of the images. Once all images are added, click View message in the top settings to preview the template on desktop and mobile.
- To edit text, you need to apply the esd-text CSS class to the tag that wraps the entire text block. Usually, these are p, div, td, h1, h2, h3, span tags. You can apply the esd-text class to the span tag only if it wraps the entire text and not a part of it.

After the esd-text class is set, click the text container in the template and edit it as needed using the editing toolbar that rolls out on top.
Advanced Customization
You’ll need advanced customization when you need to change the layout of the email: edit stripes, structures or containers.
For a better understanding of the process, let's see what elements the email template consists of in the eSputnik editor.
HTML Hierarchy
In the eSputnik drag-and-drop editor, emails consist of:
- stripes;
- structures;
- containers;
- blocks.
A stripe is the highest element of HTML elements that can nest several structures. Structures can nest containers, and containers can nest blocks.
Take a look at the example of a stripe that nests one structure with two containers and blocks Image and Text.
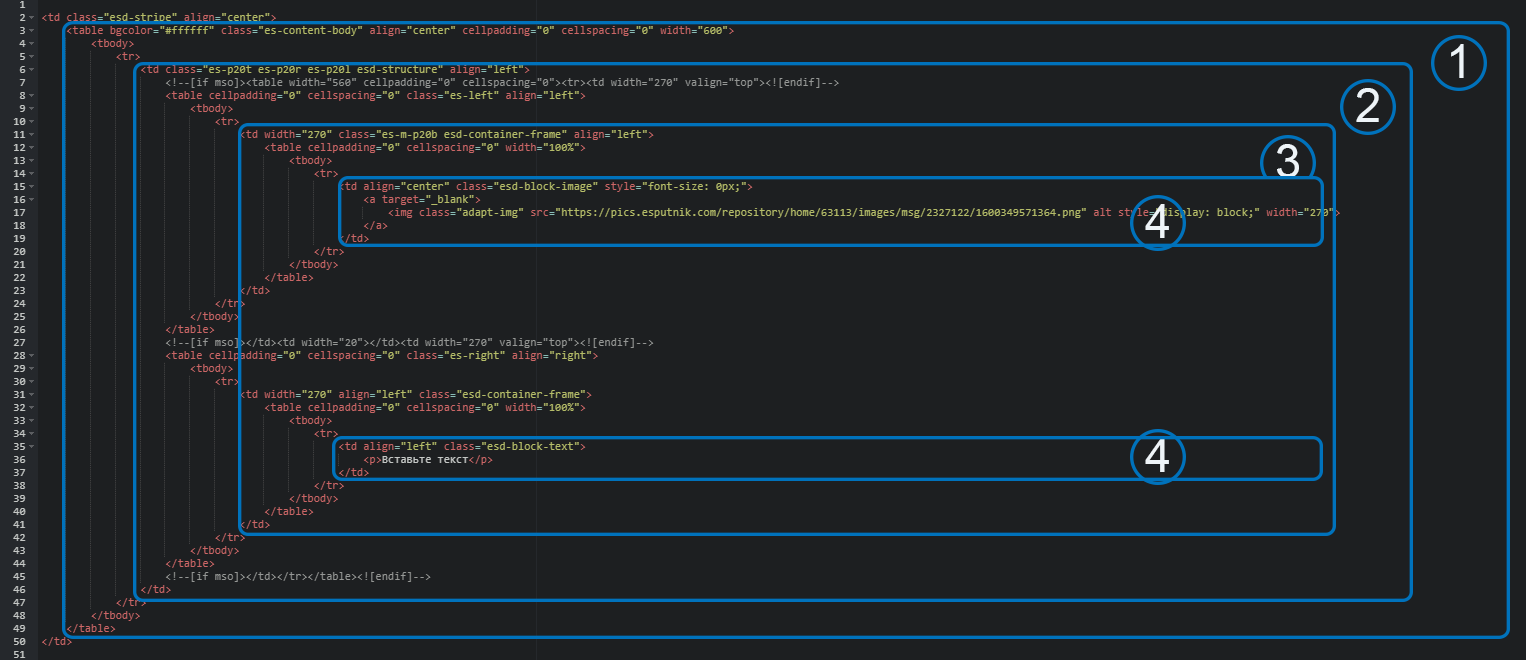
- Stripe with the esd-stripe class.
- Structure with the esd-structure class.
- Container with the esd-container-frame class.
- Block with the esd-block class.
If your template has a similar HTML layout, it will be easier to customize it in eSputnik.
There is always a space for a new stripe, structure or container. But due to the specific layout of the blocks, it is not always possible to add a class for them ensuring proper customization. We recommend wrapping a new block with the esd-block-html class. This way, you’ll be able to activate control buttons (Save as module, Move, Copy, Delete) and edit such a block in HTML.
Available block classes
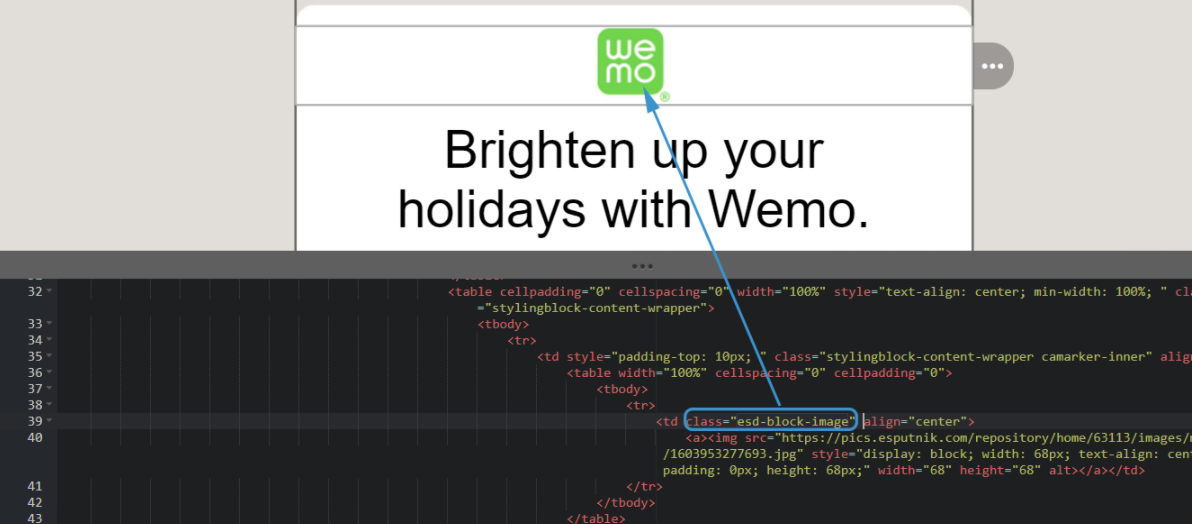
- esd-block-image – class for the Image block;
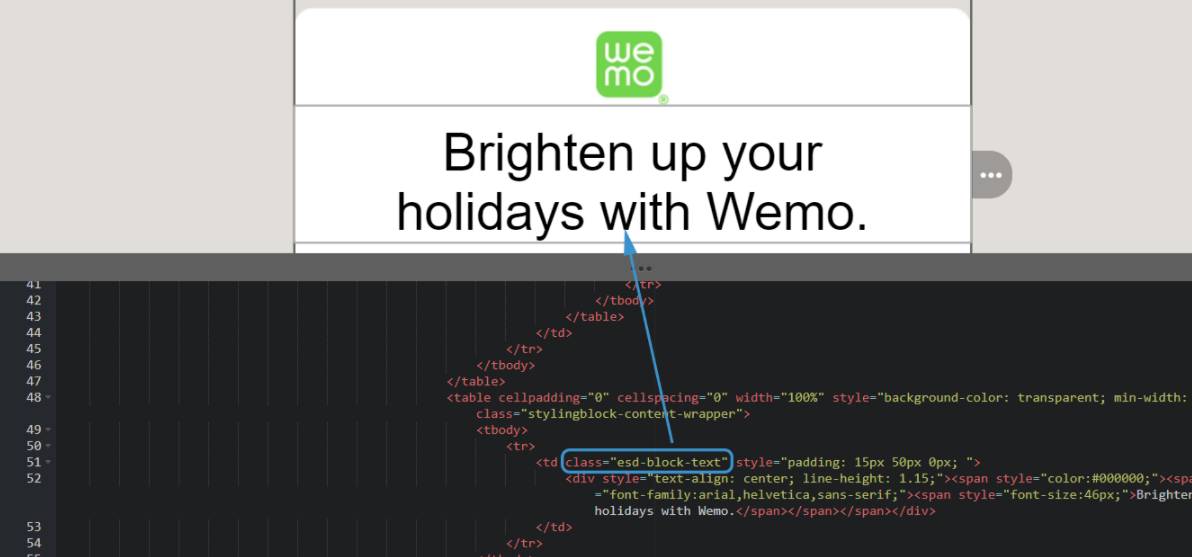
- esd-block-text – class for the Text block;
- esd-block-button – class for the Button block;
- esd-block-spacer – class for the Spacer block;
- esd-block-social – class for the Social block;
- esd-block-html – class for the HTML block;
- esd-block-menu – class for the Menu block.
Customize the Stripe
Find the snippet you can apply a stripe class to. In our template, it’s the entire email body.
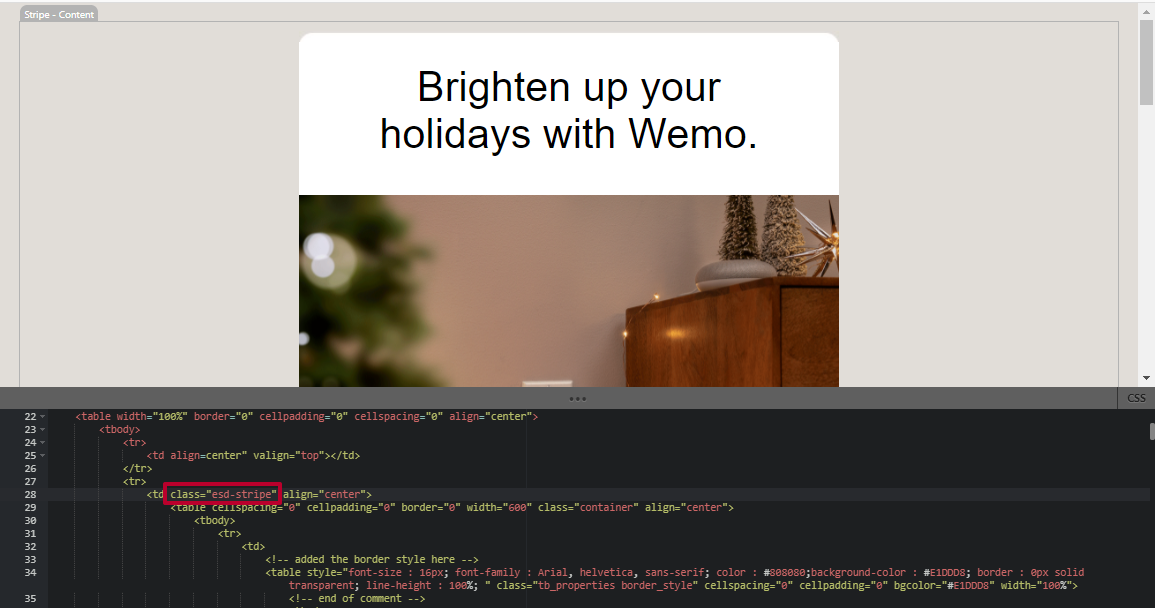
After adding the class, eSputnik identifies the HTML snippet as a stripe and displays the stripe settings on the left. Use them to edit the stripe.
Customize the Structure
Apply the esd-structure class to the structure.
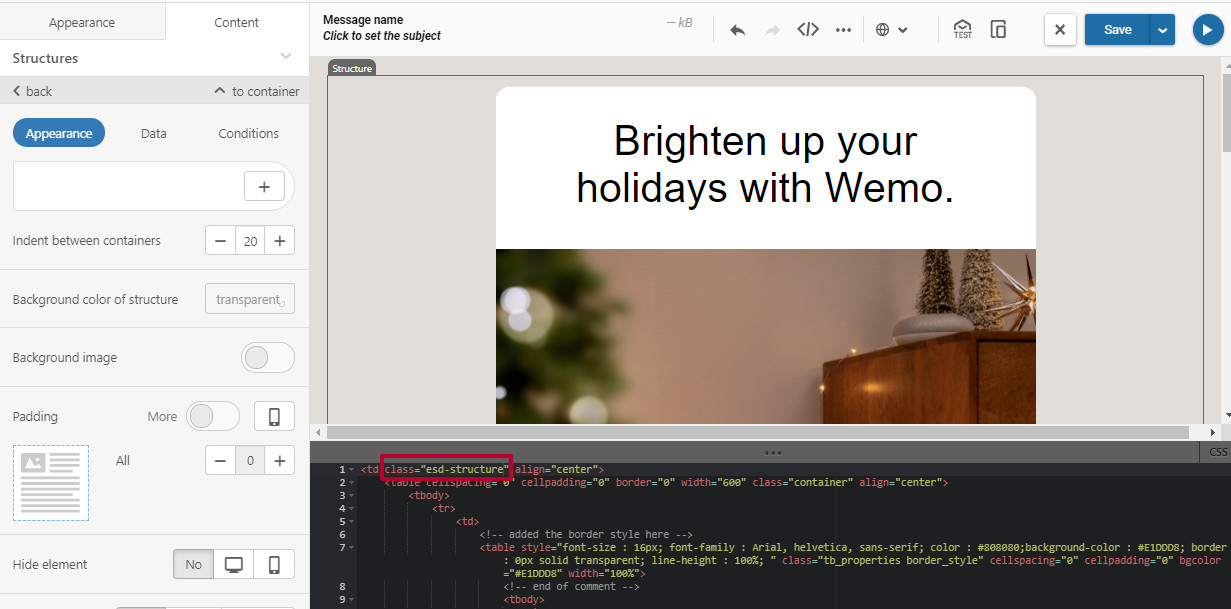
The side panel with settings will appear on the left.
Customize Basic Blocks
Now let's put the existing content within blocks and containers. The upper part of the email contains a picture (white structure), logo and text. Let's apply the corresponding classes to them:
Logo and image – esd-block-image.
Text – esd-block-text.
After customization, this section will look as follows:

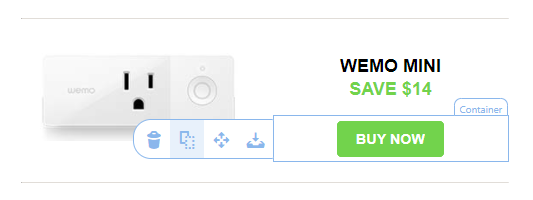
Customize the Container
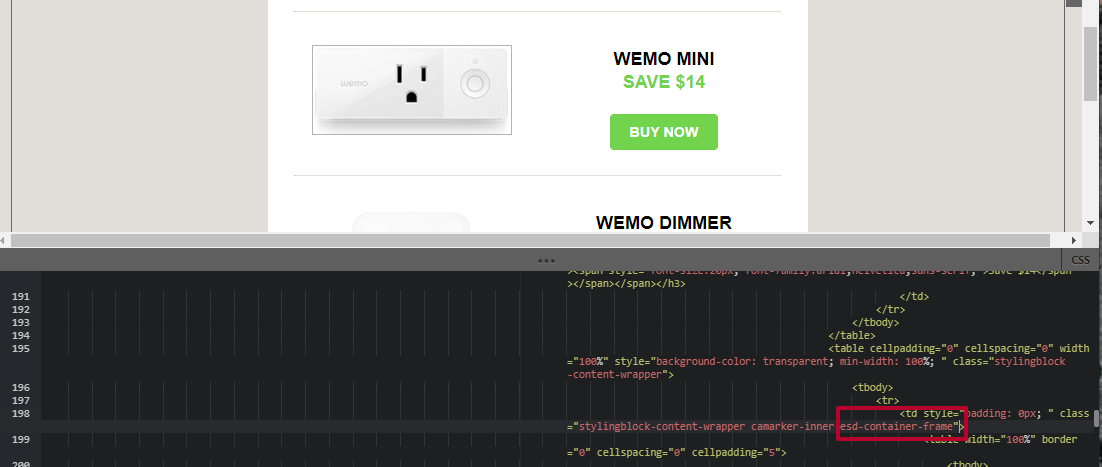
To customize the product card with the button, we need to add a container. Find the snippet nesting the product photo with the alt text Wemo Mini and apply the esd-container-frame class to it. This will be the first container.
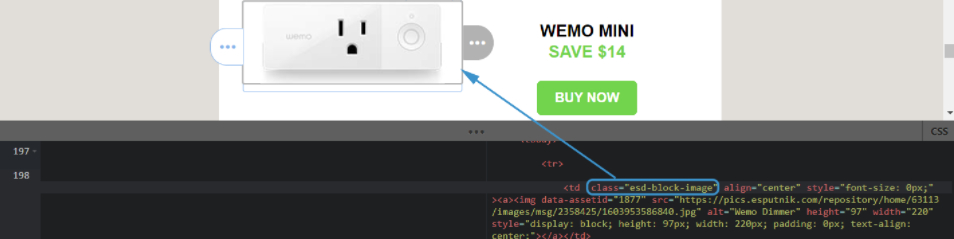
Within the container, add the esd-block-image class to the image.
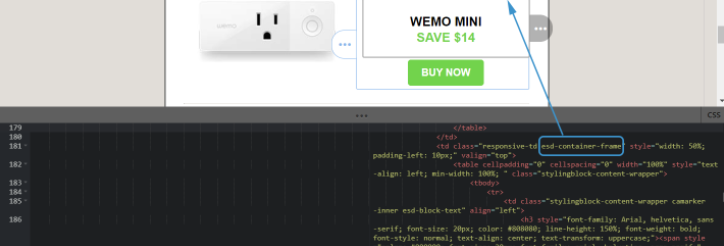
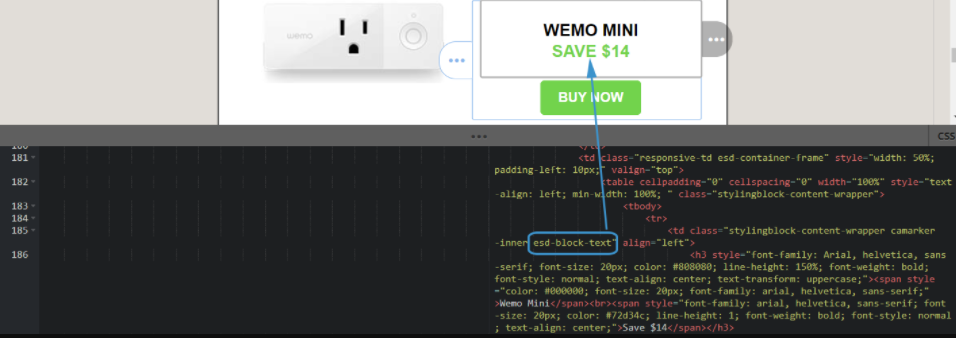
Find the second snippet with the Wemo Mini text and apply the esd-container-frame class to it.
Code in the first and second sections of the esd-container-frame snippets is nested within the blocks.
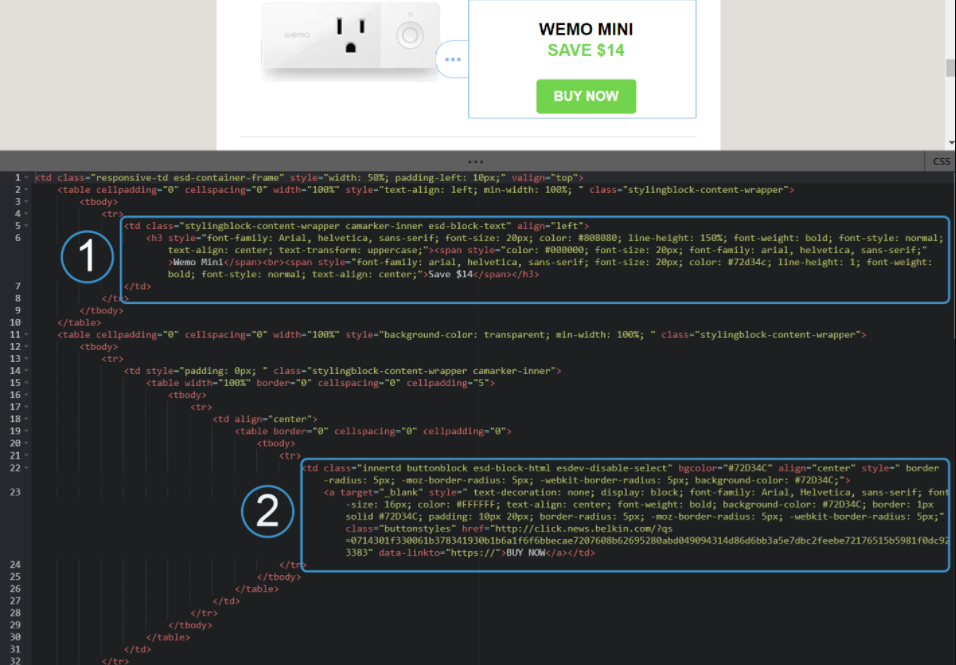
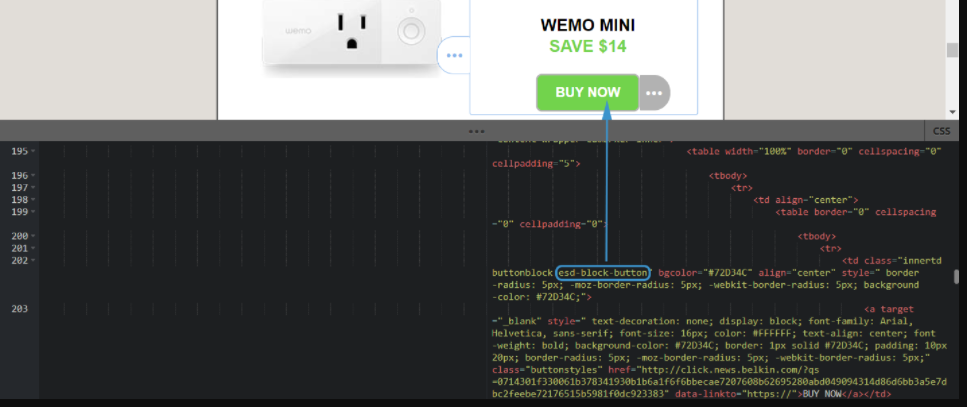
Text and a button are the only content of this container. Apply the esd-block-text class to the first section and the esd-block-button class to the second section.
Transform the remaining HTML using this method. You don’t have to adjust each card manually. Customize one structure with containers and then duplicate it or its containers with the Copy button.
Now you know how to customize your own HTML template and edit text, images and links in the eSputnik editor. Note that after editing you can save the whole template to your template library. You can also save its separate sections as synchronized modules.
Updated 7 months ago