Official guide: https://docs.esputnik.com/reference/ios
Minimum SDK Requirements
- iOS 15.0+
- Xcode 15.0+
- Swift 5.7+
Install Plugin and Wrapper
ionic cordova plugin add cordova-plugin-reteno --variable SDK_ACCESS_KEY=YOUR_KEY
npm install awesome-cordova-plugins-reteno @awesome-cordova-plugins/core
For Ionic projects that use an older @awesome-cordova-plugins/core major (v5/v6/v7/v8), install the matching wrapper major — see the compatibility matrix in Setup overview.
In config.xml add:
<preference name="deployment-target" value="15.0" />
<preference name="SDK_ACCESS_KEY" value="YOUR_RETENO_ACCESS_KEY" />
Add Notification Service Extension (NSE)
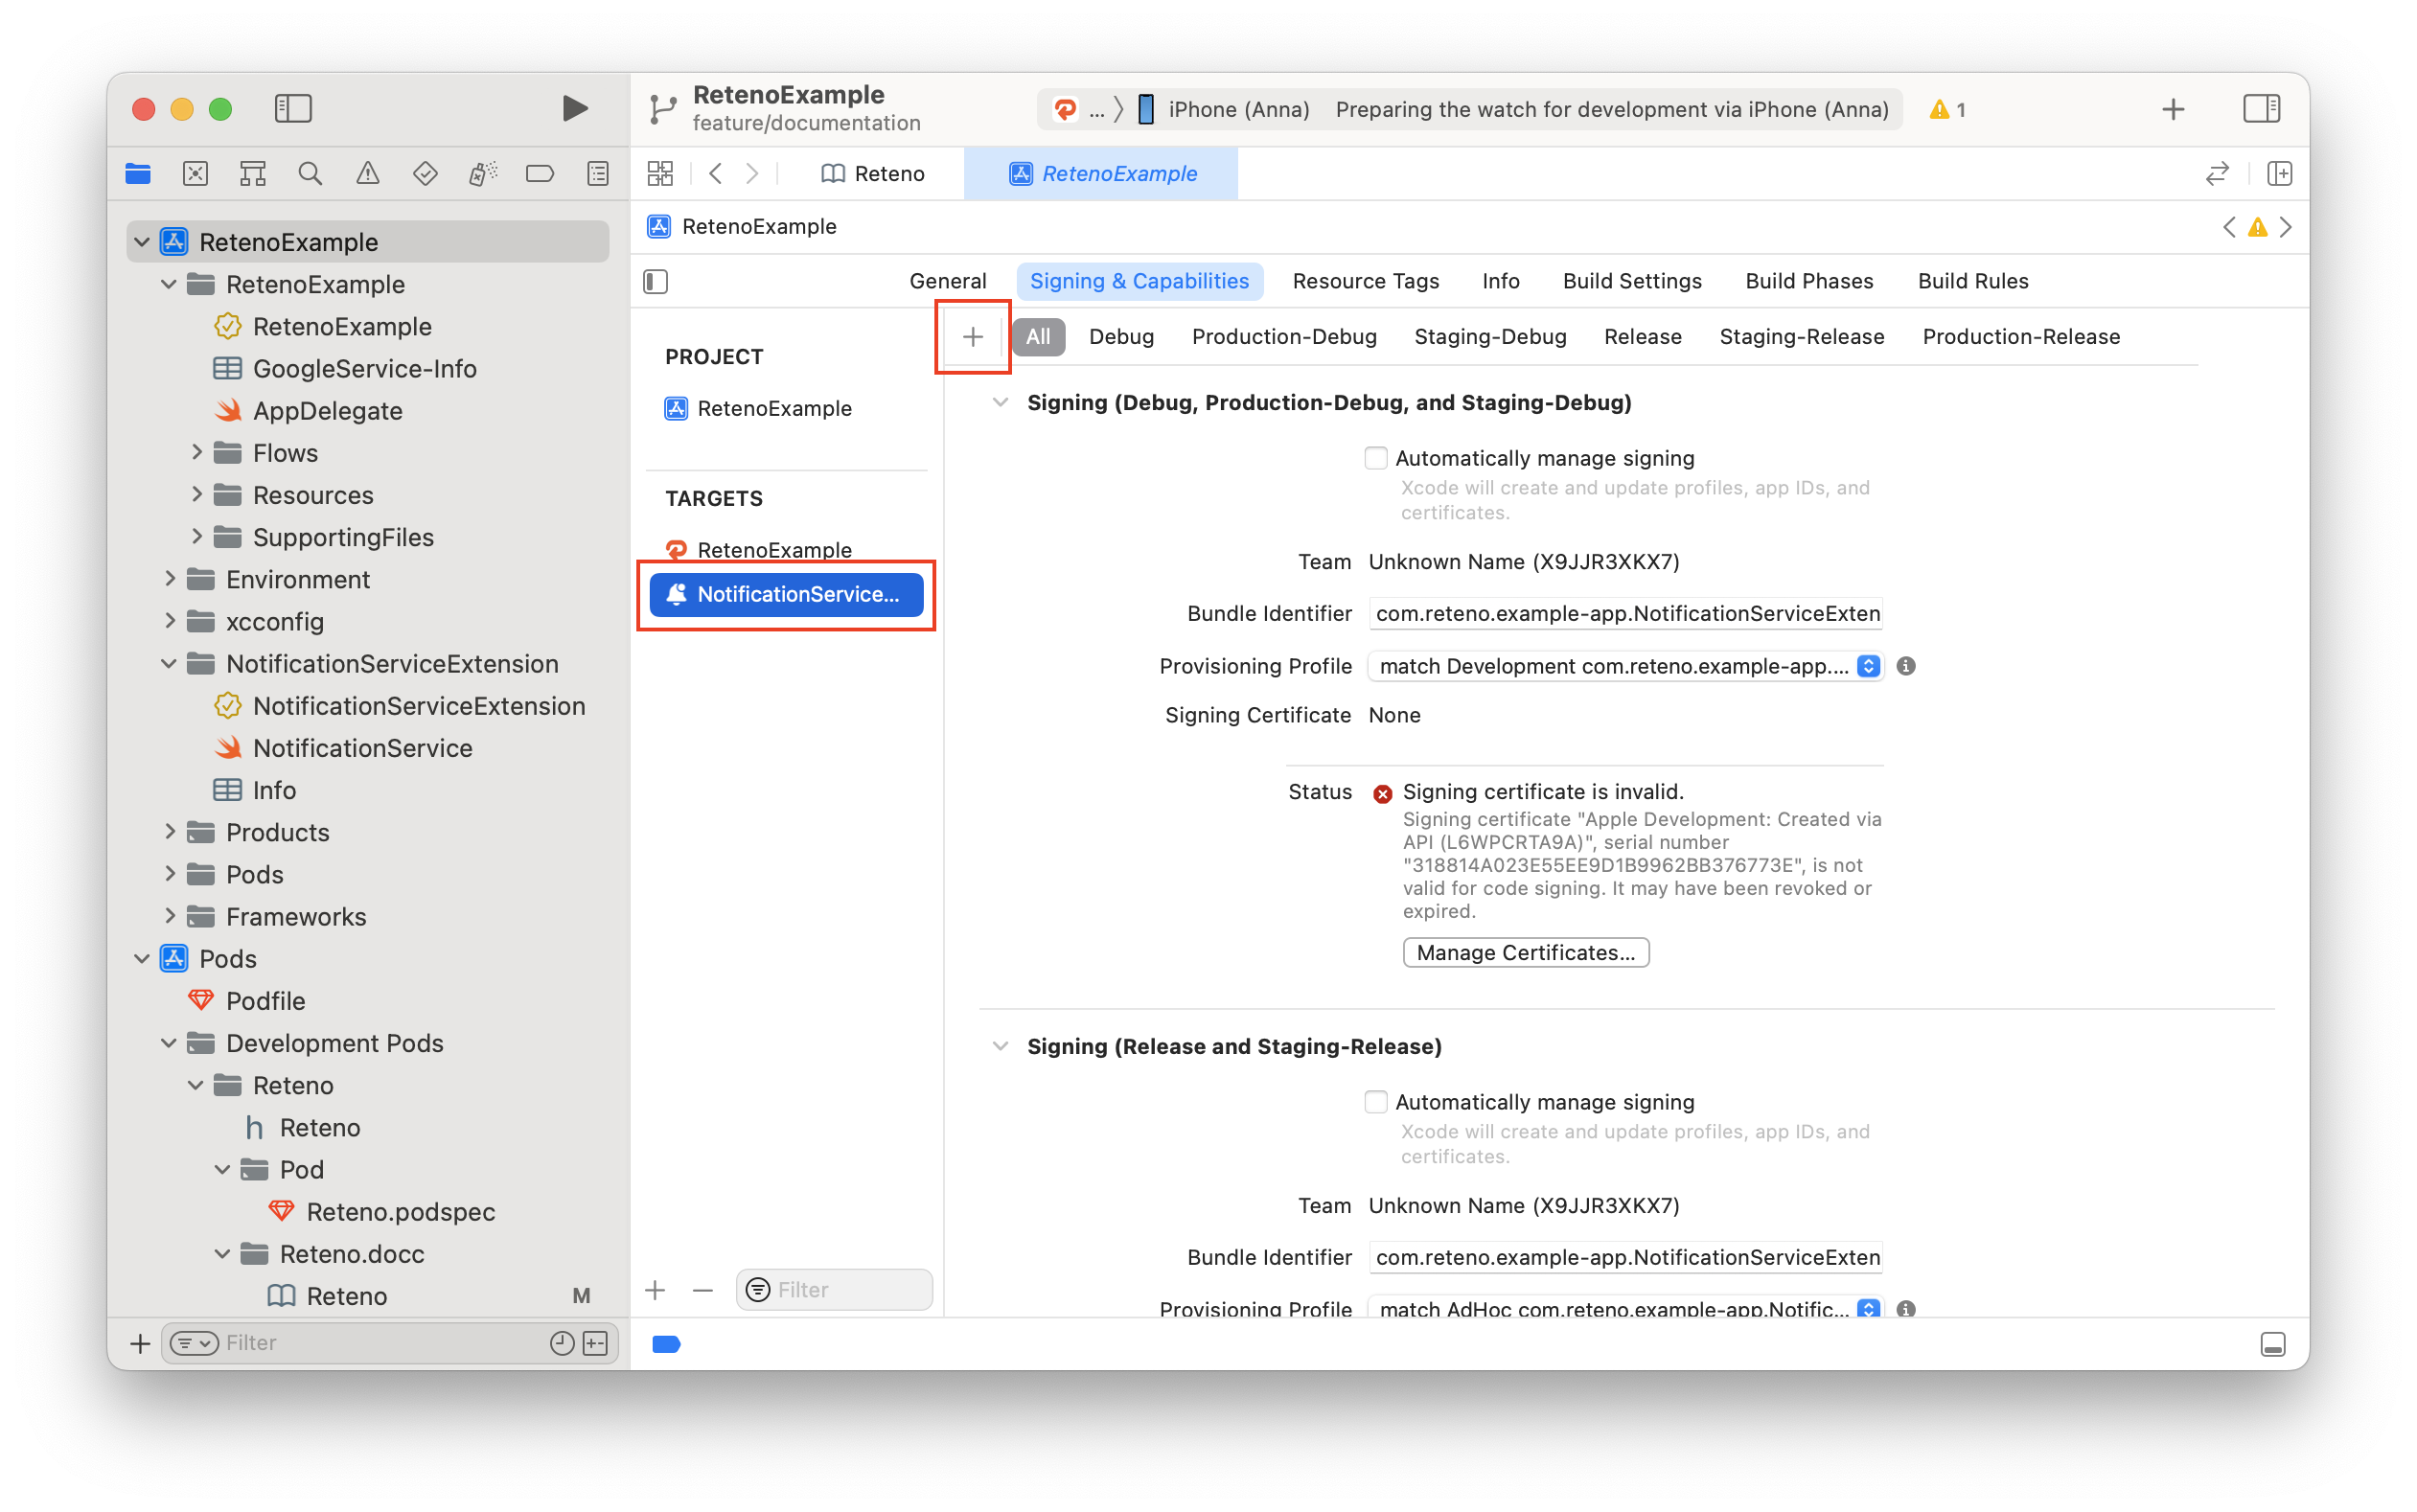
File > New > Target...->Notification Service Extension- Name:
NotificationServiceExtension - Do not activate scheme.
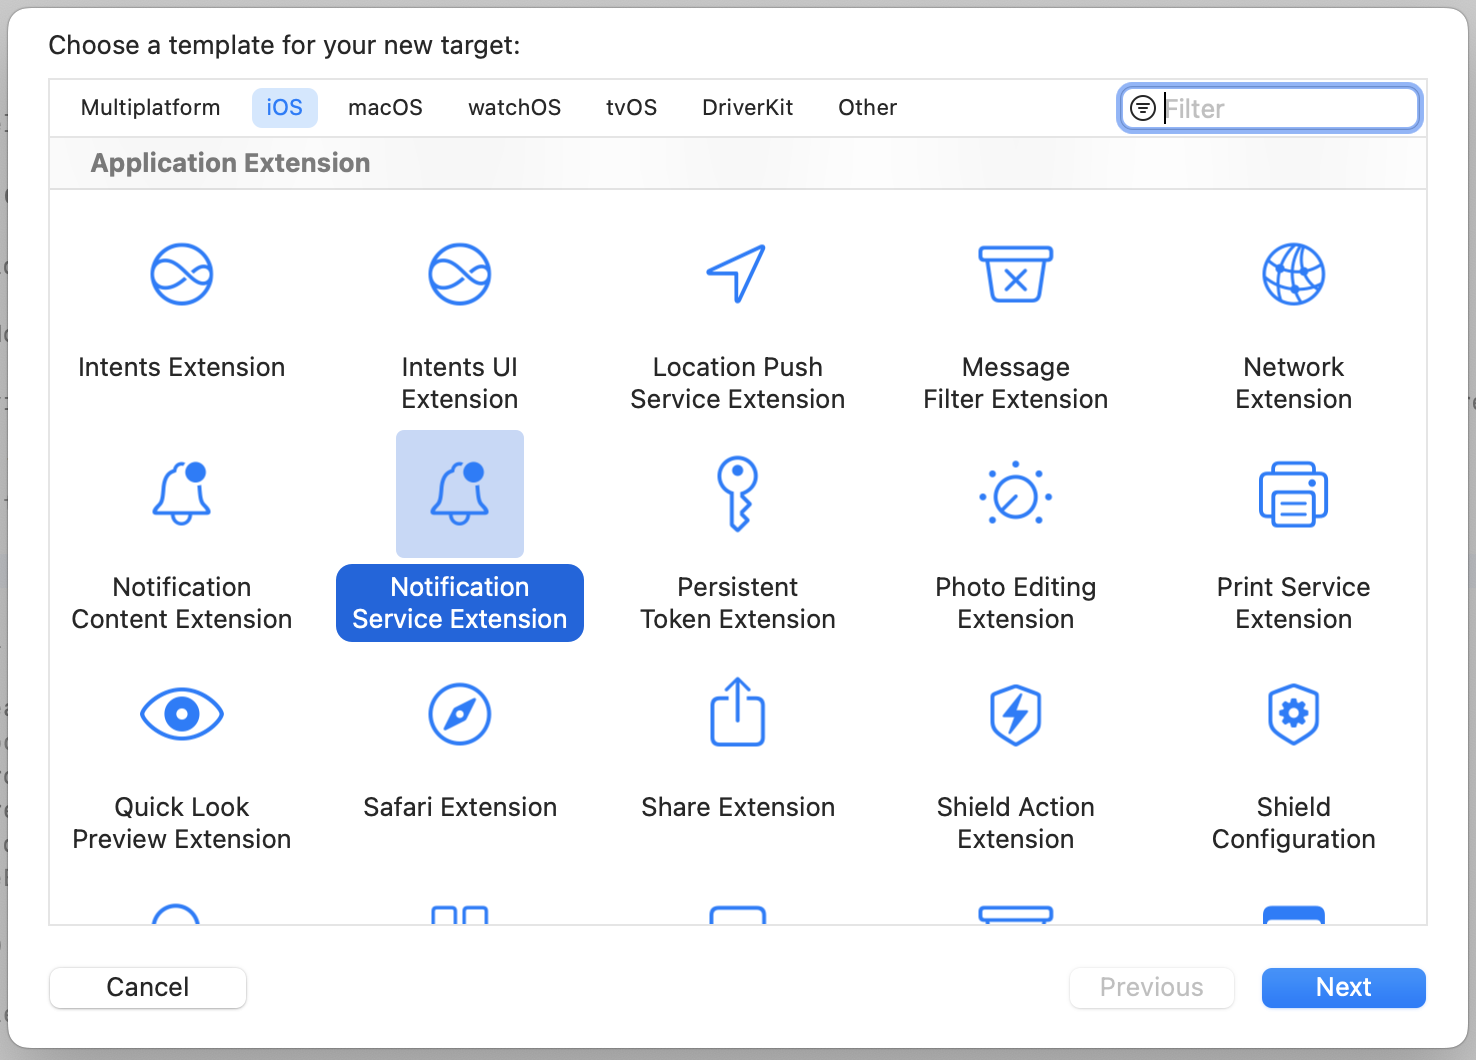
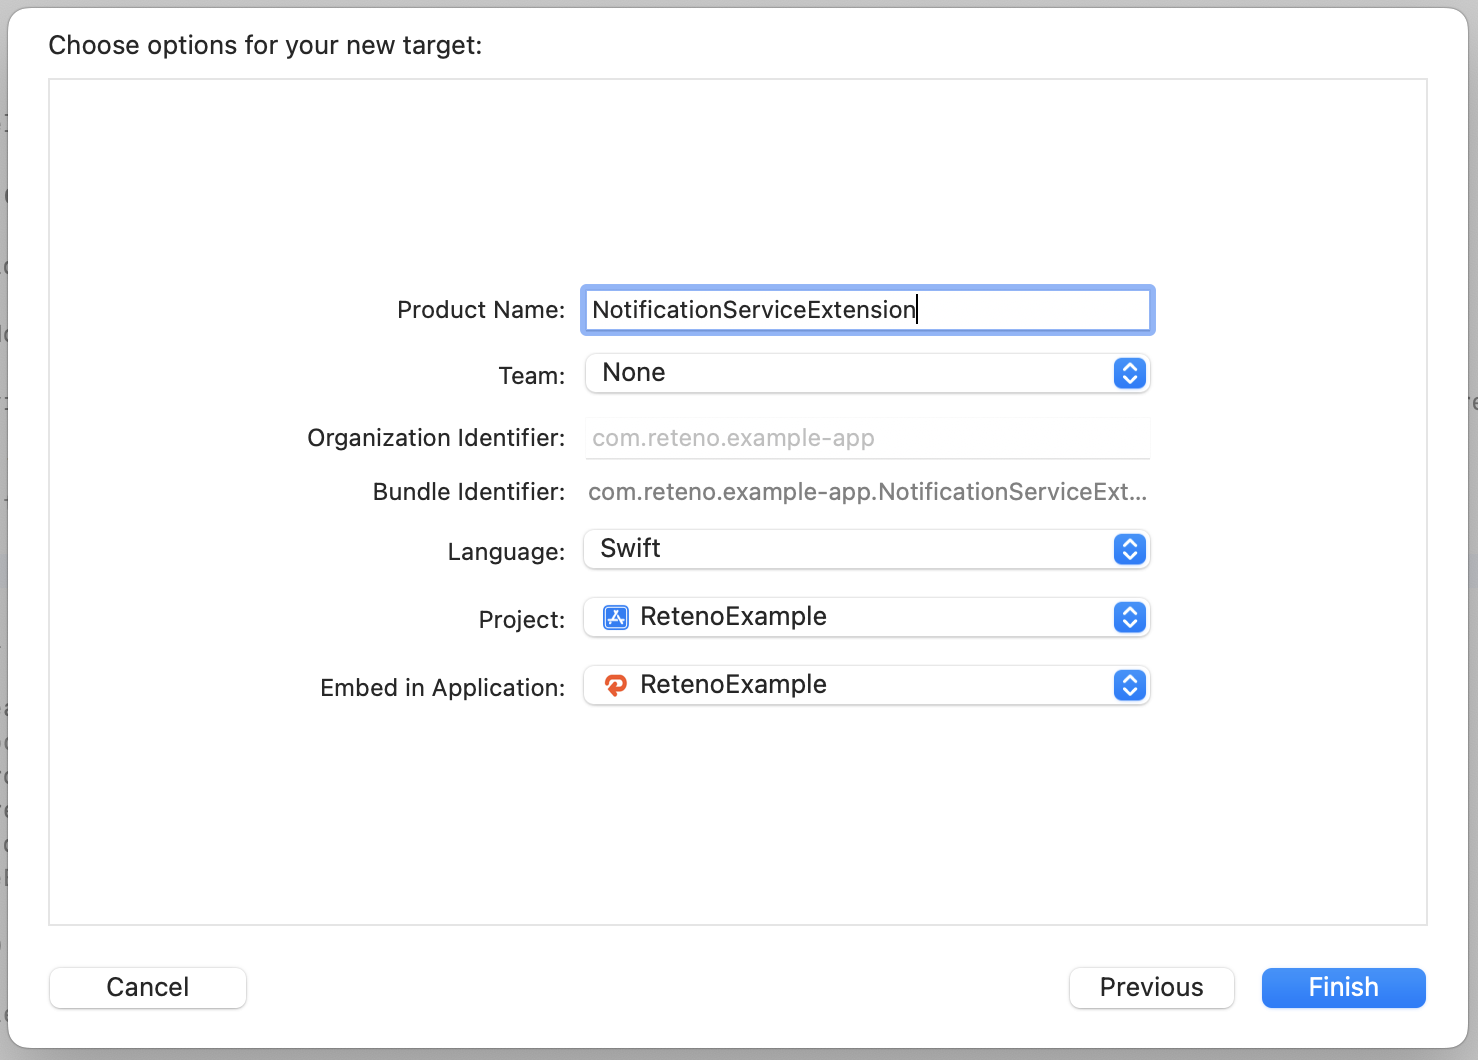
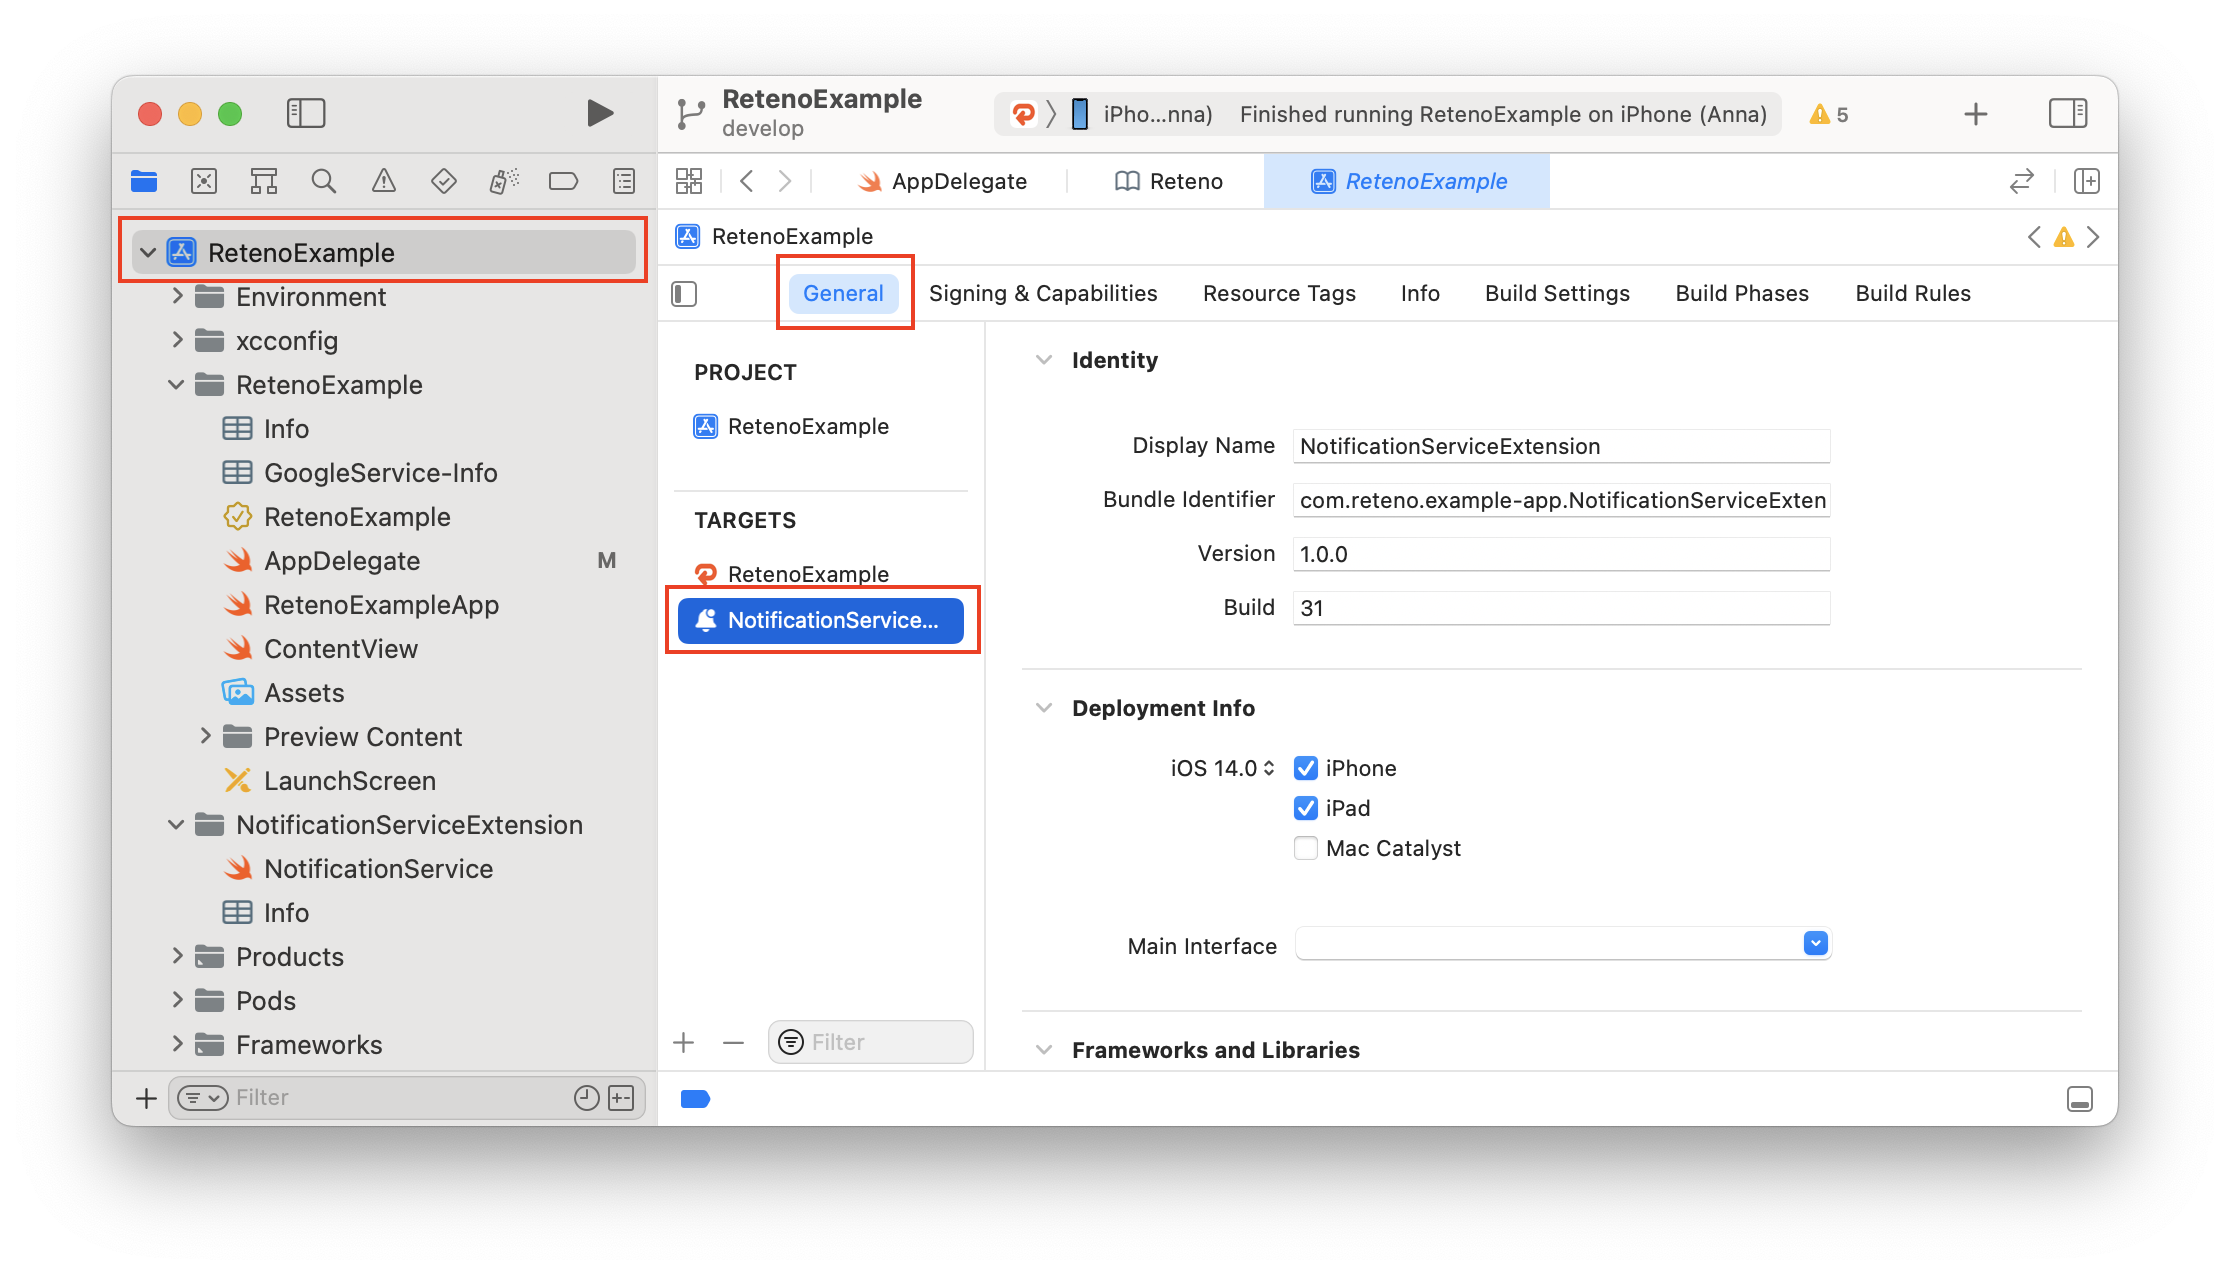
- Ensure extension deployment target equals main app target.
- Replace
NotificationService.swift:
import UserNotifications
import Reteno
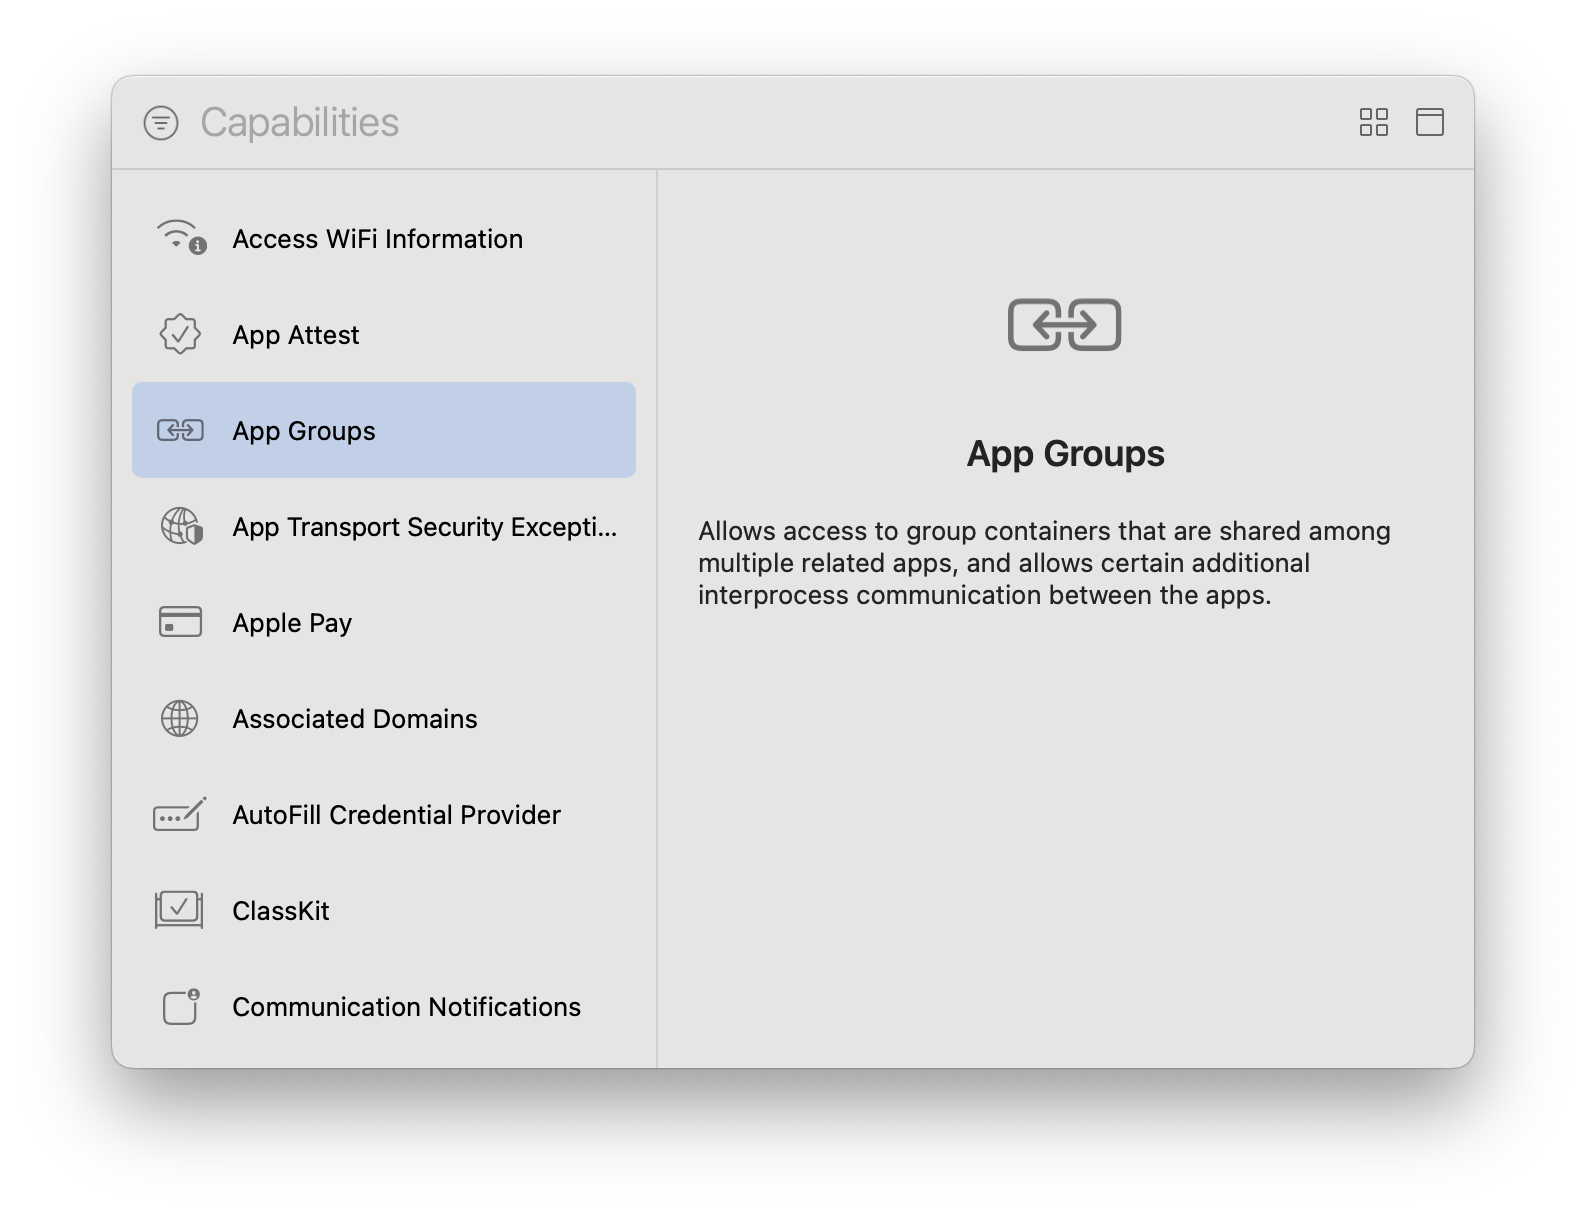
class NotificationService: RetenoNotificationServiceExtension {}Add App Groups
Enable App Groups in main target and NotificationServiceExtension. Group format:
group.{bundle_id}.reteno-local-storage
Podfile for Extension Targets
Main target pod is injected by plugin automatically. For extension targets add in platforms/ios/Podfile:
target 'App' do
  target 'NotificationServiceExtension' do
    inherit! :search_paths
    pod 'Reteno', '2.7.2'
  end

  target 'NotificationContentExtension' do
    inherit! :search_paths
    pod 'Reteno', '2.7.2'
  end
end
Optional: Notification Content Extension (Images Carousel)
Required for rich push with an Images Carousel. Provides the UNNotificationContentExtension entry point that renders the custom carousel UI.
Official guide: https://docs.esputnik.com/reference/ios-images-carousel
Create the extension target
In Xcode: File → New → Target → Notification Content Extension. Name it NotificationContentExtension.
Replace extension files
- Delete the generated
MainInterface.storyboard— it is not used withRetenoCarouselNotificationViewController. - Replace
NotificationViewController.swift:
import Reteno

final class NotificationViewController: RetenoCarouselNotificationViewController {}
Update Info.plist of the NCE
Info.plist of the NCEOpen NotificationContentExtension/Info.plist as source code and replace the NSExtension dict with:
<key>NSExtension</key>
<dict>
    <key>NSExtensionAttributes</key>
    <dict>
        <key>UNNotificationExtensionCategory</key>
        <string>ImageCarousel</string>
        <key>UNNotificationExtensionInitialContentSizeRatio</key>
        <real>0.5</real>
        <key>UNNotificationExtensionUserInteractionEnabled</key>
        <true/>
    </dict>
    <key>NSExtensionPointIdentifier</key>
    <string>com.apple.usernotifications.content-extension</string>
    <key>NSExtensionPrincipalClass</key>
    <string>$(PRODUCT_MODULE_NAME).NotificationViewController</string>
</dict>
Deployment target
Make sure the NCE Deployment Target in Xcode matches the main app target (iOS 15.0+). A mismatch is the most common reason carousel images fail to display.
Embed App Extensions — Copy only when installing
This step must be done manually in Xcode.
In Xcode: Main target → Build Phases → Embed App Extensions. For both NotificationServiceExtension and NotificationContentExtension ensure "Copy only when installing" is unchecked.
If this checkbox is left on, the extensions will not be embedded during Debug builds and carousel images will not appear.
Capacitor Setup (iOS)
Capacitor uses Cordova plugins through a compatibility layer, but does not execute Cordova plugin hooks. Some automatic Cordova steps must be done manually.
1. Install plugin and sync
npm install cordova-plugin-reteno
npx cap sync ios
Install the Ionic wrapper from npm:
npm install awesome-cordova-plugins-reteno @awesome-cordova-plugins/core2. Configure preferences in capacitor.config.ts
capacitor.config.tsimport { CapacitorConfig } from '@capacitor/cli';
const config: CapacitorConfig = {
// ...
cordova: {
preferences: {
SDK_ACCESS_KEY: 'YOUR_RETENO_ACCESS_KEY',
IOS_DEVICE_TOKEN_HANDLING_MODE: 'manual', // default
},
},
};
export default config;Run:
npx cap sync ios3. Podfile path and extension pods
In Capacitor projects Podfile is ios/App/Podfile (not platforms/ios/Podfile).
For extension targets (NotificationServiceExtension, NotificationContentExtension), add pods manually inside main target block:
target 'App' do
  # ... existing pods ...

  target 'NotificationServiceExtension' do
    inherit! :search_paths
    pod 'Reteno', '2.7.2'
  end

  target 'NotificationContentExtension' do
    inherit! :search_paths
    pod 'Reteno', '2.7.2'
  end
end
Then run:
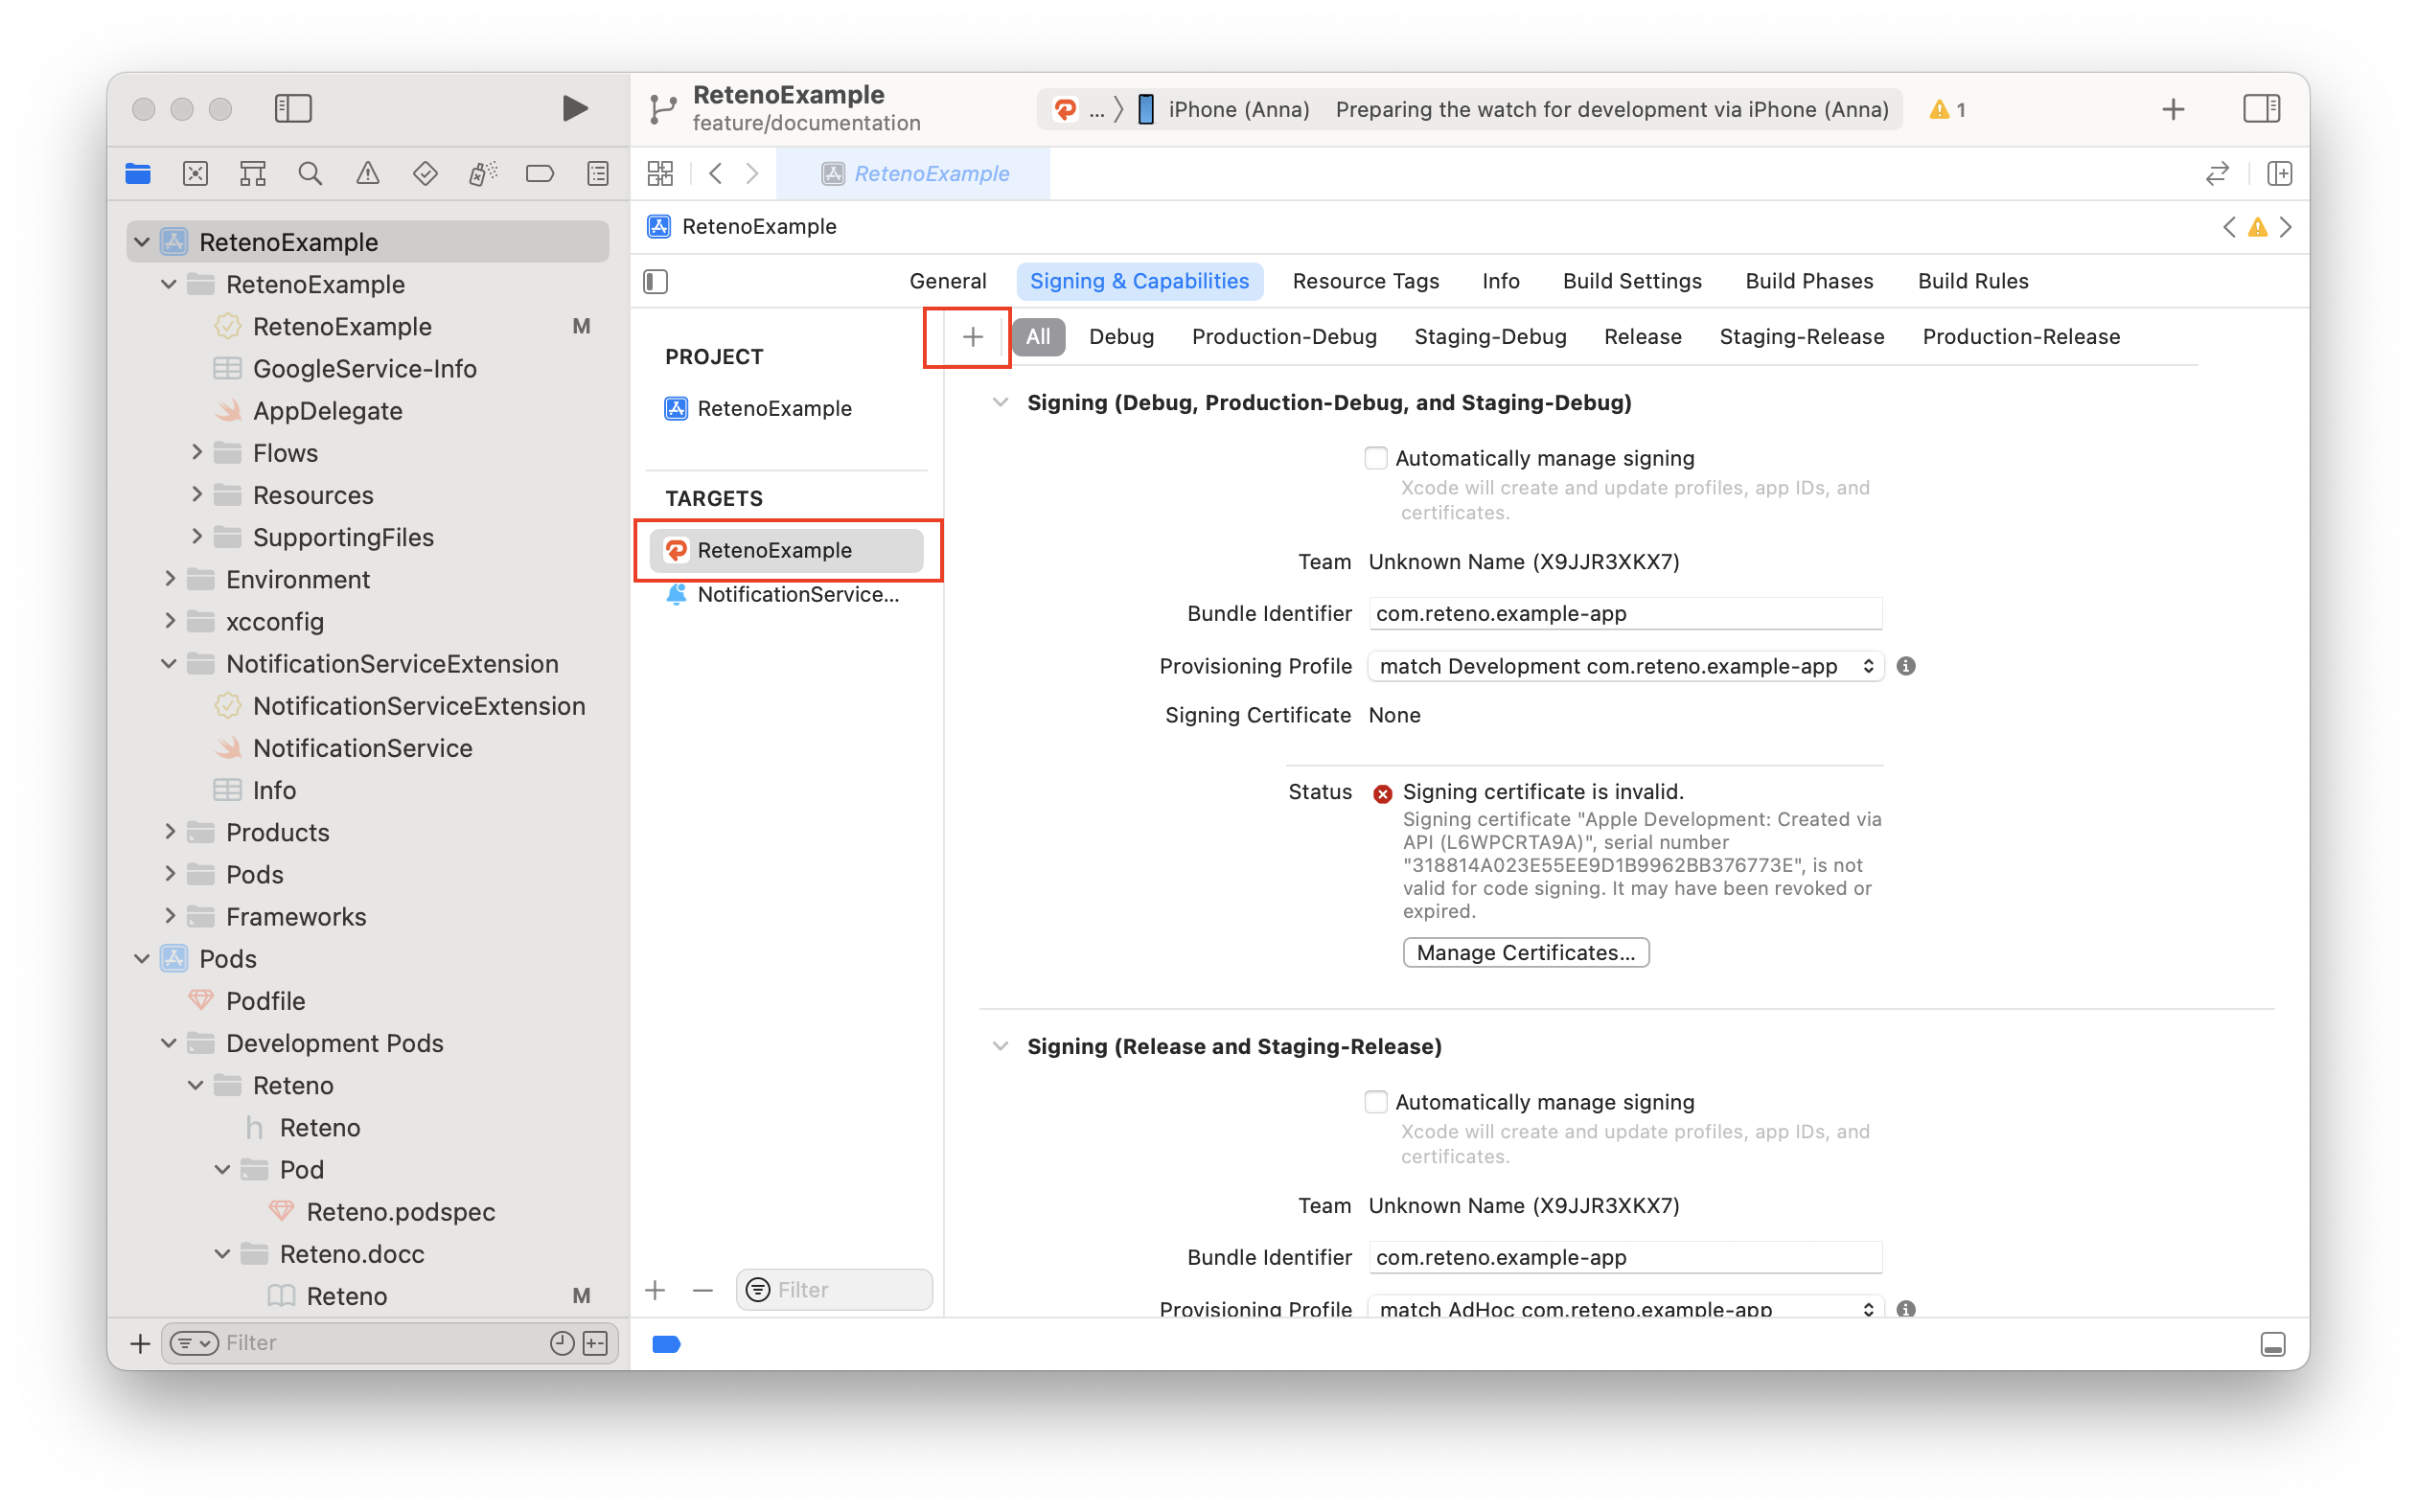
cd ios/App && pod install4. Xcode setup
Open ios/App/App.xcworkspace and complete the same iOS setup steps:
- Add NSE target.
- Add NCE target (if using carousel).
- Enable App Groups for app + extensions.
- Uncheck
Copy only when installingfor app extensions.
5. Firebase setup (if using FCM)
- Add
GoogleService-Info.plistto the main app target in Xcode. - Add
pod 'FirebaseMessaging'toios/App/Podfilein main target. - Run
cd ios/App && pod install.
No AppDelegate changes are required for standard flow.
6. Initialize and request permission
await this.reteno.init();
await this.reteno.requestNotificationPermission();
Initialize SDK
Call this.reteno.init(...) after Platform.ready(). See Setup overview.
Request Notification Permission
await this.reteno.requestNotificationPermission();Provide Device Token
await this.reteno.setDeviceToken(token);Using FCM (Firebase Cloud Messaging) on iOS
1. FirebaseMessaging pod
FirebaseMessaging podCordova flow: plugin includes FirebaseMessaging pod automatically via plugin.xml. Capacitor flow: verify pod 'FirebaseMessaging' exists in ios/App/Podfile; if missing, add it manually.
2. Add GoogleService-Info.plist
GoogleService-Info.plistDownload GoogleService-Info.plist from the Firebase Console and add it to your iOS app target in Xcode:
- Cordova: open
platforms/ios/<AppName>.xcworkspace. - Capacitor: open
ios/App/App.xcworkspace. - Drag
GoogleService-Info.plistinto the project navigator under the main app target. - Make sure "Copy items if needed" is checked and the file is added to the main app target (not only extension targets).
If your app calls FirebaseApp.configure() without this file, Firebase will crash at runtime. The plugin avoids auto-configuring Firebase when the file is missing and logs a warning in manual mode.
3. Configure AppDelegate
Nothing to do. Firebase iOS SDK uses method swizzling by default — it automatically intercepts didRegisterForRemoteNotificationsWithDeviceToken and forwards the APNS token to Firebase without any AppDelegate code.
4. IOS_DEVICE_TOKEN_HANDLING_MODE defaults to manual
IOS_DEVICE_TOKEN_HANDLING_MODE defaults to manualIOS_DEVICE_TOKEN_HANDLING_MODE defaults to manual, so no extra config is required for the Firebase flow in most cases.
If you previously overrode it to automatic, switch it back to manual to use FCM token forwarding. Only set automatic when you intentionally want APNS-only token handling by the native Reteno SDK.
Supported modes:
manual(default)automatic
Any value other than automatic is treated as manual. Mode is read during init() and cannot be changed at runtime from JS.
Change mode in config.xml:
<preference name="IOS_DEVICE_TOKEN_HANDLING_MODE" value="automatic" />After changes run ionic cordova prepare ios and rebuild.
For Capacitor apps, set this value in capacitor.config.ts under cordova.preferences and run npx cap sync ios.
When IOS_DEVICE_TOKEN_HANDLING_MODE is manual and Firebase is configured (either already configured by the app or auto-configured because GoogleService-Info.plist is present), the plugin automatically:
- Subscribes to Firebase Messaging delegate token updates — every future FCM token rotation is forwarded to Reteno immediately.
- Tries to forward the already-cached FCM token on warm starts.
In-app status/pause
Usage examples are documented in:
Screen Tracking Note
In Ionic/Cordova apps use manual tracking:
await this.reteno.logScreenView('ScreenName');Automatic native screen tracking is usually not meaningful in WebView-based apps.
Custom Notification Behavior (iOS)
await this.reteno.setWillPresentNotificationOptions({
  options: ['badge', 'sound', 'banner'],
  emitEvent: true,
});

await this.reteno.setDidReceiveNotificationResponseHandler({
  enabled: true,
  emitEvent: true,
});
Deeplinks in Push Payloads
For hybrid routing use your app deeplink layer (custom scheme / Universal Links / provider).